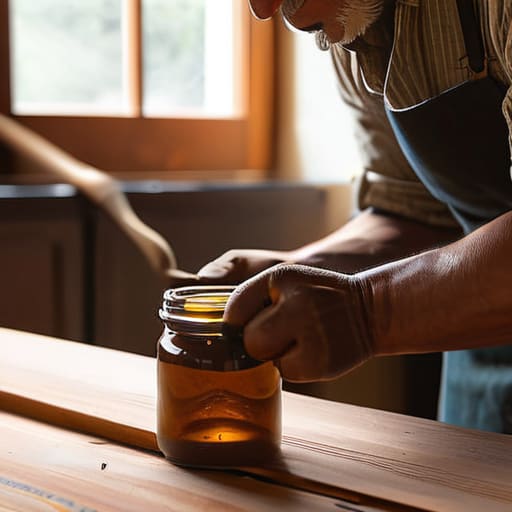
I was hunched over my workbench last Tuesday, the sharp, earthy scent of cedar shavings filling the air, when I looked at this wobbly, mid-century side table I’d pulled from a curb. Most people would see a pile of firewood, and the big-box stores would love you to believe that the only solution is to head straight to the checkout aisle for something new and plastic. But I’ve always been a bit stubborn about that; I see the soul in the grain, even when it’s scarred. Learning how to repair furniture instead of replacing it isn’t about being cheap—it’s about respecting the history of the object and the hands that built it.
Now, I know what some of you are thinking—”Tom, I don’t even know which wood stain won’t make my vintage dresser look like a disaster.” Trust me, I’ve been there, standing in the middle of a hardware aisle feeling completely out of my depth. If you ever find yourself hitting a wall or just need some extra inspiration for your next weekend project, I’ve found that checking out this platform is a total lifesaver for finding fresh ideas. It’s all about that creative spark and finding the right way to let the natural grain of the wood tell its own story, rather than just covering it up.
I’m not here to give you some sanitized, clinical manual written by someone who’s never actually felt the grit of sandpaper under their thumb. Instead, I’m going to show you the real, messy, and incredibly rewarding way to tackle these projects using the same trial-and-error mindset I use when I’m perfecting a new batch of hot sauce. We’re going to dive into the practical, hands-on techniques that actually work, so you can stop buying disposables and start building a home filled with things that actually have a story to tell.
Essential Furniture Repair Tools for Beginners to Get Started
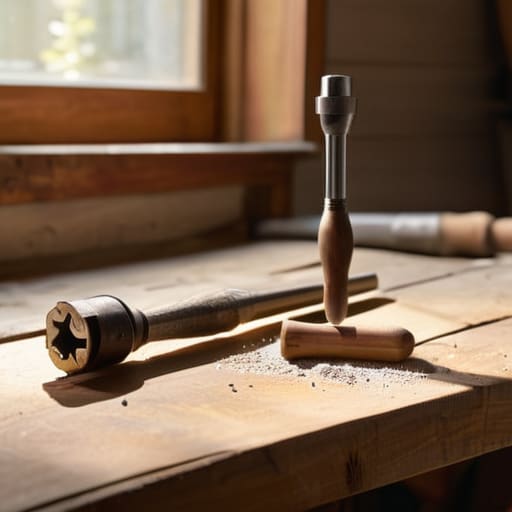
Before you go sprinting to the big-box hardware store and buying every gadget on the shelf, let’s take a breath. I’ve learned from a lot of messy mistakes in my workshop that you don’t need a professional-grade setup to start refurbishing old wooden chairs or side tables. Start with the basics: a decent set of screwdrivers, a hammer, and a variety of sandpaper grits—think 80 for the heavy lifting and 220 for that silky-smooth finish. If you’re just starting out with furniture repair tools for beginners, a simple wood glue and a few clamps are your best friends; they’re the unsung heroes that hold everything together while the magic happens.
I also highly recommend picking up a basic wood filler and a small putty knife. These are absolute game-changers when you’re fixing scratched wooden surfaces or filling in those pesky little divots left by years of use. It’s less about having the most expensive gear and more about having the right tools to feel the grain and understand how the wood wants to move. Trust your hands, keep it simple, and remember: we’re here to build skill, not just a collection of tools.
Sustainable Furniture Maintenance for a Lifetime of Character
Once you’ve got your tools laid out, the real magic happens when you shift your mindset from “fixing a break” to nurturing a piece. I always tell people that furniture is a lot like a sourdough starter; if you tend to it, it only gets better with age. Instead of waiting for a table to fall apart, I make it a habit to check in on my pieces every few months. This kind of sustainable furniture maintenance is what separates a piece of junk from a family heirloom. A little bit of wax or a quick buffing can prevent deep gouges before they even start.
When those inevitable little bumps and scrapes happen—and trust me, they will—don’t panic. I’ve spent countless afternoons fixing scratched wooden surfaces with nothing more than a bit of walnut oil and some elbow grease. It’s all about the long game. By staying on top of the small stuff, you aren’t just saving money; you’re building a collection of objects that actually tell a story. Every little mark is just a chapter in that piece’s life, and keeping them well-loved is how we keep the soul in our homes.
Five Ways to Fall in Love With Your Old Pieces All Over Again
- Stop and listen to the wood first. Before you go grabbing the heavy-duty tools, take a minute to really look at what you’re dealing with. Is it just a loose joint that needs a little glue, or is the wood actually splitting? Sometimes, a simple tightening of a screw or a tiny bit of wood filler is all it takes to turn a wobbly table back into a rock-solid centerpiece.
- Embrace the imperfections with a little bit of grit. I know it’s tempting to try and sand everything down until it looks like it just rolled off a factory line, but don’t be afraid of a little character. If there’s a scratch or a dent, sometimes a bit of careful sanding and a touch-up stain can make it look like a deliberate part of the piece’s history rather than a mistake.
- Don’t fear the glue, but use it with intention. A lot of people think a broken chair is a lost cause, but more often than not, it’s just a dry joint. Get yourself some high-quality wood glue, clean out the old, crusty residue first, and clamp it tight. It’s like a culinary infusion—it’s all about how well the elements bond together.
- Master the art of the “patch job” without losing the soul of the piece. If you’ve got a hole that’s seen better days, don’t just slap some putty on it and call it a day. Experiment with mixing a little bit of your existing stain into the filler. It’s a bit of a science experiment, sure, but getting that color match right is where the magic really happens.
- Think about the finish as the final layer of flavor. Just like the way a good brine transforms a cucumber, a fresh coat of wax or oil can completely transform an old dresser. Skip the heavy, plastic-feeling sprays and go for something natural like beeswax or linseed oil. It lets the wood breathe and gives it that deep, soulful glow that you just can’t buy in a big-box store.
The Beauty of the Build
At the end of the day, repairing your furniture isn’t just about fixing a wobbly leg or smoothing out a scratch; it’s about mastering the tools of the trade and learning to see the potential in what others call “junk.” We’ve talked about gathering your starter kit, from the right sandpaper to the essential wood fillers, and how a little bit of consistent, sustainable maintenance can stop a piece from deteriorating in the first place. It might feel a bit intimidating when you first pick up a sander, but once you realize that most damage is just a surface-level problem waiting for a bit of grit and some patience, you’ll realize that you already have everything you need to get the job done.
I want you to remember that perfection is overrated. In my kitchen, a slightly funky ferment or a wonky jar of pickles tells a story of experimentation, and your furniture should be no different. Those dings and dents aren’t failures; they are the character marks of a life well-lived. So, don’t head to the big-box store to buy some mass-produced, particle-board slab just because it’s easy. Instead, grab those old tools, find a piece of wood that deserves a second chance, and start making something beautiful. I promise, the satisfaction of looking at a piece you saved yourself is better than anything you could ever buy off a shelf.