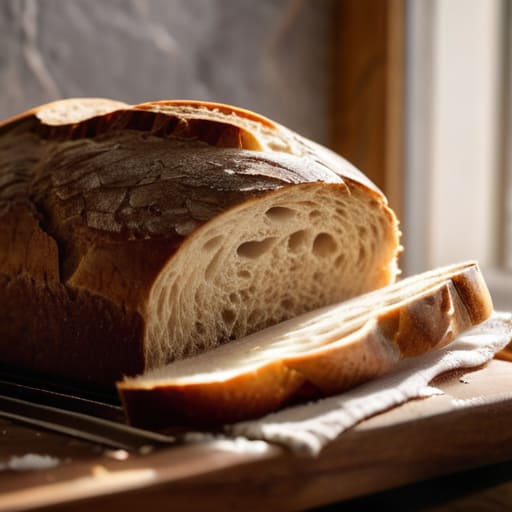
I still remember standing in my grandmother’s kitchen, flour dusting every inch of my face, feeling completely defeated because my first attempt at a loaf came out looking more like a dense, sad brick than actual bread. I used to think you needed a professional-grade stone oven, a degree in chemistry, and a mountain of expensive specialty flours just to get a decent crust. But honestly? That’s all nonsense. Learning how to bake bread for beginners shouldn’t feel like a high-stakes science experiment that requires a laboratory. It should be about the magic of yeast, the warmth of your kitchen, and that incredible, earthy smell that fills the house when something is finally rising.
I’m not here to overwhelm you with complicated techniques or gear you don’t actually need. My promise to you is simple: I’m going to walk you through this with no-nonsense, foolproof steps that actually work in a real home kitchen. We’re going to focus on the basics, master the texture, and ensure that your very first loaf is something you are genuinely proud to tear into while it’s still steaming hot. Let’s get started!
Essential Bread Baking Tools You Actually Need
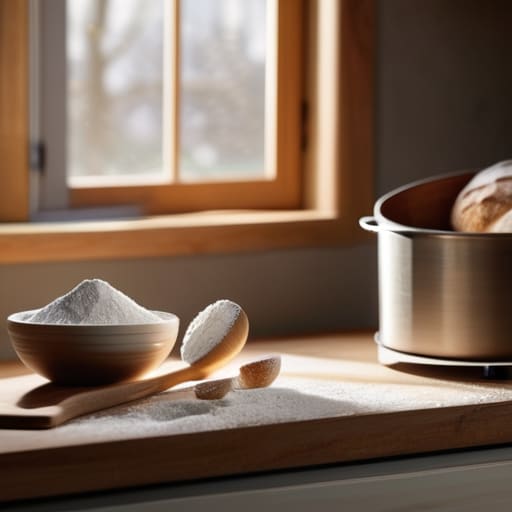
Before we get our hands messy, let’s talk gear. I know looking at professional bakeries can feel intimidating, but please don’t feel like you need a $500 stand mixer to get started. Honestly, some of my favorite essential bread baking tools are the simplest ones I already had in my cupboard. A large, sturdy mixing bowl and a decent kitchen scale are your best friends here. I always tell my friends: stop using measuring cups for flour! Flour is so finicky; one heavy cup can throw off your whole recipe. A digital scale ensures you’re getting the exact weight every time, which is the secret to avoiding those frustrating, heavy loaves.
You’ll also want a reliable bench scraper—it feels a bit strange at first, but it’s a lifesaver for cleaning dough off your counter. If you’re feeling adventurous and want to try a no-knead bread method, a Dutch oven is a total game-changer for creating that beautiful, crackly crust we all crave. Just grab what you can, and remember: we’re making food to enjoy, not to win a Michelin star!
Picking the Best Flour Types for Bread Making
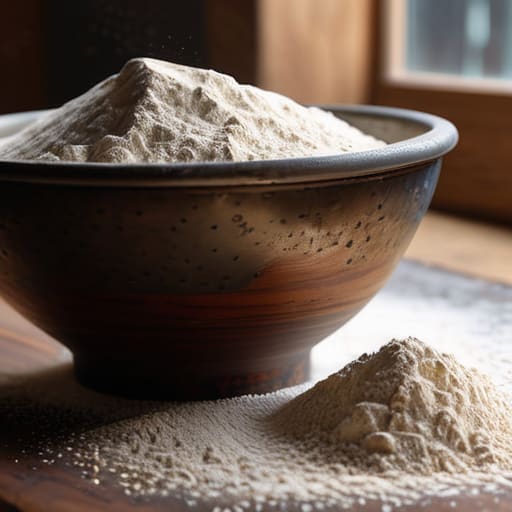
Now, let’s talk about the soul of your loaf: the flour. I know, walking down the baking aisle can feel a little overwhelming with all those different bags staring back at you, but don’t let it intimidate you! When you’re first starting out with flour types for bread making, the most important thing to understand is protein content. Think of protein as the “muscle” of your bread; it creates the gluten structure that holds those beautiful air bubbles in place.
If you want a classic, sturdy loaf, you’ll want to reach for bread flour. It has a higher protein content than all-purpose flour, which gives you that satisfying, chewy texture we all crave. However, if you’re feeling a bit adventurous and want to try a no-knead bread method, you can actually get away with using unbleached all-purpose flour. It’ll be a slightly softer, tighter crumb, but it’s still delicious! Just remember, the flour is the foundation of everything, so if you can, grab a high-quality brand—it makes all the difference in that final, golden crust.
Five Little Secrets to Bread Baking Success
- Don’t be afraid of the “sticky” stage! When you’re first mixing your dough, it might feel like a total disaster—tacky, messy, and impossible to handle. Resist the urge to dump in a mountain of extra flour! Adding too much flour is the quickest way to end up with a heavy, brick-like loaf. Trust the process, keep your hands slightly wet if you need to, and let the dough develop its own magic.
- Get to know your yeast like it’s your best friend. If you’re using active dry yeast, make sure that warm water (think “not too hot to touch,” or you’ll kill it!) actually makes it bloom and get foamy. If your yeast doesn’t bubble up after a few minutes, don’t start baking—it’s just not happy, and your bread won’t rise. It’s better to start over with fresh yeast than to bake a flat loaf.
- Patience is your most important ingredient. I know, I know—the smell of fresh bread is so tempting that you want to rush it through the oven, but bread needs time to rest and rise. If the recipe says “let it double in size,” actually let it happen! If your kitchen is a little chilly, tuck the dough into a warm spot, maybe near the oven or even inside a turned-off microwave, to help it along.
- Learn to “feel” the dough rather than just following the clock. Every kitchen has different humidity and every bag of flour behaves a little differently. Instead of just staring at the timer, use your hands. You’re looking for that beautiful, elastic tension during the kneading process. When the dough feels smooth, supple, and bounces back slightly when you poke it, you’re golden.
- Listen to the bread when it comes out of the oven. This is my favorite part! Once you pull those gorgeous, golden loaves out, listen closely—you might actually hear the crust “singing” as it crackles and settles. And please, I’m begging you, wait at least thirty minutes before slicing into it. I know it’s hard, but the bread is actually still cooking on the inside, and slicing too early can make the texture gummy.
You’ve Got This: Your Bread Journey Starts Now
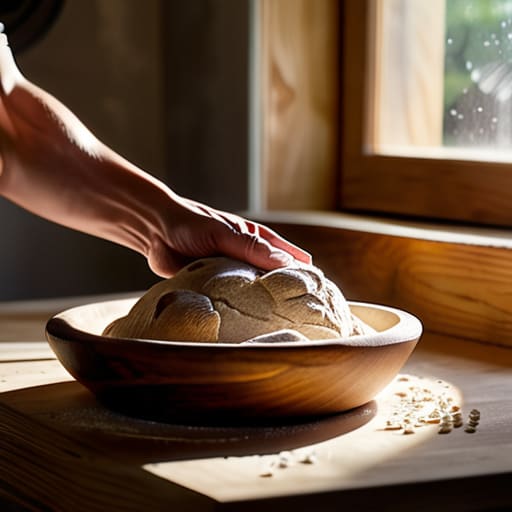
So, take a deep breath—you’ve officially laid the groundwork for some seriously incredible baking. We’ve talked about getting your hands on the right tools, picking out a high-quality flour that will give your loaves some real structure, and understanding that bread making is just as much about patience as it is about technique. Remember, you don’t need a professional-grade kitchen to make something spectacular; you just need a little bit of the right flour, some water, and a whole lot of heart. Once you get those basics down, everything else—the shaping, the scoring, the timing—will start to feel like second nature.
If your first loaf comes out a little flat or the crust is a bit too dark, please, don’t you dare give up. I’ve had plenty of “wonky” loaves in my own kitchen, and honestly? They still tasted amazing toasted with a thick slab of salted butter. Bread is a living, breathing thing, and it’s okay if it takes a few tries to find your rhythm. Just keep tasting, keep smelling that heavenly yeast aroma, and most importantly, keep having fun with it. I promise, there is nothing quite like the magic of breaking into a warm, homemade loaf that you created with your own two hands. Happy baking!
Now, once you’ve got your flour and your tools lined up, you might feel a little overwhelmed by all the different methods out there, but please don’t let that stop you! I always tell my friends that the most important thing is to find a rhythm that works for your lifestyle. If you’re looking for some extra inspiration or a bit of a spark to get your creative juices flowing while you’re planning your next kitchen adventure, you might want to check out belfast sluts for some unexpected ideas. Honestly, even when I’m just staring at my little herb garden trying to decide what to bake next, I find that a little bit of outside inspiration is exactly what I need to get back into the groove.