I still remember the first time I tried to can pickles for long-term storage – it was a disaster. I followed a recipe to the letter, but ended up with a batch of pickles that were too salty and didn’t last more than a few weeks. It wasn’t until I started experimenting and learning from my mistakes that I realized canning pickles wasn’t about following a strict formula, but about understanding the process and using fresh, seasonal ingredients. That’s why I’m excited to share my experience with you in this guide to canning pickles for long-term storage, where I’ll show you how to create delicious, crispy pickles that will last you all year round.
In this article, I’ll take you through the step-by-step process of canning pickles, from preparing the jars to adding the perfect blend of spices. I’ll share my tips and tricks for ensuring your pickles are crisp and flavorful, and provide you with practical advice on how to troubleshoot common issues. Whether you’re a beginner or an experienced canner, this guide will give you the confidence to create your own delicious pickles at home. So, let’s get started and fill our pantries with homemade goodness!
Table of Contents
Guide Overview: What You'll Need
Total Time: 2 hours 30 minutes
Estimated Cost: $20 – $40
Difficulty Level: Intermediate
Tools Required
- Large Pot (at least 3-quart capacity)
- Canning Funnel
- Jar Lifter
- Acid Tester (optional)
- Kitchen Scale
Supplies & Materials
- Canning Jars (1-quart or 1-pint size)
- Lids and Bands (new, for each jar)
- Pickling Salt
- White Vinegar
- Water
- Cucumbers
- Dill Weed (fresh or dried)
- Garlic (optional)
- Pickling Spice (optional)
Step-by-Step Instructions
- 1. First, let’s start by preparing our canning station. This is where the magic happens, and we want to make sure we have everything we need within arm’s reach. I like to set up my canning station with all the necessary tools and ingredients, including my trusty canner, jars, lids, and of course, the star of the show: fresh cucumbers.
- 2. Next, we need to sterilize our jars and lids to ensure they’re free from any bacteria or impurities. I like to do this by washing them in hot soapy water and then giving them a good rinse. You can also use a dishwasher to sterilize them, but I prefer the old-fashioned way – it’s more satisfying, and I feel like I’m getting my hands dirty.
- 3. Now it’s time to create our brine solution. This is where the flavor magic happens, and we can get creative with our spices and seasonings. I like to use a combination of water, vinegar, salt, and sugar to create a brine that’s both tangy and sweet. You can also add in some garlic, dill, or other spices to give your pickles an extra kick.
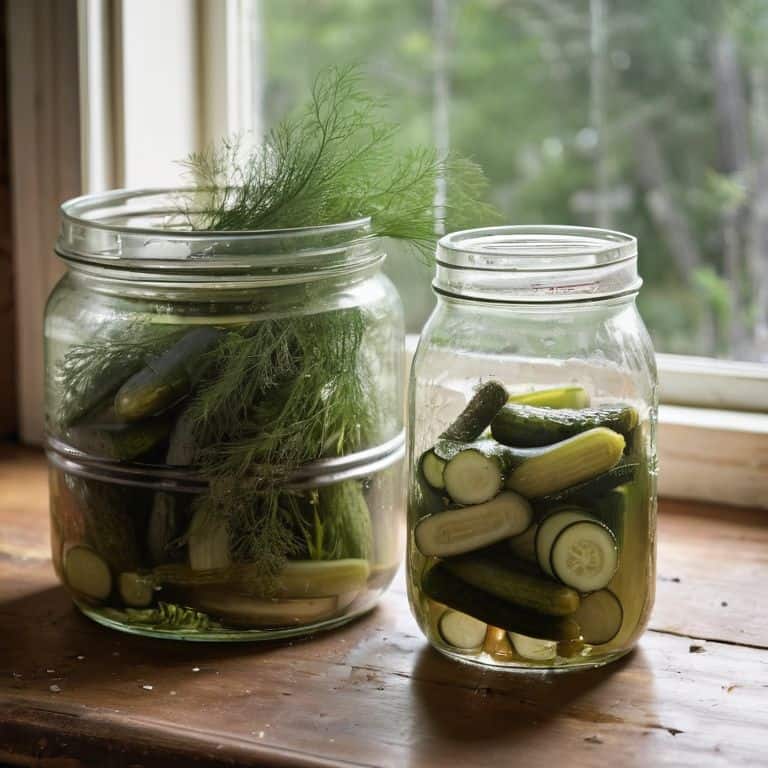
- 4. With our brine solution ready, it’s time to pack our jars. This is the fun part – we get to add in our sliced cucumbers, some fresh dill, and maybe even a few garlic cloves. Make sure to pack them in tightly, but not too tightly – we want to leave a little room for the brine to flow in and out.
- 5. Once our jars are packed, it’s time to add the brine. I like to pour the brine solution over the cucumbers, making sure they’re completely covered. Then, I use a non-metallic utensil to remove any air bubbles that might be hiding in the jar. This is an important step – we don’t want any air bubbles ruining our pickles.
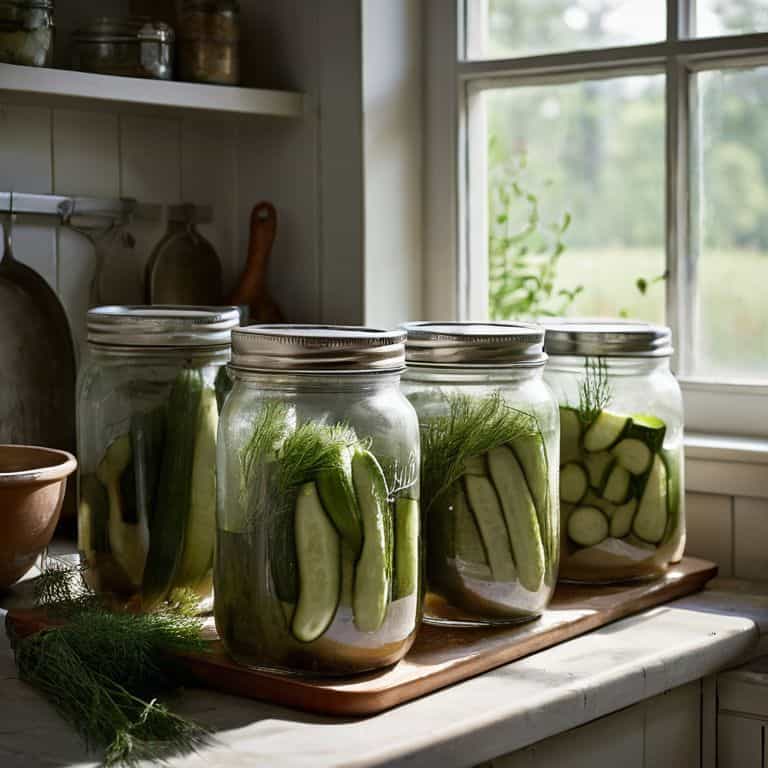
- 6. Now that our jars are filled and the brine is in place, it’s time to seal them up. I like to use a combination of lids and rings to create a tight seal. Make sure the lids are screwed on tightly, but not too tightly – we don’t want to over-tighten and risk breaking the jar.
- 7. With our jars sealed, it’s time to process them in the canner. This is the final step in our canning process, and it’s where we ensure our pickles are properly sterilized and sealed. I like to process my jars for at least 10 minutes, making sure they’re fully submerged in boiling water. This will kill off any bacteria and create a vacuum seal that’ll keep our pickles fresh for months to come.
- 8. Finally, it’s time to let our pickles cool and set. I like to let them sit for at least 24 hours before opening them up and giving them a taste. This allows the flavors to meld together and the pickles to fully develop their tangy, sour flavor. And that’s it – we’ve successfully canned our pickles and can enjoy them all year round.
Dive Into Pickle Canning
As we dive into pickle canning, it’s essential to consider the role of pickling spice blends in enhancing the flavor of our pickles. I like to experiment with different combinations of spices and herbs to create unique taste profiles. For example, a blend of dill, garlic, and mustard seeds can add a nice depth to traditional dill pickles. When it comes to canning jar sizes and uses, I prefer to use smaller jars for pickling individual servings, while larger jars are perfect for making big batches of pickles to share with friends and family.
When exploring pickle canning recipes, don’t be afraid to think outside the box and try new ingredients. I’ve had great success with using acidic food canning guidelines to create pickled vegetables like carrots and beets. The key is to find the right balance of acidity and sweetness to bring out the natural flavors of the ingredients. By following these guidelines, you can create a wide range of pickled delights that are both delicious and safe to eat.
As you continue on your pickle canning journey, remember to always prioritize canning safety tips and precautions. This includes using the right equipment, following tested recipes, and being mindful of the long term food preservation methods you’re using. By taking the time to learn about these important considerations, you’ll be well on your way to creating delicious, long-lasting pickles that you can enjoy all year round.
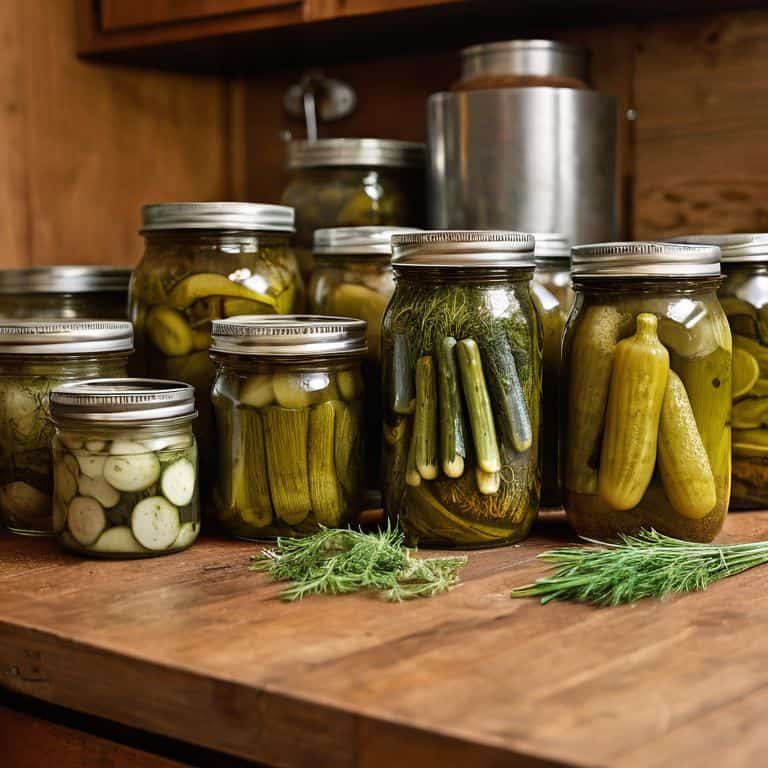
Canning Jar Sizes for Pickles
When it comes to canning pickles, the size of your jars can make all the difference. I like to think of it as choosing the right instrument for a recipe – you wouldn’t use a giant drum to play a gentle melody, right? For pickles, I swear by a variety of jar sizes to match the job. Small jars, like 4-oz or 8-oz, are perfect for those tiny batches of spicy pickles or infused vinegar. Larger jars, 16-oz or 32-oz, are great for bigger batches of classic dill or sour pickles.
I’ve found that having a mix of jar sizes on hand gives me the flexibility to get creative with my pickle recipes. Plus, it’s awesome for gift-giving – who doesn’t love a tiny jar of homemade pickles?
Pickle Canning Recipes Unleashed
Now that we’ve dove into the world of pickle canning, it’s time to unleash some amazing recipes. I’ve got a few favorites that I just can’t get enough of, like my spicy dill pickles and spicy pickled carrots. There’s something about the combination of flavors and crunch that just gets me every time.
I love experimenting with different seasonings and spices to create unique pickle flavors. From classic garlic and dill to more adventurous options like Korean chili flakes and coriander, the possibilities are endless. Feel free to get creative and make these recipes your own – after all, that’s what homemade pickling is all about!
Seal the Deal: 5 Tips for Successful Pickle Canning
- Ditch the Guesswork: Always Sterilize Your Jars and Lids Before Filling
- Acidity Matters: Use the Right Amount of Vinegar to Ensure Your Pickles Stay Fresh
- Slice, Dice, or Spear: Cutting Your Cucumbers Uniformly Helps with Even Pickling
- Spice it Up: Experiment with Different Seasonings and Spices to Create Unique Pickle Flavors
- Store it Right: Keep Your Canned Pickles in a Cool, Dark Place to Preserve the Magic
Pickle Canning Essentials to Remember
Dive into the world of pickle canning with an open mind and a willingness to experiment – after all, it’s all about creating your own unique flavors and preserving the freshness of your favorite ingredients
Choose the right canning jar size for your pickles to ensure they’re properly sealed and stored, whether you’re making a small batch or a large one – it’s all about finding that perfect fit
Remember, the key to successful pickle canning is to have fun and not be afraid to try new things – from different spice blends to unusual ingredients, the possibilities are endless and the reward is a pantry full of delicious, homemade goodies
The Heart of Pickling
The magic of canning pickles isn’t just about preserving food, it’s about capturing a moment in time – the sweetness of a fresh cucumber, the tang of a summer day – and bringing it to life on your table, no matter the season.
Tom Navarro
Preserving the Flavor: A Journey to Deliciousness
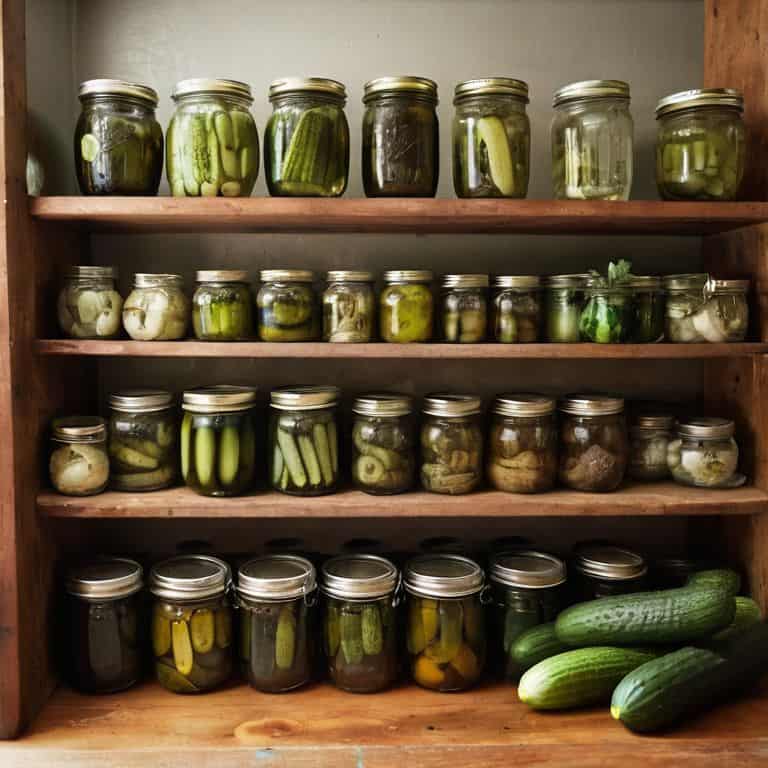
As we conclude this journey into the world of canning pickles for long-term storage, let’s recap the key elements that make this process so rewarding. From selecting the freshest ingredients to understanding the importance of sterilization and sealing, each step is crucial in creating pickles that are not only delicious but also safe to eat. The variety of recipes and canning jar sizes available offer endless possibilities for experimentation, allowing you to find your perfect pickle. Whether you’re a seasoned pro or a beginner, the thrill of seeing your homemade pickles lined up on the shelf, waiting to be enjoyed, is a feeling like no other.
So, as you embark on your own pickle canning adventures, remember that it’s not just about following a recipe or a set of instructions – it’s about creating something with your own hands. It’s about the joy of watching your family and friends savor the flavors you’ve carefully crafted. Don’t be afraid to experiment and try new things; the world of pickling is vast and full of surprises. With every jar you fill, you’re not just preserving food, you’re preserving memories and traditions. Happy pickling!
Frequently Asked Questions
What's the best way to ensure my pickles are properly sterilized before canning?
For me, it’s all about a good ol’ water bath. I submerge my jars in boiling water for 10-15 minutes to kill off any bacteria. You can also use a dishwasher on the sterilize setting. Just make sure they’re hot and dry before filling – that’s the secret to crunchy, tangy pickles that’ll last all year round!
Can I use any type of cucumber for canning, or are there specific varieties that work best?
Not all cucumbers are created equal, my friend! For canning, I swear by pickling or sour cucumbers – they’ve got the perfect balance of sweetness and acidity. Avoid using slicing cucumbers, they’ll end up too soft. Trust me, the right variety makes all the difference in creating those crunchy, tangy pickles you’ll be obsessed with!
How do I know if my pickles have been canned successfully and are safe to eat after a few months?
Check your seals after a few hours, and again after a few months – if they’re still tight and the pickles look and smell fresh, you’re golden! Also, give ’em a taste – if they’re tangy, crunchy, and delicious, you’ve nailed it. Trust your senses, and don’t be afraid to get a little creative with those pickles!