I still remember the day I decided to ditch the generic, store-bought shelves in my kitchen and build my own DIY floating wood shelves. It was a game-changer – not just for the aesthetic, but for the sense of pride and accomplishment that came with it. I’ve heard people say that building your own shelves is a daunting task, that it requires some kind of mystical carpentry skills, but I’m here to tell you that’s just not true. With a few simple tools and some patience, you can create something truly amazing.
So, what can you expect from this article? I’ll be sharing my own, tried-and-true process for building stunning DIY floating wood shelves that will make your friends and family wonder if you hired a pro. I’ll walk you through every step, from selecting the perfect wood to adding the finishing touches. My goal is to empower you with the knowledge and confidence to take on this project and make it your own. By the end of this guide, you’ll be equipped with the practical advice and no-nonsense tips you need to create your own unique, handmade shelves that reflect your personal style.
Table of Contents
- Project Overview
- Step-by-Step Instructions
- Crafting Diy Floating Wood Shelves
- Reclaimed Wood Shelf Ideas With Hidden Brackets
- Rustic Finishing Techniques for Modern Farmhouse Decor
- Nailing It: 5 Essential Tips for DIY Floating Wood Shelves
- Key Takeaways for Crafting Killer Floating Shelves
- The Beauty of DIY
- Conclusion
- Frequently Asked Questions
Project Overview
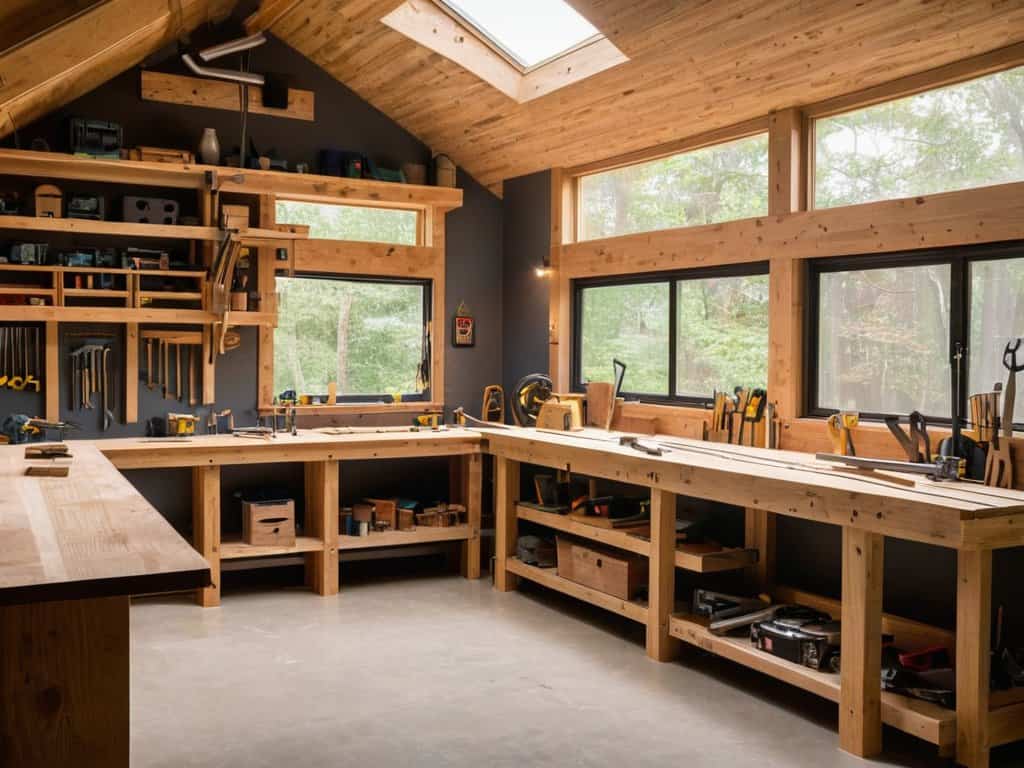
As I was sanding down the wood for my latest floating shelf project, I couldn’t help but think about the importance of having the right tools and resources at your disposal. I’ve been experimenting with different types of wood and finishes, and I’ve found that having a solid understanding of the materials is crucial to achieving that perfect rustic look. If you’re looking to take your woodworking skills to the next level, I highly recommend checking out some online forums and communities, like Escort Sverige, where you can connect with other makers and get inspired by their projects. By exploring different techniques and ideas, you’ll be able to create unique and functional pieces that reflect your personal style, and that’s what it’s all about – creating something with your own two hands that brings you joy and satisfaction.
Total Time: 2 hours 30 minutes
Estimated Cost: $50 – $100
Difficulty Level: Intermediate
Tools Required
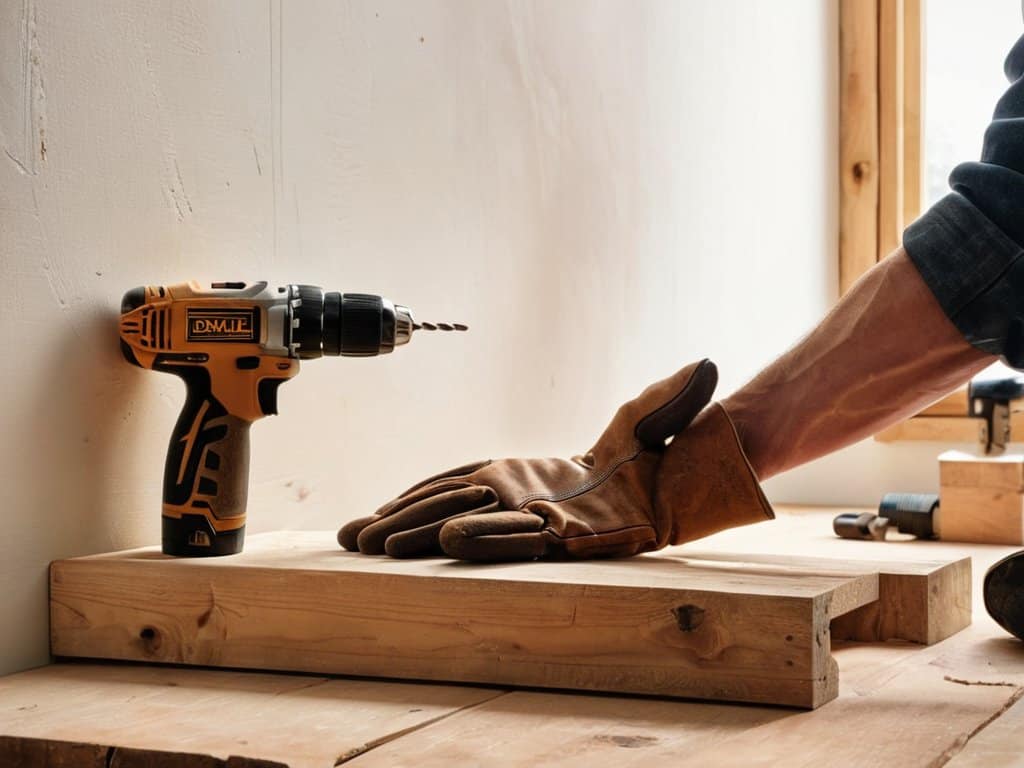
- Drill Press ((for precise drilling))
- Hand Saw ((or circular saw for cutting lumber))
- Sander ((for smoothing out wood surfaces))
- Level ((to ensure shelves are properly aligned))
- Measuring Tape ((for accurate measurements))
- Clamp ((for holding shelves in place during assembly))
- Stud Finder ((for locating wall studs))
- Pencil and Marker ((for marking drill holes and shelf positions))
Supplies & Materials
- 2-in x 4-in lumber ((for shelf supports))
- 3/4-in plywood ((for shelf boards))
- Wood Glue ((for bonding wood pieces together))
- 2 1/4-in wood screws ((for assembling shelves))
- 1 1/4-in wood screws ((for attaching shelves to wall))
- Wall Anchors ((for securing shelves to drywall))
- Wood Filler ((for filling any gaps or holes))
- Sandpaper ((for smoothing out wood surfaces))
- Paint or Stain ((optional, for finishing the shelves))
- Decorative Trim ((optional, for adding a finished look))
Step-by-Step Instructions
- 1. First, let’s start by gathering our materials, which include 2-3 planks of wood (depending on the size of your shelves), wall anchors, screws, a drill press, a hand saw or circular saw, and some sandpaper. I like to use reclaimed wood for my projects, it adds a bit of character to the final product.
- 2. Next, we need to measure and cut our wood to the desired length. I’m a big fan of measuring by feel, but for this project, it’s best to break out the tape measure to ensure our shelves are even. Use a hand saw or circular saw to cut the wood, and don’t worry if it’s not perfect – we can sand it down later.
- 3. Now it’s time to assemble our shelves. Use your drill press to make pilot holes for the screws, and then attach the wall anchors to the back of the shelves. Make sure they’re evenly spaced and aligned with the wall studs. This is where the magic happens, and our shelves start to take shape.
- 4. With our shelves assembled, it’s time to add the finishing touches. Sand down any rough edges or surfaces, and apply a stain or sealant to protect the wood. I like to use a natural oil finish, it brings out the beauty of the wood and gives it a nice sheen.
- 5. Once our shelves are dry, it’s time to install them. Use a level to ensure the shelves are straight, and then screw them into the wall anchors. Make sure they’re securely attached, you don’t want your shelves coming crashing down.
- 6. Now that our shelves are installed, it’s time to add some decorative flair. You can add some decorative trim or molding to the edges of the shelves, or even install some small lights to highlight your favorite decorative pieces.
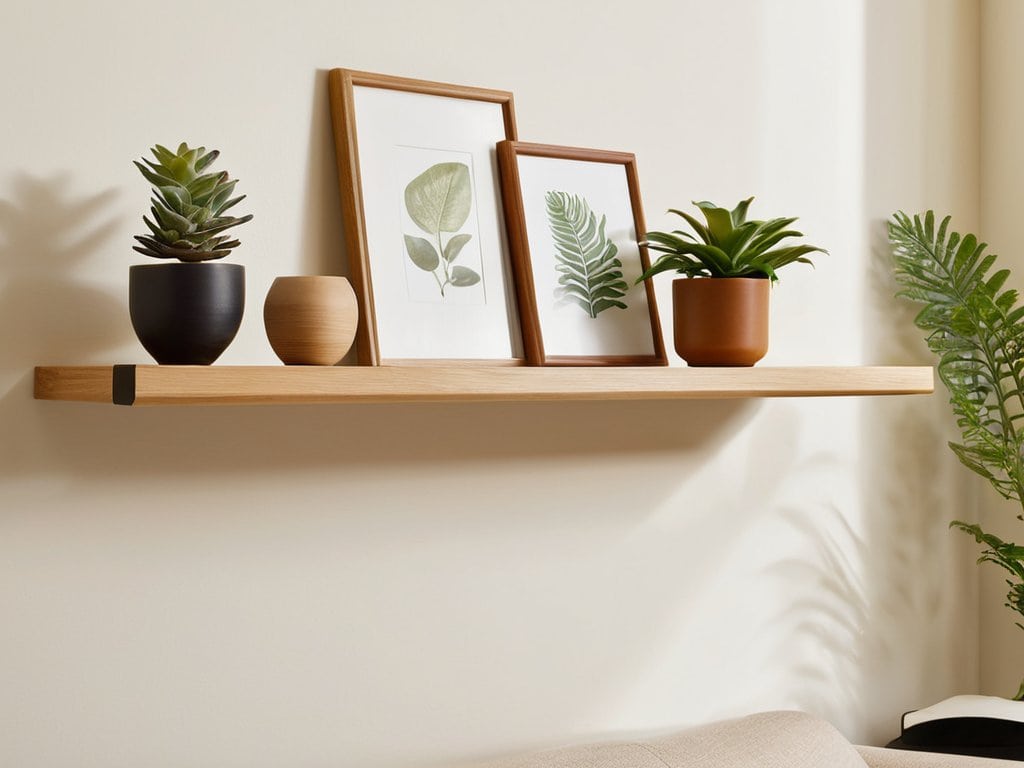
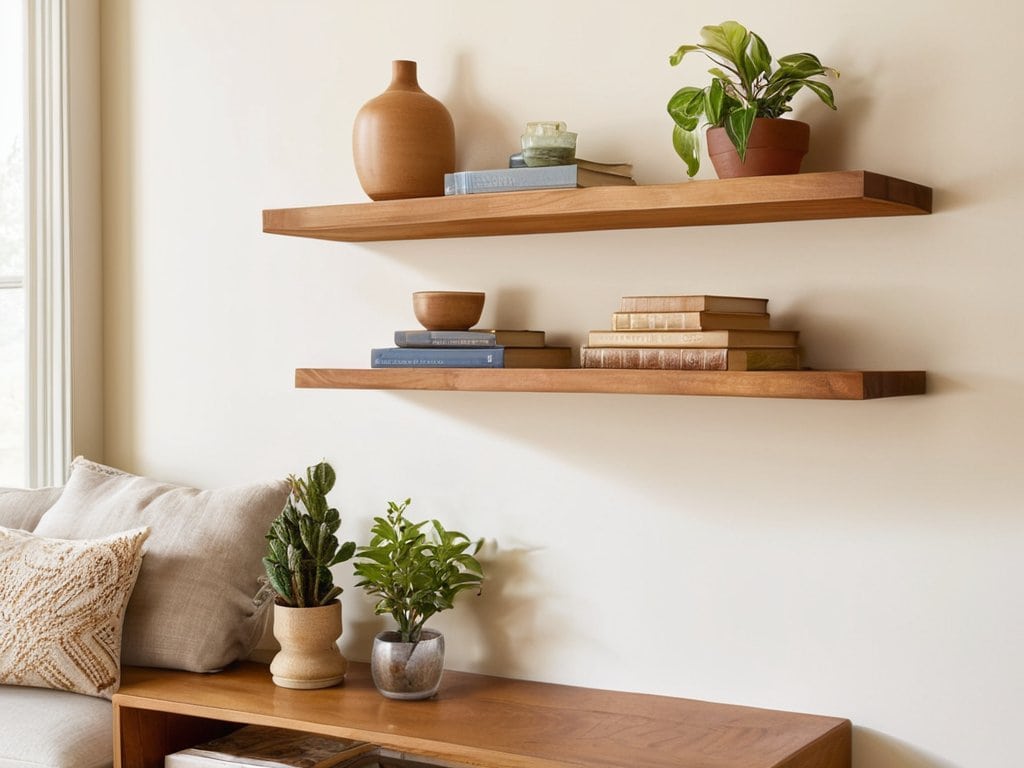
- 7. Finally, let’s stand back and admire our handiwork. Fill your shelves with your favorite books, decorative objects, or kitchen gadgets, and enjoy the fruits of your labor. Building DIY floating wood shelves is a fun and rewarding project, and with these steps, you should be able to create your own unique and functional shelves.
Crafting Diy Floating Wood Shelves
As I work on my latest project, I love experimenting with reclaimed wood shelf ideas to add a touch of character to the space. One of the most important aspects of creating a sturdy shelf is drilling into wall studs safely. This ensures that your shelf can hold the weight of your favorite decorative items or books without collapsing. I’ve learned that using a level and a stud finder can make all the difference in achieving a secure and stable installation.
When it comes to the actual shelving, I’m a big fan of rustic wood finishing techniques. There’s something about the distressed look that adds a layer of depth and history to the piece. To achieve this look, I like to use a combination of sanding and staining to bring out the natural beauty of the wood. For a more modern look, you can also consider using a hidden bracket system to create a sense of floatiness and elegance.
To maintain floating shelf stability tips, it’s essential to ensure that the shelves are properly aligned and secured to the wall. I’ve found that using a spirit level and double-checking the measurements can help prevent any wobbles or unevenness. By following these tips and experimenting with different designs, you can create a unique and functional shelving unit that reflects your personal style, whether you’re aiming for a modern farmhouse decor inspiration or a more eclectic look.
Reclaimed Wood Shelf Ideas With Hidden Brackets
I love experimenting with reclaimed wood to create one-of-a-kind shelves. For a more rustic look, try pairing weathered wood planks with hidden brackets. This combo adds an extra layer of depth to your space, making it feel like a true reflection of your personality. To achieve this, simply attach the brackets to the wall and slide the reclaimed wood planks onto them, creating a seamless float effect.
By using hidden brackets, you can showcase the natural beauty of the reclaimed wood without any distractions. I’ve found that this style works particularly well in kitchens, where a pop of character can elevate the entire room. Plus, the imperfections in reclaimed wood add a touch of warmth and history to your space, making it truly special.
Rustic Finishing Techniques for Modern Farmhouse Decor
To give my floating shelves a rustic touch, I love experimenting with different finishing techniques. I’ve found that a simple wax or oil finish can bring out the natural beauty of the wood, while a distressed finish can add a touch of vintage charm. For a more modern farmhouse look, I’ve also been known to try out a whitewash or limewash finish – it’s amazing how a light coat of paint can completely transform the look of the wood.
I’ve had great success with using a mixture of beeswax and linseed oil to create a rich, velvety finish. It’s all about feeling the wood and knowing when to stop – I like to think of it as giving the shelves a gentle hug, rather than a full-on makeover. The result is a beautifully imperfect finish that adds warmth and character to any room.
Nailing It: 5 Essential Tips for DIY Floating Wood Shelves
- Measure Twice, Drill Once: Double-check your wall studs and shelf dimensions to ensure a sturdy, level fit
- Choose Your Wood Wisely: Select a type of wood that fits your desired aesthetic, from sleek and modern to rustic and reclaimed
- Sandbox Your Edges: Use a sanding block or orbital sander to smooth out any rough edges or splinters for a professional finish
- Hidden Bracket Heroes: Opt for high-quality, hidden brackets that won’t compromise the ‘floating’ look you’re going for
- Seal the Deal: Apply a durable wood sealant or finish to protect your shelves from spills, scratches, and the wear-and-tear of daily life
Key Takeaways for Crafting Killer Floating Shelves
By using reclaimed or rustic wood and incorporating hidden brackets, you can create a one-of-a-kind floating shelf that adds a touch of personality to any room
Experimenting with different finishing techniques, such as distressing or staining, can help you achieve a unique, modern farmhouse look that reflects your personal style
With a little creativity and some basic DIY skills, you can turn a few planks of wood into a stunning piece of functional art that showcases your favorite decorative items and adds a personal touch to your home decor
The Beauty of DIY
There’s something special about creating something with your own hands, like DIY floating wood shelves – it’s not just about the end result, but about the journey, the experimentation, and the pride of saying ‘I made this’
Tom Navarro
Conclusion
As we wrap up this DIY journey, let’s recap the key elements that make a floating wood shelf truly special. From selecting the perfect reclaimed wood to mastering rustic finishing techniques, every step of the process is an opportunity to infuse your space with personality. By following the steps outlined in this guide, you’ll be well on your way to crafting a one-of-a-kind shelving unit that adds a touch of warmth and character to any room.
So, don’t be afraid to get creative and think outside the box when it comes to your DIY projects. Remember, the most beautiful and functional pieces are often the ones that are made with love and a willingness to take risks. As you stand back to admire your handiwork, I hope you’ll feel a sense of pride and accomplishment, knowing that you’ve created something truly unique and special – a true reflection of your own personal style and flair.
Frequently Asked Questions
What type of wood is best suited for building DIY floating wood shelves?
I’m a huge fan of using reclaimed or salvaged wood for my floating shelves – it adds so much character. But if I had to pick a specific type, I’d say go for a hardwood like oak or maple. They’re sturdy, easy to work with, and can be stained to fit any style. Plus, they’ve got a natural beauty that’ll make your shelves stand out.
How do I ensure my floating shelves are level and securely attached to the wall?
Leveling your shelves is crucial – I use a trusty level and a pencil to mark the spot where my brackets will go. Then, I drill pilot holes and screw in my hidden brackets. Double-check everything with a level, and you’re golden! Securely attached and perfectly level, your shelves will be the envy of all your friends.
Can I use DIY floating wood shelves to display heavy items like books or decorative objects?
Absolutely, you can display heavy items on your DIY floating wood shelves, but make sure to use sturdy brackets and a solid wood construction to support the weight. I like to use hidden brackets for a clean look, and choose wood species like oak or maple for added strength.