I still remember the first time I tried to bottle and store hot sauce like a pro – it was a disaster. I had spent hours perfecting my recipe, but my lack of knowledge on how to properly bottle and store hot sauce led to a batch of soggy, flavorless sauce. It was a hard lesson to learn, but it sparked a passion in me to master the art of preserving my creations. Now, I’m excited to share my journey with you and show you that how to properly bottle and store hot sauce is not just about following rules, but about understanding the process and having fun with it.
In this article, I’ll take you through my personal approach to bottling and storing hot sauce, from preparing the perfect bottles to creating a storage system that will keep your sauces fresh for months. You’ll learn practical tips and honest advice on how to avoid common mistakes and create a hot sauce collection that will make your friends and family jealous. I’ll share my favorite techniques for how to properly bottle and store hot sauce, including my secret to keeping the flavors bold and vibrant. By the end of this guide, you’ll be equipped with the knowledge and confidence to bottle and store your own hot sauce like a pro.
Table of Contents
Guide Overview: What You'll Need
Total Time: 1 hour 15 minutes
Estimated Cost: $10 – $30
Difficulty Level: Easy
Tools Required
- Funnel (for easy pouring)
- Glass Bottles (with tight-fitting lids, 5 ounces or 150 milliliters each)
- Measuring Cups (for accurate measurements)
- Spoon or Pipette (for handling hot sauce)
- Labels and Marker (for labeling bottles)
Supplies & Materials
- Hot Sauce (homemade or store-bought)
- Bottle Caps (to seal glass bottles)
- Wax or Plastic Wrap (for sealing bottle tops)
- Cool Dark Place (for storing bottled hot sauce)
- Refrigerator (for storing hot sauce after opening)
Step-by-Step Instructions
- 1. First, let’s start by preparing our hot sauce for bottling – this means giving it a good stir and making sure it’s at room temperature. I like to think of this step as waking up the flavors, getting them ready to shine in their new bottles. To do this, simply take your hot sauce out of the fridge and let it sit for about 30 minutes to an hour before you start bottling.
- 2. Next, we need to sterilize our equipment, including the bottles, lids, and any utensils we’ll be using. I use a mixture of hot water and white vinegar to get the job done – it’s a trick I learned from my days as a craft cocktail bartender. Fill a large pot with water, add a cup of white vinegar, and bring it to a boil. Then, carefully submerge your equipment and let it soak for about 10-15 minutes.
- 3. While our equipment is sterilizing, let’s get our bottling station set up. This usually consists of a funnel, a ladle, and a few clean towels for any spills. I like to lay out all my ingredients and tools in a way that feels intuitive, so I can just focus on filling those bottles with delicious hot sauce. Make sure your workspace is clean and clear of any clutter.
- 4. Now it’s time to fill those bottles! Using your ladle, scoop the hot sauce into the funnel, and then pour it into the bottle. Leave about a quarter inch of space at the top – this will help prevent any overflow when you’re storing the bottles. I like to fill my bottles in a way that looks visually appealing, so don’t be afraid to get a little creative.
- 5. Once your bottles are filled, it’s time to seal them up. Use your sterilized lids and make sure they’re tightened securely, but not too tight – you don’t want to compromise the seal. I like to use a bit of twine or wax to add a personal touch to my bottles, but this is totally optional.
- 6. With our bottles sealed, let’s talk about storage. You’ll want to keep your hot sauce in a cool, dark place – like a pantry or cupboard. Avoid storing it near direct sunlight or heat sources, as this can affect the flavor and texture. I like to store my hot sauce in a temperature-controlled environment, but if you don’t have one, a cool cupboard will do.
- 7. Finally, let’s talk about labeling and dating our bottles. This is an important step, especially if you’re planning on sharing your hot sauce with friends or selling it at markets. Use a permanent marker to label each bottle with the date, ingredients, and any relevant instructions. I like to add a personal touch to my labels, like a hand-drawn illustration or a note about the inspiration behind the recipe.
Bottling Hot Sauce Mastery
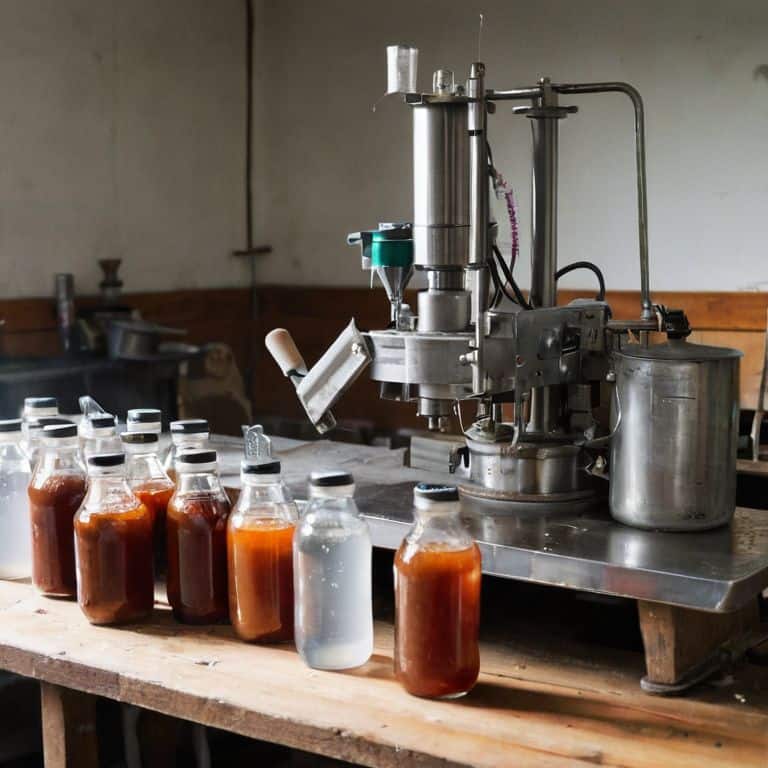
As I delve into the world of hot sauce bottling equipment, I’ve come to realize that the right tools can make all the difference. Investing in a good bottling machine can save you time and effort in the long run. When it comes to sterilization, I swear by old-school techniques like boiling and sanitizing with vinegar. It’s all about creating an environment where your hot sauce can thrive.
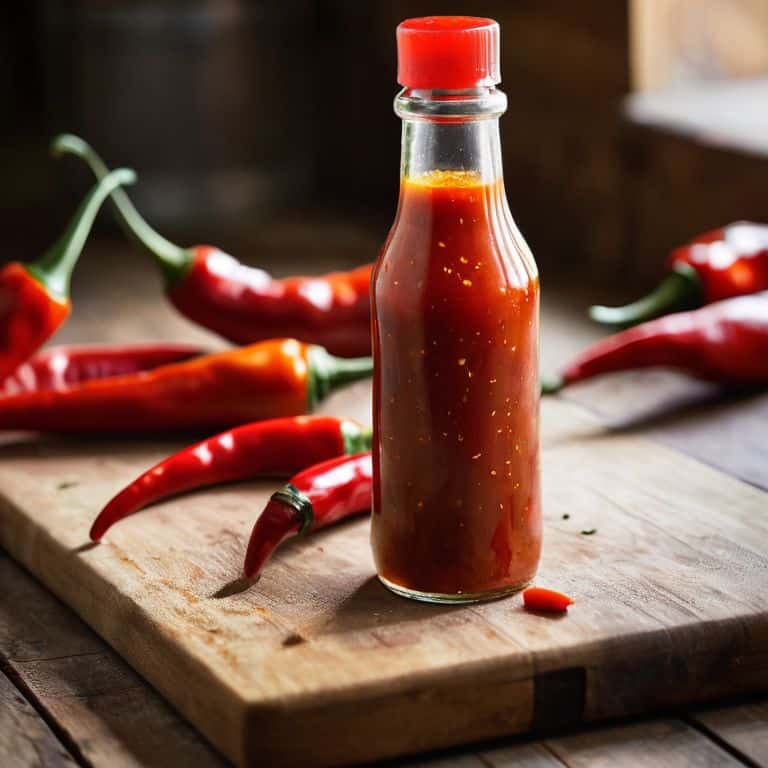
When formulating your hot sauce recipe, it’s essential to consider the type of bottle you’ll be using. I’m a firm believer in using glass bottles over plastic, as they preserve the flavor and aroma of the hot sauce better. Plus, they just look cooler on the shelf! As for labeling and branding, get creative and have fun with it. Your hot sauce is a reflection of your personality, so make sure the label reflects that.
In the world of commercial hot sauce production, there are regulations to follow, but don’t let that stifle your creativity. Focus on crafting a unique hot sauce recipe formulation that showcases your skills. With the right equipment, techniques, and attitude, you’ll be well on your way to creating a sauce that’ll make people take notice. Remember, it’s all about experimenting and finding what works best for you and your brand.
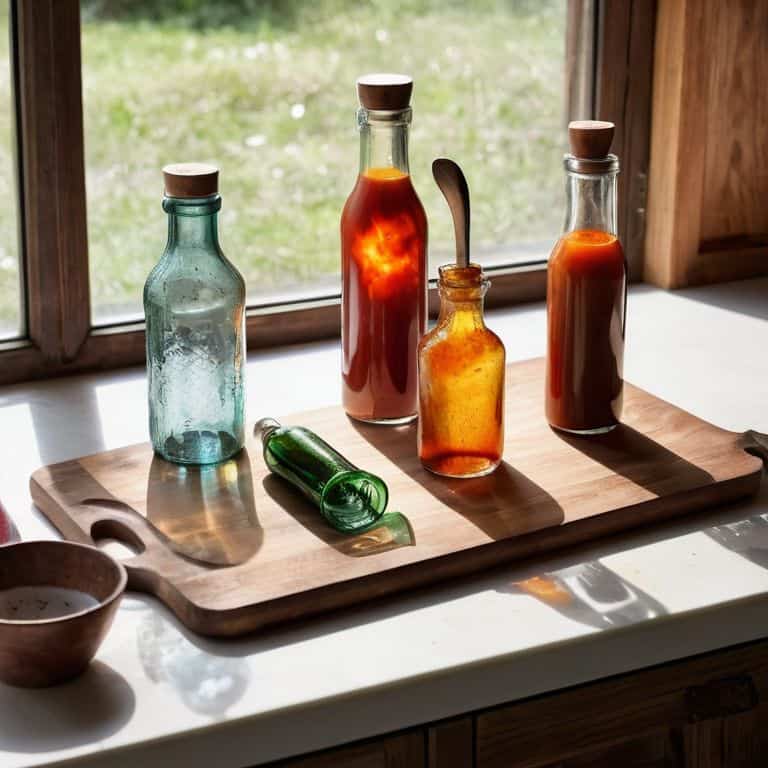
Glass vs Plastic Hot Sauce Storage Showdown
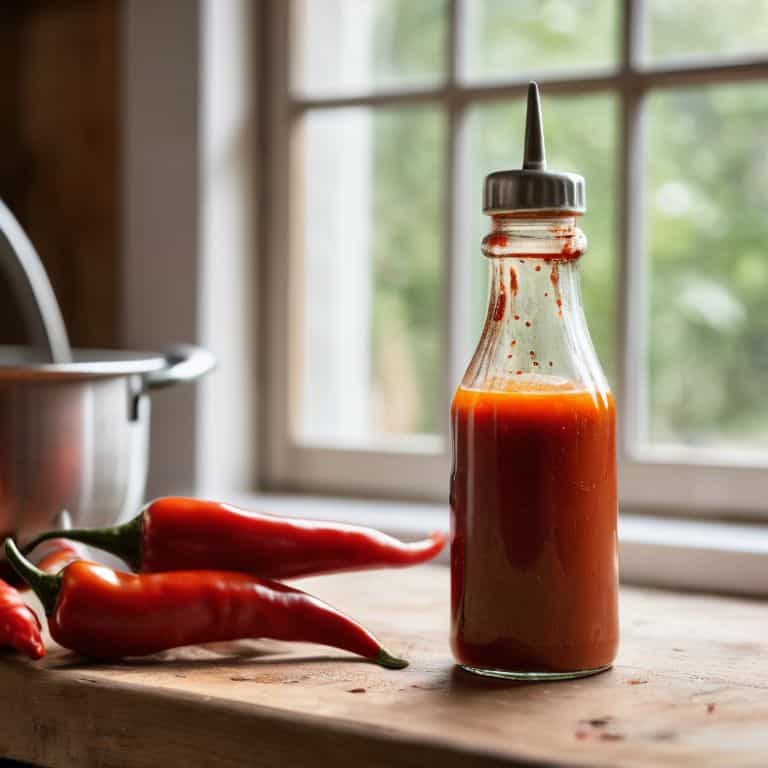
When it comes to storing my precious hot sauce creations, I’m a glass guy all the way. There’s just something about the way the light shines through that beautiful, spicy liquid that gets me excited. Plus, glass doesn’t impart any funky flavors or chemicals into my sauces. Plastic, on the other hand, can be a bit of a wild card – and I’m not about compromising on flavor.
That being said, I do get that plastic has its perks – it’s lightweight, inexpensive, and ridiculously convenient. If you’re a hot sauce newbie, plastic might be the way to go. Just be sure to choose a BPA-free option and keep it away from direct sunlight. For me, though, glass will always be the gold standard. There’s just something special about cracking open a freshly sealed glass bottle and unleashing that amazing aroma.
Sterilizing Hot Sauce Bottling Equipment
To ensure our hot sauce is bottled with the utmost care, we need to sterilize our equipment. I like to think of this step as setting the stage for a perfect pour. Fill a large pot with water, add a tablespoon of white vinegar, and bring it to a rolling boil. Submerge your bottles, lids, and utensils in the boiling water for about 10 minutes to kill off any bacteria or wild yeast that might be lurking.
I measure the time by feel, but you can use a timer if you’re more comfortable with that. Once everything is sterilized, use a clean, dry towel to pat dry the equipment. Now we’re ready to fill those bottles with our precious hot sauce, and I’ll share my secret to getting the perfect seal in the next step.
Saucy Secrets: 5 Key Tips for Bottling and Storing Hot Sauce Like a Pro
- Get Your Hands on the Right Bottles: When it comes to hot sauce, glass is always the way to go – it’s non-reactive, so your sauce won’t pick up any funky flavors
- Cleanliness is Next to Sauciness: Sterilize those bottles and utensils before filling them up with your precious hot sauce to avoid any contamination or spoilage
- Leave Some Room to Breathe: Don’t overfill your bottles, leave about 1/4 inch of headspace to allow for expansion and contraction as the sauce cools and heats up
- Label It Like You Mean It: Keep track of your hot sauce batches by labeling the bottles with the date, ingredients, and any other relevant details – it’s also a great way to get creative with your labeling skills
- Store It Like a Pro: Keep your hot sauce bottles in a cool, dark place, away from direct sunlight and heat sources – this will help preserve the flavors and heat level of your sauce, and keep it fresh for months to come
Saucy Success: 3 Key Takeaways
Always sterilize your equipment before bottling hot sauce to prevent contamination and spoilage – it’s a simple step that makes a huge difference in the quality of your final product
Choose the right storage material for your hot sauce: glass is generally the best option due to its non-porous nature and resistance to chemical reactions, but there are cases where plastic might be more practical
Experiment and get creative with your hot sauce recipes, and don’t be afraid to try new ingredients and flavor combinations – the art of making hot sauce is all about innovation and having fun in the kitchen
The Art of Preservation
The secret to bottling and storing hot sauce like a pro isn’t about following a recipe, it’s about understanding the rhythm of the ingredients and the dance of the flavors – it’s about letting the sauce breathe, live, and evolve in its new glass home.
Tom Navarro
Savoring the Fruits of Your Labor
As we wrap up this journey into the world of hot sauce bottling and storage, remember that sterilization and the right choice between glass and plastic containers are crucial. You’ve learned how to prepare your equipment, choose the perfect bottles, and store your hot sauce masterpieces to preserve their flavor and aroma. Whether you’re a seasoned artisan or a curious beginner, the process of creating something with your own hands is incredibly rewarding. Don’t be afraid to experiment and try new flavors – after all, that’s what makes this journey so exciting.
Now that you’ve got the basics down, it’s time to let your imagination run wild. Think about all the delicious possibilities waiting for you in the world of hot sauce creation. From spicy habanero blends to smoky chipotle infusions, the options are endless. So go ahead, get creative, and remember that the most important ingredient in any recipe is the love and care you put into it. Happy bottling, and I’ll see you in the next post, where we’ll dive into the wonderful world of fermentation!
Frequently Asked Questions
What's the best way to prevent contamination when filling hot sauce bottles?
Ah, contamination – the hot sauce maker’s arch-nemesis! To keep those pesky microbes at bay, I swear by a good ol’ fashioned sterilization session. Fill a large pot with water, toss in your bottles, lids, and utensils, and bring it all to a rolling boil for 10-15 minutes. Then, let everything cool and dry before filling – it’s a simple trick, but trust me, it’s a game-changer!
Can I reuse old hot sauce bottles or do I need to get new ones?
Absolutely, reuse those old hot sauce bottles! Just make sure to give ’em a good scrub and sterilize them first. I like to run mine through the dishwasher or give ’em a soak in hot water and vinegar. Clean and ready for their new life filled with your homemade hot sauce goodness!
How long can I store homemade hot sauce and what are the signs it's gone bad?
Ah, the million-dollar question! I’ve stored my homemade hot sauce for up to 6 months in the fridge, but it’s all about checking for signs of spoilage. If it’s developed an off smell, slimy texture, or mold, it’s time to say goodbye. Trust your instincts, and remember, if in doubt, throw it out!