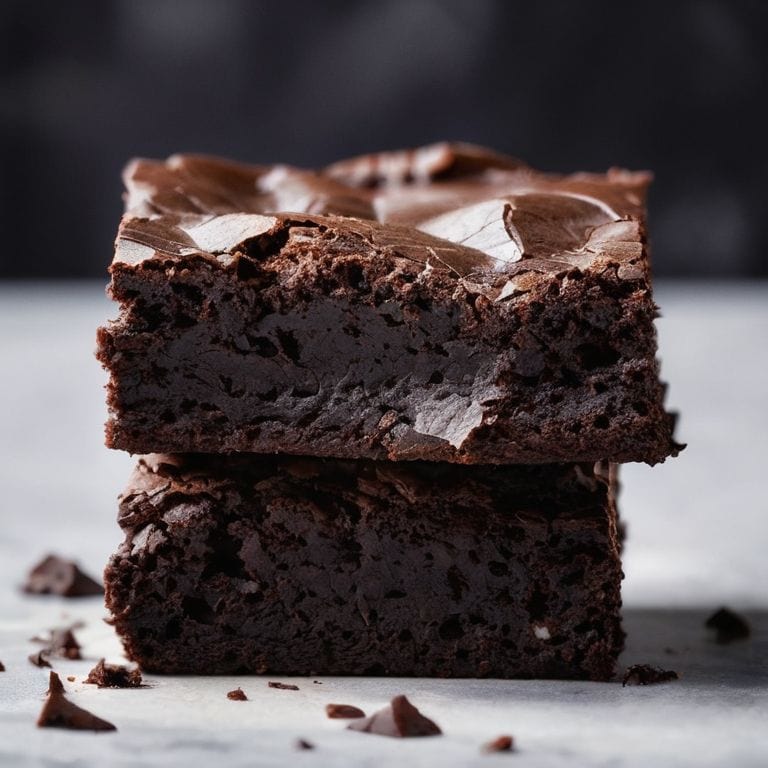
I still remember the first time I mastered the art of how to get a crinkly top on brownies. It was a game-changer for my baking, and I’ve been obsessed with sharing this secret with fellow home cooks ever since. The myth that you need some kind of special ingredient or complicated technique to achieve that perfect, crinkly crust is just not true. In fact, it’s often the simplest recipes that yield the most impressive results. I’ve spent years perfecting my brownie recipe, and I’m excited to share my tips and tricks with you.
In this article, I’ll cut through the noise and give you the honest, no-fuss advice you need to achieve a crinkly top on your brownies every time. You’ll learn how to choose the right ingredients, mix and bake your brownies to perfection, and avoid common mistakes that can leave you with a lackluster crust. Whether you’re a seasoned baker or just starting out, my goal is to empower you with the knowledge and confidence to create delicious, can’t-resist brownies that are sure to impress. So, let’s get started and dive into the world of perfect, crinkly-topped brownies!
Table of Contents
Guide Overview: What You'll Need
Total Time: 45 minutes to 1 hour
Estimated Cost: $10 – $20
Difficulty Level: Easy
Tools Required
- 9 inches square baking pan (preferably with a non-stick coating)
- Whisk
- Rubber spatula
- Oven thermometer (for accurate temperature control)
Supplies & Materials
- All-purpose flour
- Granulated sugar
- Unsweetened cocoa powder
- Baking powder
- Salt
- Large eggs
- Vegetable oil
- Vanilla extract
Step-by-Step Instructions
- 1. First, let’s start with the basics: to get that perfect crinkly top, you’ll need to understand the importance of sugar in your brownie recipe. I like to use a combination of white and brown sugar to get a rich, deep flavor that complements the crinkly texture we’re aiming for. Make sure to use high-quality sugar that’s fresh and not lumpy, as this can affect the final texture of your brownies.
- 2. Next, preheat your oven to 350°F (180°C) and prepare your baking pan. I swear by my trusty 8-inch square baking pan, which I’ve used for years to make perfect brownies. Make sure to grease the pan with some butter or cooking spray and line it with parchment paper, leaving some overhang for easy removal. This will help you get your brownies out of the pan without any trouble.
- 3. Now it’s time to mix the batter, and this is where things can get a bit tricky. I like to use a combination of melted chocolate and melted butter to give my brownies a fudgy, intense flavor. Melt these ingredients in a double boiler or in the microwave in 30-second increments, stirring between each interval until smooth. Once melted, let the mixture cool slightly before adding the sugars, eggs, and flour.
- 4. With your wet and dry ingredients ready, it’s time to combine them gently. I like to use a rubber spatula to fold the ingredients together, being careful not to overmix. This is crucial, as overmixing can lead to tough, dense brownies that lack the crinkly top we’re aiming for. Stop mixing as soon as the ingredients come together in a smooth, glossy batter.
- 5. Pour the batter into your prepared baking pan and smooth out the top. I like to use a offset spatula to get the batter evenly distributed and smooth out any air pockets. This will help your brownies bake evenly and get that perfect crinkly top. Make sure to leave a small border around the edges, as the batter will spread during baking.
- 6. Now it’s time to bake your brownies, and this is where patience comes in. Bake the brownies for 25-30 minutes, or until a toothpick inserted into the center comes out with a few moist crumbs attached. Avoid overbaking, as this can cause the brownies to dry out and lose their crinkly top. Keep an eye on them after 20 minutes, as the baking time may vary depending on your oven.
- 7. Once the brownies are done, remove them from the oven and let them cool completely in the pan. This is the hardest part – waiting for them to cool! But trust me, it’s worth it. As the brownies cool, the top will set and become crinkly, giving you that perfect texture we’ve been aiming for. Once cooled, remove the brownies from the pan and cut them into squares, ready to be devoured.
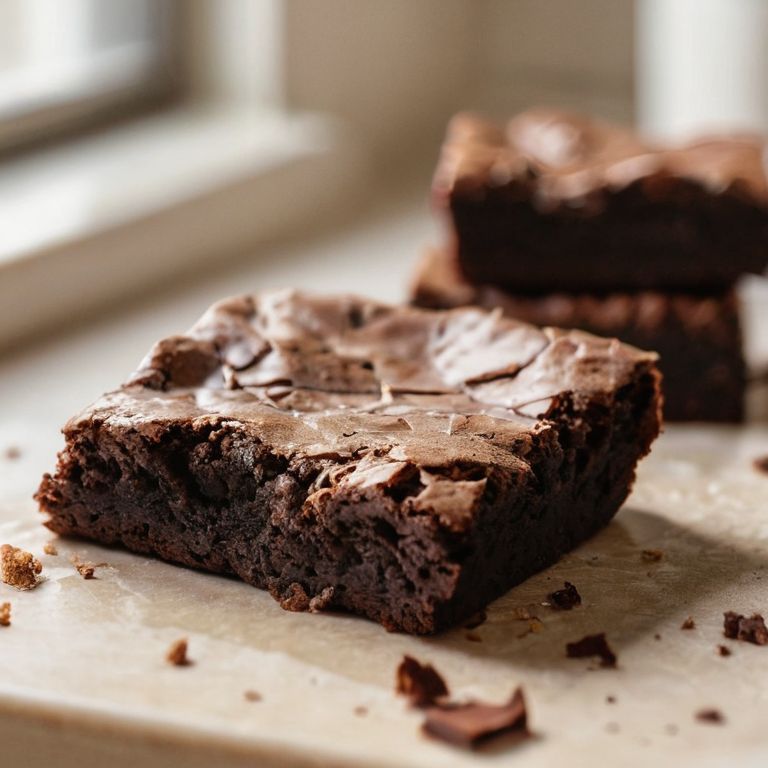
Crinkly Brownie Secrets
As I’ve experimented with various brownie baking techniques, I’ve found that the key to a crinkly top lies in the balance of sugar content and egg washing. A higher sugar content can help create a crisper, more caramelized crust, while a gentle egg wash can add a touch of shiny crust magic. I’ve also discovered that the type of chocolate used can greatly impact the final texture and flavor of the brownies. For a truly decadent treat, try using a high-quality dark chocolate with a high cocoa content.
When it comes to preparing the brownie pan, I swear by a simple yet effective method: lining the pan with parchment paper and giving it a light coating of butter. This ensures that the brownies release easily and helps to create a smooth, even surface. Additionally, I’ve found that using a combination of all-purpose flour and cornstarch can help to achieve a tender crumb and a crinkly top.
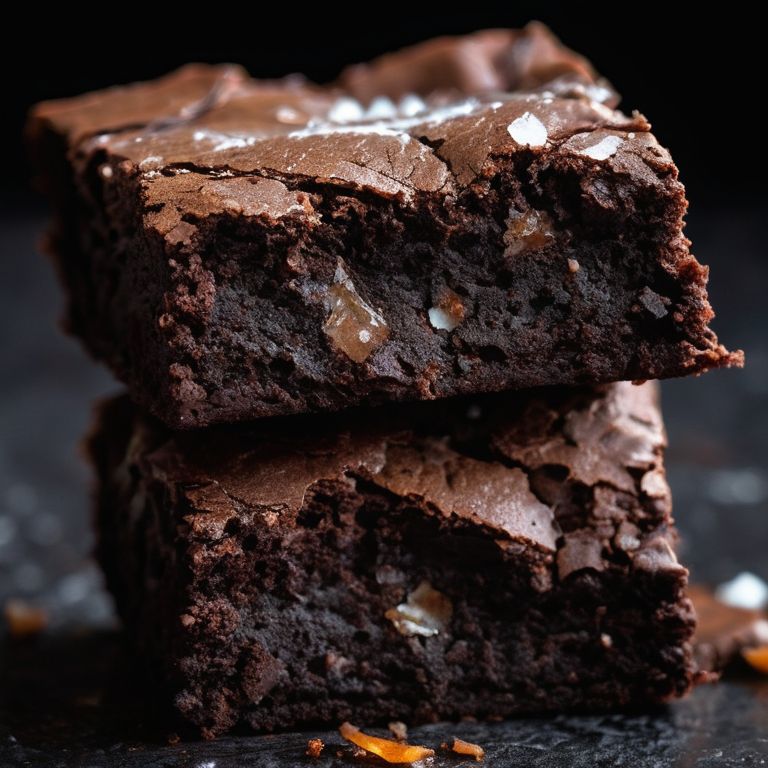
For those looking to mix things up, I recommend experimenting with different chocolate brownie recipe variations. Try adding a pinch of flaky sea salt or a handful of chopped nuts to create a unique flavor profile. Whatever variation you choose, remember that the most important ingredient is love – and a willingness to get a little messy in the kitchen. With practice and patience, you’ll be whipping up crinkly-topped brownies like a pro in no time, and enjoying the perfect sugar content for brownie texture.
Brownie Baking Techniques Uncovered
When it comes to achieving that perfect crinkly top, it’s all about mastering the right techniques. For me, it’s all about the sugar content and how it caramelizes during baking. I like to use a combination of white and brown sugar to get that perfect balance of flavors and textures. Another crucial factor is not overmixing the batter – you want to leave a bit of texture to allow for that beautiful crack to form.
By paying attention to these details and trusting the process, you’ll be on your way to baking brownies with a crinkly top that’s simply irresistible. Remember, practice makes perfect, so don’t be discouraged if it takes a few tries to get it just right – the end result is well worth the effort!
Sugar Content for Perfect Texture
When it comes to achieving that perfect crinkly top, the sugar content in your brownies plays a significant role. You see, sugar doesn’t just add sweetness – it also helps to create a crunchy, caramelized crust on top. I like to think of it as a little kiss of magic. To get it just right, I use a combination of white and brown sugar in my recipe. The white sugar helps to create a crispy texture, while the brown sugar adds a deeper, richer flavor.
By balancing the sugar content, you’ll be amazed at how it enhances the overall texture of your brownies. It’s all about finding that sweet spot – not too little, not too much. Trust me, it’s worth getting right, and with a little practice, you’ll be a pro at crafting brownies with the perfect crinkly top.
My Top 5 Secrets to a Crinkly, Irresistible Brownie Top
- Use room temperature eggs for a lighter, fluffier batter that’s more likely to crack and form a crinkly top
- Don’t overmix the batter – stop mixing as soon as the ingredients come together, or you’ll end up with a dense, flat brownie
- Choose the right sugar – I swear by a combination of white and brown sugar for the perfect balance of sweetness and texture
- Resist the temptation to open the oven door – letting the brownies cook undisturbed will help them develop that perfect, crinkly crust
- Don’t overbake – take the brownies out of the oven when they’re still slightly gooey in the center, then let them cool completely in the pan for the best results
My Top 3 Takeaways for a Perfectly Crinkly Brownie Top
I’ve found that using a combination of white and brown sugar is key to achieving that perfect crinkly top – the molasses in the brown sugar adds a depth of flavor and helps to create a crunchy, caramelized crust
Don’t overmix your batter, darling! Overmixing can lead to a dense, flat brownie that’s more like a brick than a delicious treat – stop mixing as soon as the ingredients come together in a smooth, glossy batter
Resist the temptation to open the oven door until your brownies have been baking for at least 25 minutes – you want the edges to be set and the center to be just slightly jiggly, which will help the top to crack and form that gorgeous, crinkly crust
The Secret to Perfection
A crinkly top on brownies is not just about looks – it’s about the perfect harmony of texture and flavor, and it all starts with the right technique and a willingness to get a little imperfect in the kitchen!
Sophie Carter
The Crinkly Top Secret's Out
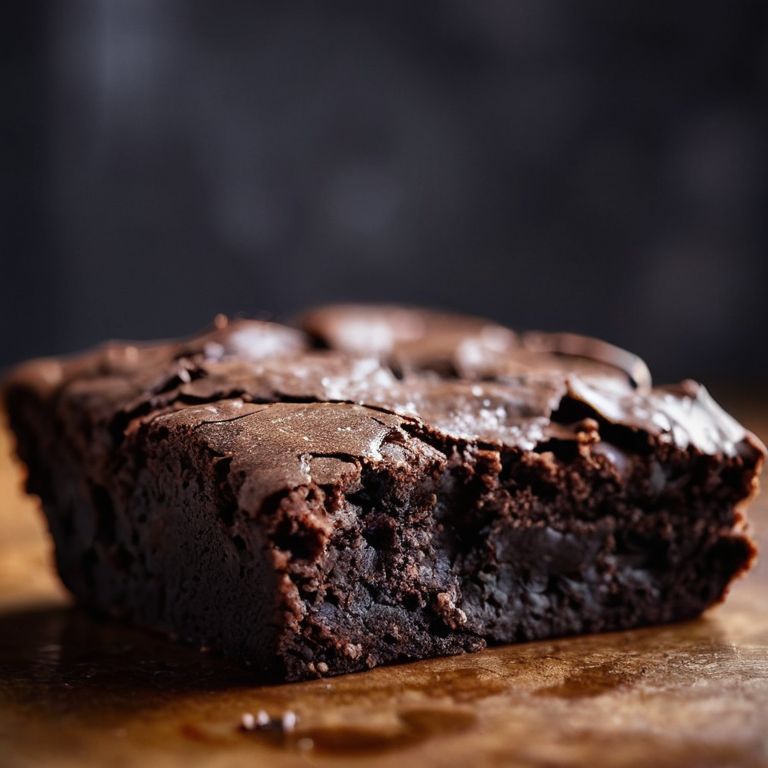
As we’ve explored the world of crinkly-topped brownies, I hope you’ve picked up on a few game-changing techniques to elevate your baking. From the initial step-by-step guide to our deep dive into Brownie Baking Techniques Uncovered, it’s clear that achieving that perfect crack is within reach. We’ve discussed the importance of Sugar Content for Perfect Texture and how it plays a crucial role in getting that crinkly top just right. By mastering these elements, you’ll be well on your way to creating brownies that are not only delicious but also visually stunning.
So, the next time you’re in the kitchen, remember that the pursuit of the perfect crinkly top is all about embracing the process and having fun. Don’t be too hard on yourself if it takes a few tries to get it just right – the journey is part of the joy. With practice and patience, you’ll be baking brownies that will impress friends and family alike, and the sense of satisfaction you’ll get from seeing that perfectly crinkled top will be all the reward you need.
Frequently Asked Questions
What type of sugar is best to use for achieving a crinkly top on brownies?
For that perfect crinkly top, I swear by white granulated sugar. It caramelizes beautifully, creating a crunchy, sweet crust that gives way to fudgy goodness underneath. Trust me, it’s a game-changer – I’ve tried other types, but granulated sugar always yields the best results!
Can I still get a crinkly top if I don't have a specific type of pan?
Don’t worry, the type of pan isn’t a deal-breaker for a crinkly top! While a light-colored metal pan is ideal, you can still achieve that perfect crack with a dark pan or even a glass dish. Just keep an eye on the baking time and temperature, as they might vary slightly. Trust me, it’s all about the ratio of sugar to flour and that perfect baking time!
How do I know if my brownies are done baking and will have the perfect crinkly top?
To check if your brownies are done, look for a set edge and a slightly jiggly center. A toothpick inserted 2 inches from the pan’s edge should come out with a few moist crumbs. And, of course, that gorgeous crinkly top should be, well, crinkly! If it’s still shiny, give it a few more minutes.