I still remember the first time I tried my hand at the basics of salt curing for meat preservation. I was a young bartender, experimenting with infusions and bitters, and I stumbled upon an old recipe for salt-cured bacon. The process was messy, the results were unpredictable, but the flavor was out of this world. It sparked a passion in me to dive deeper into the world of preservation, and I soon found myself obsessed with the idea that anyone can create amazing, tender meats with just a little creativity and patience.
As someone who’s spent years perfecting their craft, I’m excited to share my knowledge with you. In this article, I’ll walk you through the honest, no-hype basics of salt curing for meat preservation, covering everything from the essential tools and ingredients to the simple, yet crucial, techniques that will take your meats from bland to grand. You’ll learn how to unlock the full potential of your ingredients, and how to create delicious, salt-cured meats that are truly yours. Whether you’re a seasoned pro or a curious beginner, I promise you’ll find something valuable in these pages, and that by the end of it, you’ll be eager to get your hands dirty and start curing your own meats.
Table of Contents
Guide Overview: What You'll Need

Total Time: several days to several weeks
Estimated Cost: $20 – $100
Difficulty Level: Intermediate
Tools Required
- Meat Grinder (optional)
- Mixing Bowls (stainless steel or glass)
- Cutting Board (plastic, wood, or bamboo)
- Knife (sharp, for trimming and cutting meat)
- Scale (accurate, for measuring ingredients)
- Curing Container (food-grade, with a lid, at least 6 inches deep)
Supplies & Materials
- Curing Salt (also known as pink salt or Prague powder)
- Kosher Salt (or other non-iodized salt)
- Brown Sugar (optional, for some recipes)
- Pink Curing Salt (contains nitrites, for traditional curing)
- Meat (pork, beef, or other, suitable for curing)
- Cheesecloth (or paper towels, for drying the cured meat)
- Twine (for hanging the cured meat, if necessary)
Step-by-Step Instructions
- 1. First, let’s start with the basics of salt curing, which involves creating a mixture of salt, sugar, and other ingredients to draw out moisture from the meat and prevent bacterial growth. To begin, you’ll need to gather your ingredients, including a high-quality salt, brown sugar, pink curing salt (if you’re using it), and any other spices or herbs you want to add for flavor. I like to think of this step as the foundation of the entire process, where you get to experiment with different flavor combinations.
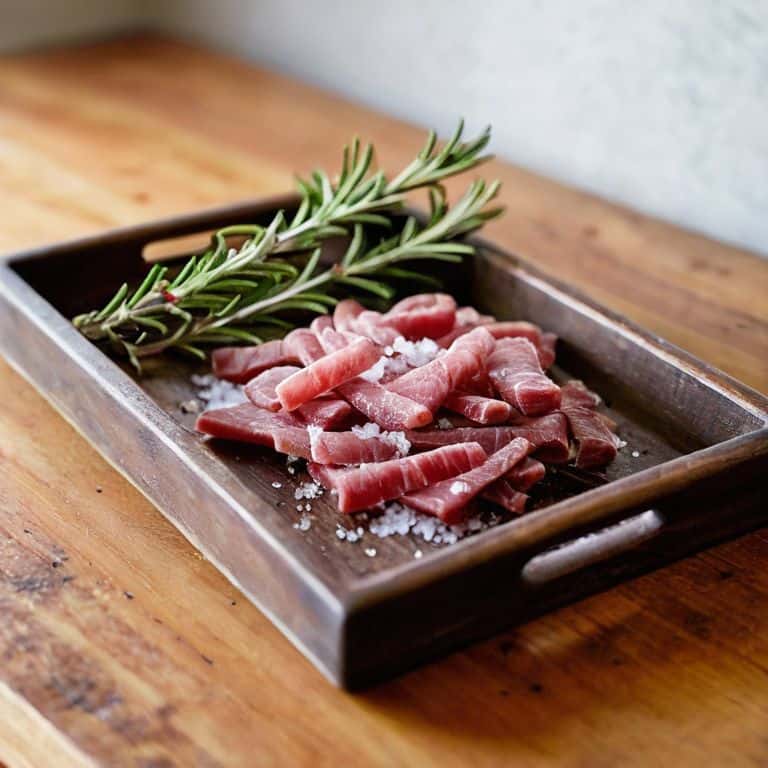
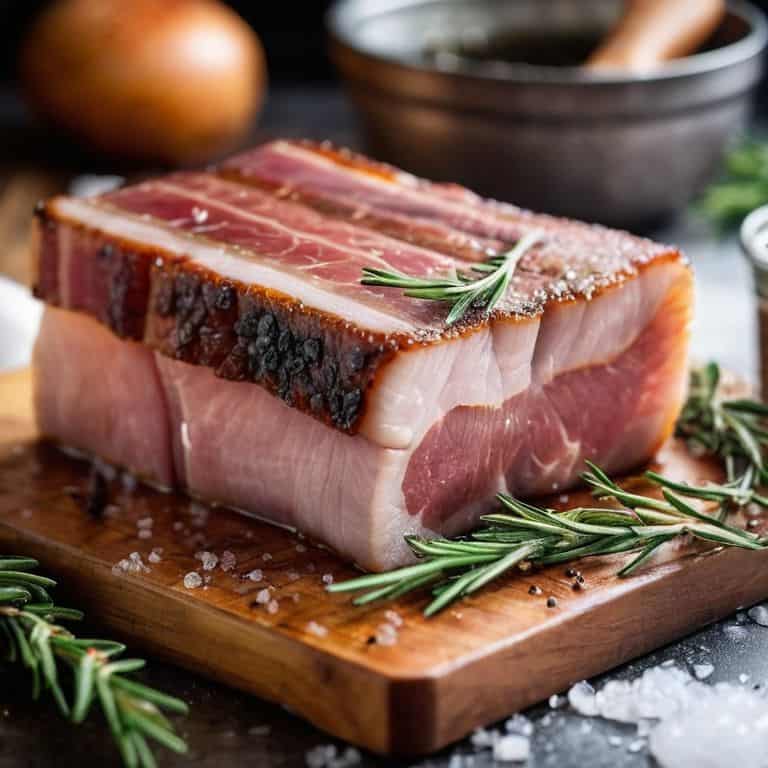
- 2. Next, you’ll need to prepare your meat for curing. This typically involves trimming any excess fat or sinew, and then cutting the meat into a uniform size and shape. For example, if you’re curing bacon, you’ll want to cut the pork belly into thick slabs. I find that working with fresh, locally sourced ingredients makes all the difference in the end result, so try to find a butcher or farmer who can provide you with high-quality meat.
- 3. Now it’s time to create your cure mixture. In a small bowl, mix together your salt, sugar, and any other ingredients you’re using. I like to use a combination of coarse black pepper and coriander seeds to add depth and warmth to my cures. Be sure to mix the ingredients thoroughly, until they’re well combined and there are no lumps. You can also adjust the ratio of salt to sugar to suit your personal taste preferences.
- 4. With your cure mixture ready, it’s time to apply it to the meat. You can do this by rubbing the mixture all over the surface of the meat, making sure to coat it evenly. Be generous with the cure – you want to make sure the meat is fully coated, but not so much that it’s pooling with excess mixture. I find that using my hands to apply the cure helps me get a sense of the texture and consistency of the meat.
- 5. Once the meat is coated with the cure, it’s time to let it do its magic. Place the meat on a wire rack set over a rimmed baking sheet or a tray, and let it cure in the refrigerator for several days or weeks, depending on the type of meat and the level of curing you’re aiming for. It’s essential to keep the meat at a consistent refrigerator temperature to ensure safe and effective curing.
- 6. As the meat cures, you’ll need to massage it and turn it every day or two to ensure that the cure is evenly distributed. This is also a good opportunity to check on the texture and color of the meat, and to make any adjustments to the cure as needed. You may find that the meat starts to develop a sticky, tacky texture – this is a sign that the cure is working its magic.
- 7. After the curing process is complete, it’s time to rinse the meat and prepare it for cooking or storing. You can do this by rinsing the meat under cold running water to remove excess cure, and then patting it dry with paper towels. From here, you can cook the meat immediately, or store it in the refrigerator or freezer for later use. I like to experiment with different cooking methods, such as smoking or grilling, to bring out the unique flavors of the cured meat.
Basics of Salt Curing
As I delve deeper into the world of salt curing, I’ve come to realize that understanding the difference between dry curing vs wet curing is crucial for achieving the perfect balance of flavors. Dry curing involves covering the meat in a dry mixture of salt and other ingredients, while wet curing uses a brine solution to cure the meat. Both methods have their own unique advantages, and it’s essential to choose the right one depending on the type of meat you’re working with.
When it comes to meat curing temperature control, it’s vital to maintain a consistent temperature to ensure the curing process occurs safely and efficiently. I’ve found that a temperature range of 36°F to 40°F is ideal for most meats. It’s also important to note that curing time for different meats can vary greatly, so be sure to research the specific guidelines for the type of meat you’re working with.
For salt curing for beginners, I always recommend starting with a simple recipe and using high-quality ingredients, such as pink salt. This will help you develop a sense of the process and allow you to experiment with different flavors and techniques as you become more comfortable. By following these tips and practicing patience, you’ll be well on your way to creating delicious, cured meats that are sure to impress.
Dry vs Wet Curing Secrets
When it comes to salt curing, I’m often asked about the difference between dry and wet curing. For me, it’s all about the texture and flavor I want to achieve. Dry curing involves rubbing the meat with a blend of salt, sugar, and spices, then letting it sit to allow the seasonings to penetrate. This method yields a beautifully tender, almost velvety texture. On the other hand, wet curing uses a brine solution to cure the meat, resulting in a more moist and succulent final product.
I love experimenting with both methods to see what works best for each type of meat. Dry curing is perfect for lean cuts like prosciutto or pancetta, while wet curing is better suited for fattier cuts like bacon or ham. By understanding the basics of dry and wet curing, you can unlock a world of flavors and textures in your meat preservation journey.
Temperature Control Magic
Now that we’ve got our curing mix and method down, let’s talk about the often-overlooked hero of salt curing: temperature control. I like to think of it as the magic that happens when you find that sweet spot between too hot and too cold. For me, the ideal temperature for curing is between 36°F and 40°F – anything above that and you risk spoilage, anything below and the curing process slows down to a crawl. I’ve found that a consistent, cool environment is key to developing that deep, complex flavor we’re all after.
Salt Curing Secrets: 5 Tips to Get You Started

- Always use a fresh, high-quality salt that’s free of additives – it makes a world of difference in the flavor and texture of your cured meats
- Experiment with different blends of spices and herbs to create unique flavor profiles that reflect your personal taste
- Don’t be afraid to get creative with the types of meat you cure – from classic bacon to more adventurous cuts like venison or lamb
- Keep your curing environment consistently cool and well-ventilated to prevent contamination and ensure even curing
- Trust your instincts and don’t overthink it – with a little practice, you’ll develop a sense of when your meats are perfectly cured, and that’s when the magic happens
Salt Curing Essentials to Remember
Always keep your curing environment between 36°F and 40°F to prevent bacterial growth and ensure even curing
Whether you choose dry or wet curing, the key is to be consistent and patient, as the process can take anywhere from a few days to several weeks
Experiment with different spice blends and ingredients to create unique flavor profiles, but remember to record your recipes so you can replicate your favorites
The Heart of Salt Curing
Salt curing isn’t just about preserving meat, it’s about unleashing the raw potential of each cut, coaxing out flavors that are both deeply primal and profoundly personal – it’s a journey of discovery, not a formula to follow.
Tom Navarro
Conclusion: You're Now a Salt Curing Master
As we wrap up our journey into the world of salt curing, remember that the key to unlocking truly exceptional flavors lies in understanding the basics of salt curing. We’ve covered the essential steps, from preparing your meat to applying the perfect blend of salts and spices, and we’ve delved into the crucial differences between dry and wet curing. By mastering temperature control, you’ve gained the power to coax out the deepest, richest flavors from your ingredients. Whether you’re a seasoned pro or just starting out, the art of salt curing is all about experimentation and finding what works best for you.
So, don’t be afraid to get creative and try new things – the possibilities are endless, and the most incredible flavors often come from unexpected places. As you continue on your salt curing journey, remember that it’s not just about preserving meat; it’s about crafting a connection to your food, to the people you share it with, and to the tradition of artisanal food production. With every delicious, homemade batch, you’re not only nourishing your body, but also nourishing a sense of community and pride in the food you create.
Frequently Asked Questions
What are the most common mistakes to avoid when salt curing meat for the first time?
Don’t over-salt, my friend! And please, don’t rush the process. Two common mistakes I see are using too much salt, which can lead to inedible meat, and not giving the cure enough time to work its magic. Also, keep an eye on that temperature – you don’t want it too low or too high, or you’ll risk spoilage or uneven curing.
How do I know if my salt cured meat is properly preserved and safe to eat?
To check if your salt cured meat is ready, slice into it – it should be firm, with a nice sheen. If it’s still soft or squishy, give it more time. Trust your senses, too: a properly cured piece will have a deep, rich aroma and a flavor that’s both savory and slightly sweet. Your nose and taste buds are your best judges!
Can I use different types of salt for curing, or is there a specific type that's best for the job?
Ah, salt selection – one of my favorite topics! While you can experiment with various types, I swear by flaky sea salt or kosher salt for curing. They provide the perfect balance of flavor and texture. Feel free to get creative, but these two are my go-tos for tender, juicy results.