I still remember the first time I attempted to make hand-rolled pasta shapes – it was a disaster. I had visions of perfectly formed tortellini and fettuccine, but what I got were misshapen blobs that resembled nothing I’d ever seen in an Italian restaurant. The problem was, I was following a recipe to the letter, without any real understanding of the process. I’ve since learned that how to make hand-rolled pasta shapes is not just about following a formula, but about feeling the dough and understanding its texture.
As someone who’s passionate about getting their hands dirty and creating something from scratch, I want to share my journey with you. In this article, I’ll show you that making hand-rolled pasta shapes is not only achievable, but also incredibly rewarding. You’ll learn the importance of using high-quality ingredients, how to develop the right texture, and some tips and tricks for shaping your pasta into perfect forms. My goal is to empower you with the knowledge and confidence to create your own delicious, handmade pasta dishes, and to make the process of how to make hand-rolled pasta shapes a fun and enjoyable experience.
Table of Contents
Guide Overview: What You'll Need
Total Time: 1 hour 45 minutes
Estimated Cost: $10 – $20
Difficulty Level: Intermediate
Tools Required
- Pasta Machine (manual or electric)
- Rolling Pin
- Sharp Knife (for cutting pasta shapes)
- Colander (for drying pasta)
- Clean Surface (for rolling and shaping pasta, approximately 6 feet in length)
Supplies & Materials
- All-Purpose Flour (2 cups)
- Large Eggs (2 eggs)
- Salt (1/4 teaspoon)
- Water (as needed, approximately 1 cup)
Step-by-Step Instructions
- 1. First, let’s start by getting our ingredients ready. We’ll need all-purpose flour, eggs, and a pinch of salt. I like to use a mix of “00” flour and all-purpose flour for a more tender noodle, but feel free to experiment with different types of flour to find your favorite. Make sure your eggs are fresh and your flour is well-sifted.
- 2. Next, we’ll create our pasta dough by combining 1 cup of flour, 1 large egg, and a pinch of salt on a clean surface. I like to use a marble countertop for this, as it helps to keep the dough cool, but any clean surface will do. Use a fork to gently incorporate the ingredients, then switch to using your hands to knead the dough. You’ll know it’s ready when it becomes smooth and elastic.
- 3. Now it’s time to rest the dough. This is an important step, as it allows the gluten to relax and makes the dough easier to roll out. Wrap the dough in plastic wrap or a damp cloth and let it sit at room temperature for at least 30 minutes. I like to use this time to prep my pasta-making station, which includes getting out my pasta machine, a sharp knife, and a clean surface for shaping.
- 4. After the dough has rested, it’s time to roll it out. I use a pasta machine to get my dough to the right thickness, but you can also use a rolling pin if you don’t have a machine. Start at a thick setting and gradually decrease the thickness as you roll out the dough. You’re aiming for a thickness of about 1/16 inch.
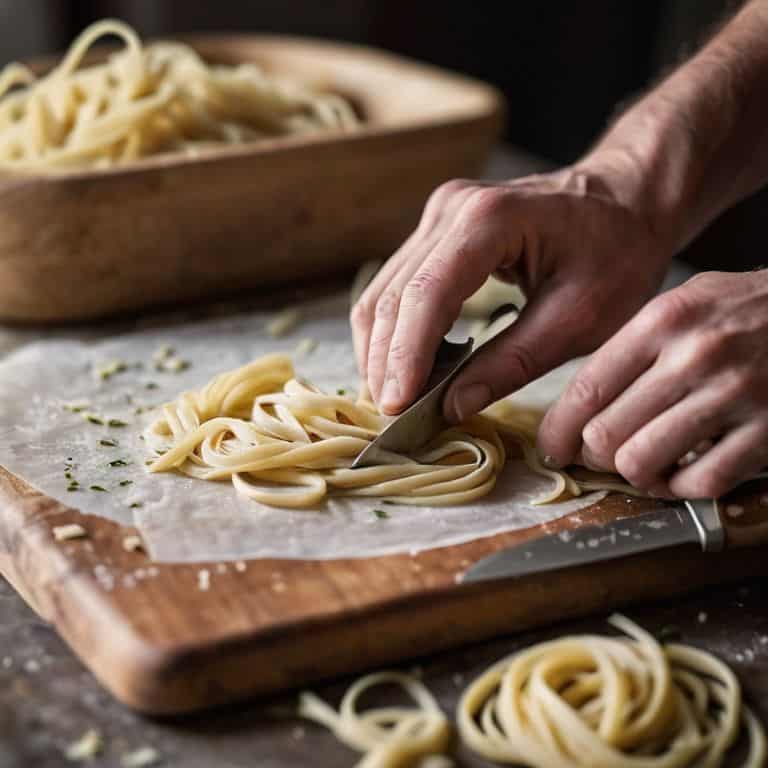
- 5. Once your dough is rolled out, it’s time to start cutting your pasta shapes. I like to use a sharp knife or a pasta cutter to get clean, precise cuts. You can cut your pasta into any shape you like, from traditional spaghetti to more complex shapes like farfalle or tortellini. Just remember to keep your cuts consistent, so your pasta cooks evenly.
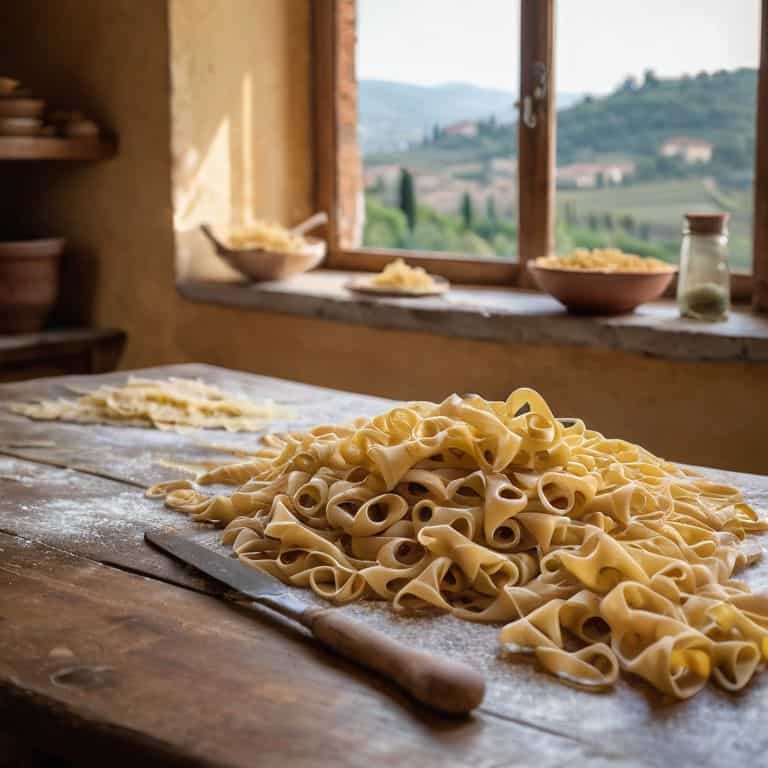
- 6. As you cut your pasta, be sure to dust it with flour to prevent the shapes from sticking together. You can also use a pasta drying rack to help your noodles dry and prevent them from becoming tangled. I like to use a simple wooden rack, but you can also use a clean towel or a piece of parchment paper.
- 7. Finally, it’s time to cook your pasta. Bring a large pot of salted water to a boil and gently add your pasta shapes. Cook for 2-5 minutes, or until your pasta is al dente, then drain and serve with your favorite sauce. I like to use a simple tomato sauce or a creamy pesto, but the possibilities are endless. Just remember to have fun and experiment with different flavors and ingredients to find your favorite combinations.
Hand Rolling Pasta Fun
As I dive into the world of traditional Italian pasta making, I’m reminded that the fun lies in experimentation. Pasta shape variation techniques can make all the difference in creating unique and delicious dishes. I love trying out new no machine pasta cutting methods, like using a sharp knife or a pasta cutter, to achieve different textures and shapes.
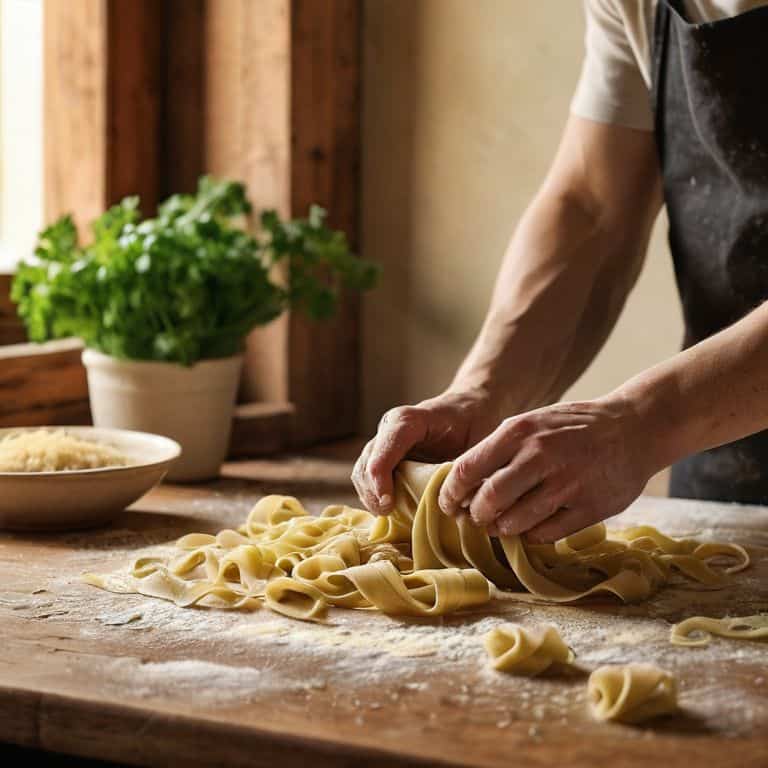
One of the most rewarding aspects of hand-rolled pasta is the ability to control the thickness and shape of each piece. By using a simple hand rolled pasta dough recipe, you can create a variety of shapes and sizes to suit your taste. I’ve found that using a combination of traditional tools and equipment, like a wooden pasta board and a sharp knife, can help you achieve a more authentic, homemade feel.
When it comes to drying your freshly made pasta, I’ve learned that a little patience goes a long way. Homemade pasta drying tips are essential to preventing your pasta from becoming sticky or clumpy. By allowing your pasta to air dry, either on a clean towel or a specialized drying rack, you can help preserve its texture and flavor. This step may seem simple, but it’s a crucial part of the pasta-making process, and one that requires a bit of traditional italian pasta making know-how.
No Machine Pasta Cutting Secrets
Now that we’ve got our dough rested and our rolling skills sharpened, let’s talk about the fun part – cutting our pasta into beautiful, unique shapes. I’ve found that using a simple knife or a pastry cutter can be just as effective as any machine. The key is to work quickly and gently, so you don’t stretch or tear the pasta.
I like to think of this step as an opportunity to get creative and add a personal touch to my pasta. Experiment with different cutting techniques and tools, like a sharp knife or even a pizza cutter, to create one-of-a-kind shapes that will elevate your dish from ordinary to extraordinary.
Traditional Italian Pasta Making Tips
As I reflect on my time spent learning the art of hand-rolled pasta, I’m reminded of the wise words of Italian nonnas who’ve perfected the craft. They’d always tell me, “La pasta è amore” – pasta is love. And it’s true, there’s a certain passion and dedication that goes into creating each delicate shape. To achieve that perfect texture and flavor, it’s essential to use “00” flour, which is finer and easier to work with. I also like to add a pinch of salt to bring out the flavors, just like my Italian friends taught me.
When it comes to traditional Italian pasta making, it’s all about feel and intuition. You need to develop a sense of how the dough responds to your touch, much like a musician develops a sense of rhythm. With practice, you’ll start to feel when the dough is just right – not too sticky, not too dry. That’s when the magic happens, and you can begin shaping your pasta into beautiful, delicate forms that will make any Italian nonna proud.
Rolling With It: 5 Essential Tips for Hand-Rolled Pasta Perfection
- Start with a great ’00’ flour, preferably Italian Caputo or All-Purpose flour with high protein content, to ensure your pasta dough is strong and pliable
- Keep your pasta dough at room temperature for at least 30 minutes before rolling to allow the gluten to relax, making it easier to shape and stretch
- Use a combination of pushing, pulling, and folding to coax your pasta dough into the desired shape, and don’t be afraid to experiment with different techniques
- Pay attention to the thickness of your pasta, aiming for a consistent 1/16 inch (1.5 mm) to ensure even cooking and a delicate texture
- Don’t overwork your pasta dough, as this can lead to a tough, chewy texture – instead, focus on gentle, deliberate movements to craft beautiful, delicate hand-rolled pasta shapes
Key Takeaways for Hand-Rolled Pasta Perfection
Embracing the process of hand-rolling pasta is just as important as the end result – it’s about connection, creativity, and delicious homemade flavors
Traditional Italian techniques combined with your own experimentation will lead to unique, mouth-watering pasta shapes that elevate any dish
With practice and patience, you’ll master the art of cutting pasta by hand, and the joy of seeing your handmade noodles come to life in your kitchen will be incredibly rewarding
The Heart of Hand-Rolled Pasta
The beauty of hand-rolled pasta lies not in its perfection, but in its imperfections – every uneven edge and slightly varied shape tells a story of love, care, and the human touch that goes into creating something truly delicious from scratch.
Tom Navarro
Rolling to Perfection

We’ve covered the basics of making hand-rolled pasta shapes, from the initial dough preparation to the final cuts. You’ve learned how to create a variety of shapes, from simple spaghetti to more complex forms like tortellini and ravioli. We also dove into the world of traditional Italian pasta making, sharing tips and secrets for achieving that perfect, tender bite. Whether you’re a seasoned pro or a beginner, the key to mastering hand-rolled pasta is practice and patience. Don’t be discouraged if your first attempts don’t turn out exactly as you hoped – it’s all part of the process.
As you continue on your pasta-making journey, remember that the true beauty of hand-rolled pasta lies in its imperfections. The slightly uneven shapes, the varying thicknesses – these are the characteristics that make your pasta truly unique and special. So don’t be afraid to experiment, to try new shapes and flavors, and to make mistakes. With time and practice, you’ll develop your own style and technique, and the joy of creating something with your own hands will be incredibly rewarding. Happy rolling, and buon appetito!
Frequently Asked Questions
What's the best type of flour to use for making hand-rolled pasta shapes?
For hand-rolled pasta, I swear by ’00’ flour or all-purpose flour with a high protein content. The fine texture and right amount of gluten help create tender, yet chewy noodles. I like to mix it up and experiment with ancient grains too, but ’00’ flour is my go-to for a classic taste and texture.
How do I achieve the perfect thickness and consistency for my hand-rolled pasta?
For perfect thickness and consistency, I swear by the old-school method: feel it out. As you roll, pay attention to the dough’s give and take. You want it to be tender, but still have some bite. Think of it like a good wooden cutting board – it’s all about the balance of texture and flexibility. Trust your instincts, and don’t overwork it!
Can I add flavorings or herbs to my pasta dough for extra flavor in my hand-rolled pasta creations?
Absolutely, I love experimenting with flavorings and herbs in my pasta dough! Try adding some fresh basil, garlic, or even grated veggies like carrots or beets to give your hand-rolled pasta a unique twist. The key is to mix it in gently, so the dough still comes together beautifully. Trust me, the result is worth it – your taste buds will thank you!