As a former bush pilot, I’ve had my fair share of turbulent landings, but none as potentially disastrous as a broken sauce in the kitchen. I still remember the time I tried to fix a separation in my signature BBQ sauce – it was a crash landing of flavors. Learning how to fix a broken sauce is an essential skill for any home cook or professional chef, and it’s not as complicated as navigating through dense Alaskan fog. The common myth that fixing a broken sauce requires a plethora of exotic ingredients or complicated techniques is simply not true.
In this article, I’ll share my straightforward approach to how to fix a broken sauce, using simple, tried-and-tested methods that even a novice cook can follow. You’ll learn how to identify the root cause of the problem, whether it’s a separation, an unpleasant flavor, or an unappealing texture, and then apply practical solutions to rescue your sauce. By the end of this guide, you’ll be equipped with the knowledge and confidence to tackle even the most daunting sauce emergencies, and you’ll never have to suffer through a subpar meal again.
Table of Contents
Guide Overview: What You'll Need
Total Time: 30 minutes to 1 hour
Estimated Cost: $5 – $15
Difficulty Level: Easy
Tools Required
- Whisk (for mixing)
- Spoon (for tasting and adjusting)
- Measuring Cups (for accurate measurements)
Supplies & Materials
- Tomato Paste (to thicken the sauce)
- Herbs and Spices (such as salt, pepper, and oregano)
- Acidic Ingredient (like lemon juice or vinegar to balance the flavor)
Step-by-Step Instructions
- 1. First, let’s assess the situation and identify the type of sauce we’re dealing with, as different sauces require different repair techniques. Take a closer look at the sauce and determine if it’s a broken emulsion, which is a common issue in sauces like mayonnaise or hollandaise.
- 2. Next, we need to gather our tools and ingredients, which may include a whisk, a blender, or a pinch of salt, depending on the sauce. For emulsion-based sauces, it’s essential to have a stabilizer like lemon juice or vinegar on hand to help repair the broken bonds.
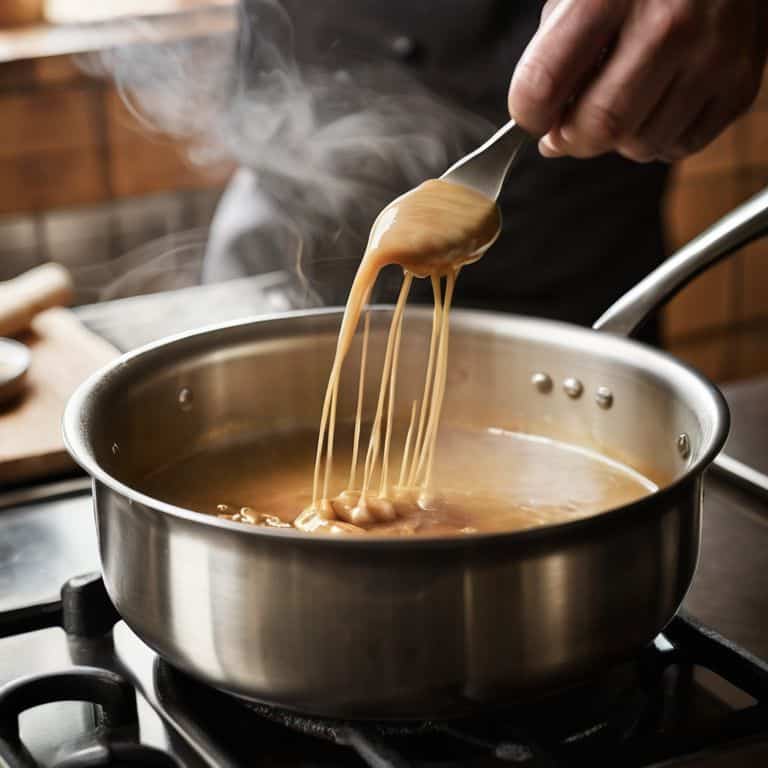
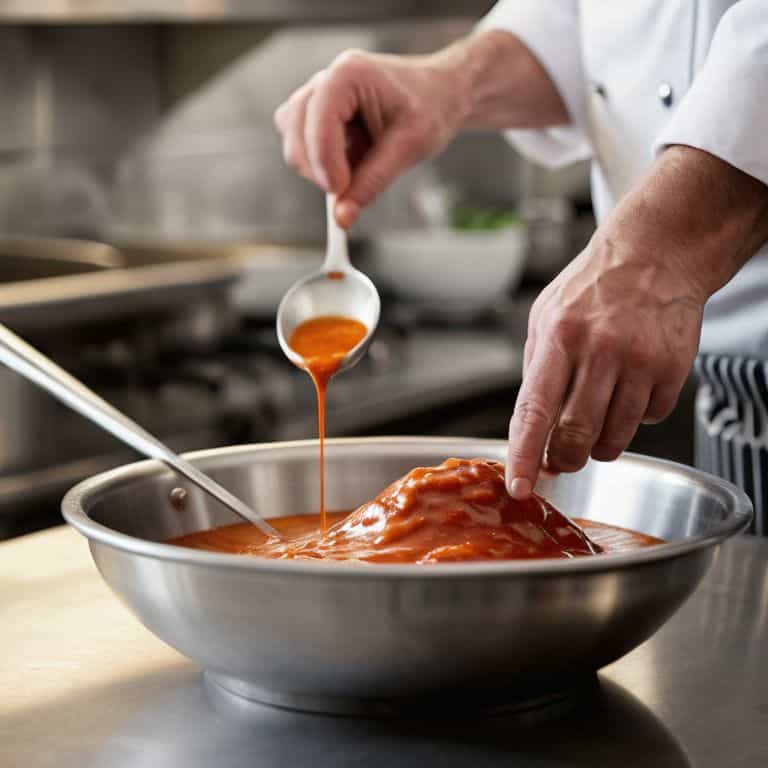
- 3. Now, let’s rebuild the foundation of our sauce by starting with a small amount of the broken sauce and slowly adding a little water or oil while whisking continuously. This step requires patience, as we need to allow the sauce to slowly come back together.
- 4. If our sauce is too thick, we can try thinning it out by adding a small amount of liquid, such as broth or cream, while monitoring the consistency closely to avoid making it too thin. It’s crucial to find the right balance, as a sauce that’s too thin can be just as problematic as one that’s too thick.
- 5. For sauces that have separated or curdled, we can try using a blender or food processor to re-emulsify the ingredients. This step requires caution, as over-blending can lead to a sauce that’s too smooth or even frothy.
- 6. Once we’ve repaired the sauce, it’s essential to test the consistency and taste the flavor to ensure it’s back to its normal state. If the sauce still needs adjustment, we can make further tweaks until it reaches the desired consistency and flavor profile.
- 7. Finally, to prevent our sauce from breaking again in the future, let’s develop a maintenance routine that includes regular stirring and whisking, as well as storing the sauce in a cool, dry place to prevent spoilage. By following these simple steps, we can enjoy our favorite sauces without the hassle of constant repairs.
Fixing Broken Sauces
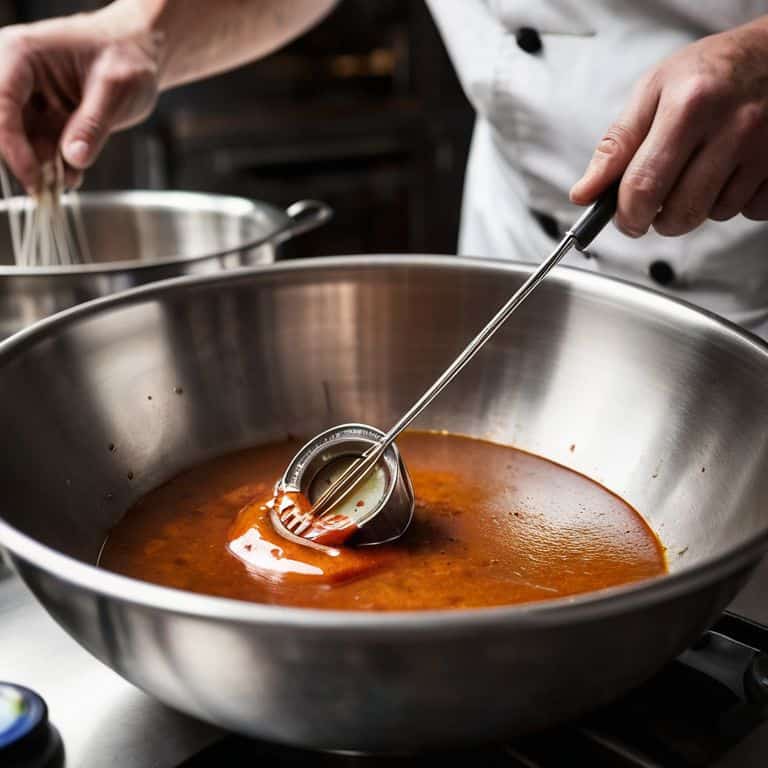
When it comes to re-emulsifying techniques, patience is key. A broken sauce can be frustrating, but rushing the repair process can lead to further separation. To stabilize emulsions, it’s essential to understand the role of temperature control. Temperature fluctuations can cause the sauce to break, so it’s crucial to maintain a consistent temperature during the repair process. By doing so, you’ll be able to whisk the sauce back to its original state.
In addition to temperature control, sauce whisking tips can make all the difference. Using a gentle whisking motion can help to re-emulsify the sauce without introducing air, which can further destabilize the mixture. It’s also important to be aware of common sauce mistakes, such as over-whisking or overheating, which can lead to a broken sauce in the first place. By avoiding these mistakes and using the right techniques, you can prevent sauces from breaking and ensure a smooth, creamy texture.
To take your sauce repair methods to the next level, consider investing in a thermometer to monitor temperature control. This will allow you to maintain a consistent temperature and stabilize emulsions with ease. With practice and patience, you’ll become a pro at fixing broken sauces and creating delicious, creamy condiments. By mastering these techniques, you’ll be able to re-emulsify even the most stubborn sauces and enjoy a perfectly balanced flavor.
Common Mistakes in Sauce Repair
When repairing a broken sauce, it’s easy to get caught up in the excitement of revival and overlook some crucial details. One common mistake is adding ingredients too quickly, which can disrupt the delicate balance of flavors and textures. Think of it like navigating through turbulent airspace – you need to make gradual, calculated moves to avoid further destabilization. Another mistake is not allowing the sauce to cool or simmer sufficiently, which can prevent the emulsion from stabilizing properly. By taking a step back and assessing the situation, you can avoid these pitfalls and guide your sauce back to a smooth, velvety texture.
Re Emulsifying Techniques Matter
Re-emulsifying is where the magic happens, much like navigating through turbulent skies – you need to know how to stabilize the aircraft, or in this case, your sauce. To re-emulsify, start by whisking in a small amount of the broken sauce into a new mixture of oil and liquid, slowly bringing the two together. This technique is akin to flying an approach, where gradual and precise movements are key to a successful landing.
By doing so, you’re essentially “re-training” the sauce to come together in harmony, much like how a pilot adjusts their flight path to compensate for wind resistance. Remember, patience and gentle movements are crucial here, as forcing the mixture can lead to further separation. With practice, you’ll develop the touch and instincts to salvage even the most broken of sauces, just as a seasoned pilot develops a sense of the aircraft’s behavior in various conditions.
Navigating Sauce Turbulence: 5 Key Tips to Get You Back on Course
- Start with a clean slate: Before attempting to fix your broken sauce, make sure you’re working with a clean and sanitized environment to prevent any further contamination or complications
- Understand your sauce’s personality: Recognize the type of sauce you’re dealing with and its unique characteristics, just as you would understand the weather forecast before a flight
- Re-emulsify with patience: When re-emulsifying your sauce, take it one step at a time, slowly introducing ingredients and whisking gently to avoid any further breakage
- Don’t over-complicate the repair: Avoid adding too many new ingredients or over-processing your sauce, as this can lead to an even bigger mess – sometimes, less is more, just like a well-executed flight plan
- Practice makes perfect: Fixing a broken sauce is an art that requires practice, so don’t be discouraged if it doesn’t turn out perfectly the first time – keep trying, and you’ll soon be a seasoned sauce repair pilot
Key Takeaways for Fixing a Broken Sauce
Re-emulsification is key: Understanding the principles of re-emulsifying can make all the difference in repairing a broken sauce, much like how a smooth landing requires a deep understanding of aerodynamics
Common mistakes can be avoided: Being aware of the common pitfalls in sauce repair, such as over-whisking or incorrect temperature control, can save you from a culinary crash, just as knowing how to navigate through turbulence saves a flight
Practice makes perfect: Just like flying, fixing a broken sauce is an art that requires patience, practice, and a clear understanding of the fundamentals, so don’t be discouraged if it doesn’t turn out perfectly the first time – keep trying and you’ll soon be a pro
Navigating the Skies of Sauce Repair
Just as a pilot must understand the fundamentals of flight to navigate through turbulence, fixing a broken sauce requires a deep understanding of its underlying components and a gentle touch to re-emulsify and restore balance, one delicious layer at a time.
Daniel Sato
Landing Safely with a Repaired Sauce
As we conclude our journey through the process of fixing a broken sauce, let’s take a moment to review the key steps we’ve covered. From understanding the importance of re-emulsifying techniques to avoiding common mistakes in sauce repair, each element plays a crucial role in successfully navigating the challenges of a broken sauce. By methodically addressing each issue, much like a pilot follows a pre-flight checklist, we ensure that our sauce not only recovers but also becomes a testament to our patience and understanding of its fundamental principles.
Just as a smooth landing requires a deep understanding of the aircraft and the environment, fixing a broken sauce demands a similar harmony between ingredients and technique. As you apply these lessons to your culinary adventures, remember that the art of sauce repair is not just about fixing a meal, but about mastering the fundamentals of flavor and texture. So, the next time your sauce breaks, don’t panic – instead, see it as an opportunity to practice your skills, to innovate, and to create something truly delicious, one careful step at a time.
Frequently Asked Questions
What are the most common reasons why a sauce breaks in the first place?
Let’s take a step back and understand why sauces break. Typically, it’s due to overheating, over-whisking, or an imbalance of ingredients, which disrupts the delicate emulsion. Think of it like turbulence in flight – a smooth ride can quickly turn rough if you’re not paying attention to the fundamentals.
How do I know if my sauce is beyond repair and needs to be restarted from scratch?
Just like assessing an engine failure in flight, we need to evaluate the sauce’s condition. If it’s separated beyond recognition, or has an off smell or taste, it’s likely time to abort and start fresh. Think of it as declaring an emergency – sometimes, it’s safer to begin anew rather than risking a culinary crash.
Are there any specific ingredients or tools that can help prevent a sauce from breaking or make it easier to fix if it does?
Just like a pre-flight checklist, having the right ingredients and tools can make all the difference. I recommend keeping a stash of neutral-tasting oils, like canola or grapeseed, and a pinch of salt on hand to help stabilize and rebalance your sauce. A whisk or immersion blender can also be a sauce-saver in a pinch.