
As a flight instructor, I’ve learned that taking it low and slow is key to mastering any complex skill, whether it’s landing a plane or cooking a delicious meal. I still remember my first attempt at how to properly braise meat – it was a disaster. The meat was tough, the flavors were dull, and I was left wondering what had gone wrong. But, just like how I teach my students to navigate through turbulence, I realized that braising meat is all about understanding the fundamentals and applying them with patience and practice.
In this article, I’ll share my no-nonsense approach to how to properly braise meat, breaking down the process into simple, easy-to-follow steps. You’ll learn how to select the right cut of meat, create a rich and flavorful broth, and cook your dish to perfection. My goal is to give you the confidence to experiment with different recipes and ingredients, just like how I encourage my students to think on their feet when faced with unexpected challenges in the cockpit. By the end of this guide, you’ll be well on your way to becoming a braising expert, and you’ll understand that cooking is not just about following a recipe, but about understanding the principles behind it.
Table of Contents
Guide Overview: What You'll Need
Total Time: 2 hours 30 minutes
Estimated Cost: $20 – $40
Difficulty Level: Intermediate
Tools Required
- Dutch Oven (or heavy pot with a lid)
- Cutting Board (for preparing ingredients)
- Knife (sharp, for trimming meat)
- Measuring Cups (for accurate liquid measurements)
- Spatula (for stirring and scraping the pot)
- Tongs or Fork (for turning the meat)
- Oven (preheated to 300 degrees Fahrenheit)
Supplies & Materials
- Meat of Choice (such as beef, pork, or lamb, 2-3 pounds)
- Aromatics (like onions, carrots, and celery, chopped)
- Stock or Wine (for braising liquid, 2-3 cups)
- Herbs and Spices (to taste, such as thyme, rosemary, and bay leaves)
- Oil or Fat (for browning the meat, 2 tablespoons)
- Salt and Pepper (for seasoning, to taste)
Step-by-Step Instructions
- 1. First, let’s start with the meat selection, which is crucial for a successful braise. When choosing your meat, consider tougher cuts like short ribs, brisket, or shank, as they become tender and flavorful with slow cooking. I like to think of it as choosing the right aircraft for a flight – you need the right tools for the job.
- 2. Next, prepare your meat for takeoff by seasoning it with your favorite spices and herbs. This is where you can get creative, just like adding personal touches to your scale model aircraft. Don’t be afraid to experiment, but remember, less is often more, so don’t overdo it. A good rule of thumb is to season your meat as you would prepare for a flight, methodically and with purpose.
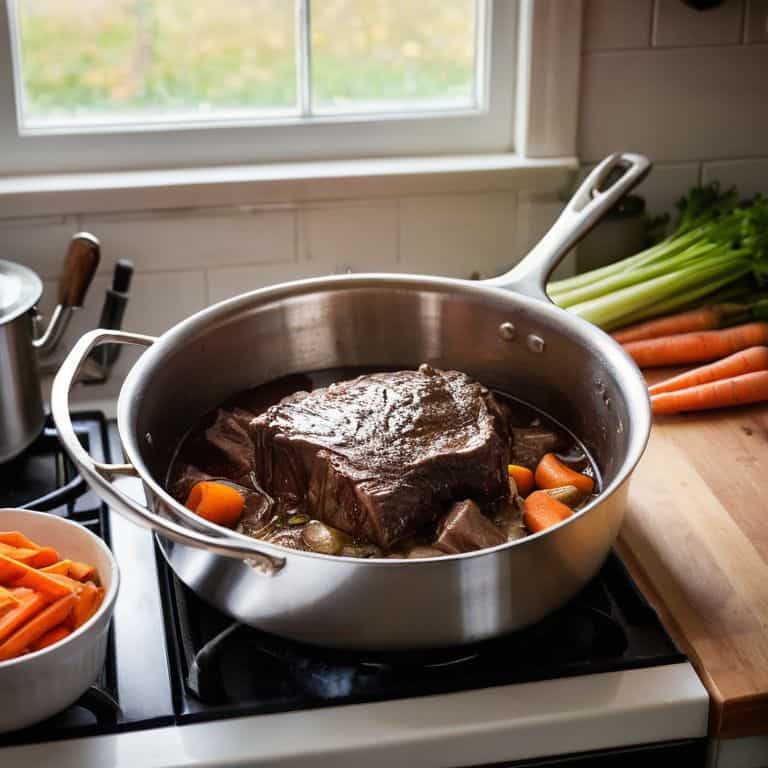
- 3. Now it’s time to heat things up, just like igniting the engines. Heat a couple of tablespoons of oil in a large Dutch oven over medium-high heat. Once the oil is hot, add your seasoned meat and sear it on all sides until it’s nicely browned. This step is crucial, as it locks in the flavors and creates a nice crust on the meat, much like how a good pre-flight check ensures a safe and successful flight.
- 4. After searing the meat, it’s time to add some aromatics to the pot, such as onions, carrots, and celery. These will add depth and complexity to your braise, just like how different weather conditions can affect a flight. Saute the aromatics until they’re softened, then add your choice of liquid, such as stock or wine, to the pot.
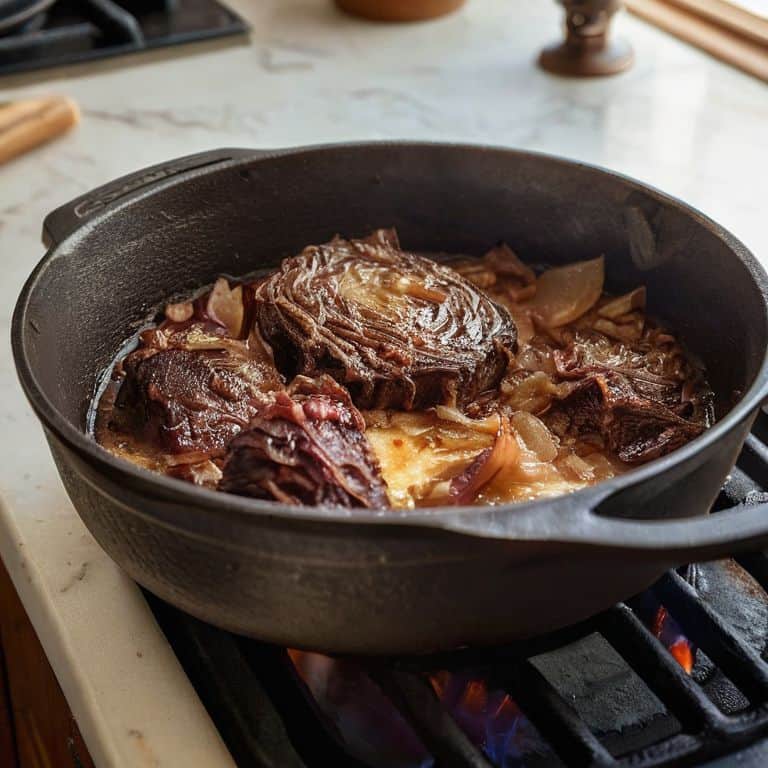
- 5. Now we’re ready to take our braise to cruising altitude, where the magic happens. Bring the liquid to a boil, then cover the pot and transfer it to the oven. Let it cook at a low temperature (around 300°F) for a few hours, or until the meat is tender and falls apart easily. This slow cooking process is like flying through calm skies – it’s a smooth and enjoyable ride.
- 6. As we descend into the final stages of our braise, it’s time to add some finishing touches. Remove the pot from the oven and let it cool slightly. Then, strain the sauce and discard any excess fat. You can also add some fresh herbs or spices to the sauce to give it a bit of extra lift. This is like making any necessary adjustments during the final approach – it’s all about precision and control.
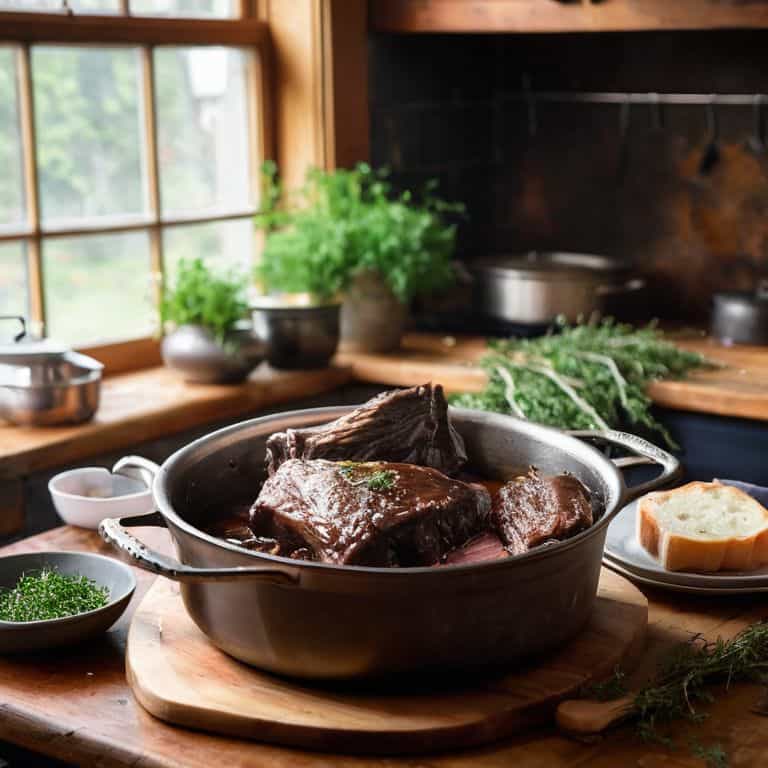
- 7. Finally, it’s time to land our braise and serve it up. Slice the meat against the grain and serve it with the rich, flavorful sauce spooned over the top. This is the moment of truth, just like touching down safely after a long flight. Take a bite, close your eyes, and savor the fruits of your labor – you’ve earned it.
Mastering Braising Basics
When it comes to mastering the art of braising, it’s essential to understand the importance of _choosing the right pot_. A heavy-bottomed pot or Dutch oven is ideal for braising, as it allows for even heat distribution and prevents the meat from burning. I like to think of it as selecting the right aircraft for a mission – you need the right tools to get the job done safely and efficiently.
As a flight instructor, I always emphasize the need for _attention to detail_. When braising, this means carefully selecting the right ingredients, including the braising liquid. A red wine braising liquid recipe can add a rich, depth of flavor to your dish. It’s similar to navigating through turbulent weather – you need to be prepared and have the right equipment to ensure a smooth ride.
To take your braising to the next level, consider tips for tenderizing tougher cuts of meat. This can include techniques like marinating or using a meat mallet to break down the fibers. By taking the time to properly prepare your meat, you’ll be rewarded with a tender, fall-apart texture that’s sure to impress. Just like how a well-executed landing requires a smooth, gradual descent, braising requires a gentle, low-and-slow approach to achieve perfection.
Choosing Pots for Smooth Lift Off
When it comes to choosing the right pot for braising, think of it like selecting the perfect aircraft for a mission. You want a vessel that can handle the job, providing even heat distribution and retaining it well. I recommend using a heavy-bottomed pot, such as a Dutch oven, as it allows for a smooth lift-off – that is, a gradual and consistent transfer of heat to the meat. This ensures your meat is cooked evenly, much like a steady ascent in a well-performing plane.
A pot with a tight-fitting lid is also crucial, as it helps to trap the heat and moisture, creating an ideal environment for the braising process. Just as a good pilot adjusts their aircraft’s settings for optimal performance, you’ll want to adjust your pot’s settings – in this case, the heat and lid – to achieve the perfect braise.
Red Wine Braising Liquid Secrets
When it comes to creating a rich, full-bodied braising liquid, red wine is my go-to choice. Just as a smooth takeoff requires the right conditions, a good braise needs the right liquid to lift off. I like to think of red wine as the “cruise altitude” of braising liquids – it’s where the magic happens. A blend of Cabernet Sauvignon and Merlot works beautifully, adding depth and complexity to the dish.
To get the most out of your red wine braising liquid, remember to reduce it slowly over low heat, just as you would descend gradually to avoid turbulence. This concentrates the flavors and creates a velvety texture that’s simply irresistible. Trust me, the end result is well worth the patience – your taste buds will be soaring in no time.
Taking Your Braising to Cruising Altitude: 5 Essential Tips
- Select the right cut of meat for the job, just as you would choose the perfect aircraft for a mission – consider factors like tenderness, flavor, and texture
- Brown your meat with precision and patience, much like navigating through turbulent skies – it’s all about control and attention to detail
- Acidity is your co-pilot when it comes to braising – a splash of red wine or a squeeze of citrus can help balance the flavors and take your dish to new heights
- Don’t be afraid to get creative with your braising liquid – just as a seasoned pilot knows how to read the weather, a skilled cook knows how to read the flavors and adjust accordingly
- Let your braise fly solo for a while – resist the temptation to stir or check on it too often, and let the magic happen, just as a pilot lets the autopilot take over on a long flight
Key Takeaways for Braising Meat like a Pro
Braising meat is all about patience and control, much like navigating through turbulence – you need to take it low and slow to achieve tender results
Choosing the right pot is crucial for a smooth ‘lift-off’, just as selecting the right aircraft is vital for a successful flight – it’s all about the right tools for the job
Red wine braising liquid is the secret ingredient to elevating your dish to new heights, much like how a skilled pilot uses the right navigation tools to reach new altitudes – it’s all about mastering the fundamentals
The Art of Braising
Braising meat is like navigating through turbulence – you need to be gentle, yet firm, and always keep your eyes on the horizon, because the end result is a dish that’s as smooth as a summer sky
Daniel Sato
Touching Down on Braising Success
As we conclude our journey through the world of braising, let’s take a moment to review the key steps we’ve covered. From choosing the right pot for a smooth lift-off to unlocking the secrets of red wine braising liquid, each element plays a crucial role in achieving tender, flavorful results. By mastering these braising basics, you’ll be well on your way to creating dishes that impress and satisfy. Remember, the art of braising is all about patience and attention to detail, much like the careful pre-flight checks I teach my students.
As you continue to explore the world of braising, I encourage you to stay curious and keep experimenting with new recipes and techniques. Just as a pilot must always be prepared for changing weather conditions, a skilled cook must be ready to adapt and innovate in the kitchen. With practice and dedication, you’ll find that the principles of braising can be applied to many areas of your life, helping you navigate challenges with ease and confidence. So go ahead, take to the skies of culinary adventure, and remember that with every delicious braise, you’re not just cooking – you’re soaring to new heights.
Frequently Asked Questions
What's the ideal meat-to-liquid ratio for a successful braise?
When it comes to the ideal meat-to-liquid ratio, think of it like fuel to altitude – you want just the right amount to reach your destination. For a successful braise, aim for a ratio of about 1 part meat to 2 parts liquid. This will ensure your meat stays moist and tender, just like a smooth descent into a comfortable landing.
How do I know when the meat is tender enough, and what are the signs of overcooking?
Just like checking your altimeter, you want to monitor the meat’s tenderness. Use a fork to test – it should slide in easily. Overcooking signs? Dryness, shredding, or a tough texture. Remember, braising is a gentle descent, not a crash landing. Keep an eye on it, and you’ll touch down with tender, juicy meat every time.
Can I use other types of liquid instead of red wine, such as stock or beer, and how will it affect the flavor?
Just like navigating through different airspaces, you can experiment with various braising liquids. Stock or beer can be great alternatives to red wine, offering distinct flavor profiles. Stock will add a richer, more savory taste, while beer will provide a lighter, slightly bitter note. Remember, it’s all about adjusting your flight plan to suit your taste preferences.