I still remember the day I discovered the joy of canning and preserving. I was working as a craft cocktail bartender, and I stumbled upon an old cookbook that changed everything. The idea that I could take fresh, seasonal ingredients and turn them into something truly unique and delicious was like a revelation. I started experimenting with fermenting and pickling, and soon I was hooked. There’s something special about creating your own flavors from scratch, and I’m excited to share that with you in this guide to canning and preserving.
In this article, I’ll take you through the process of creating your own delicious canned and preserved goods. I’ll share my favorite tips and tricks for getting started, from preparing your ingredients to sealing those jars. You’ll learn how to make the most of your fresh produce and create tangy delights that will elevate any meal. My goal is to empower you to take control of your pantry and start creating your own signature flavors. So, let’s get started and explore the world of canning and preserving together!
Table of Contents
Guide Overview: What You'll Need
Total Time: 2 hours 30 minutes
Estimated Cost: $50 – $100
Difficulty Level: Intermediate
Tools Required
- Water Bath Canner (large pot with rack)
- Pressure Canner (for low-acid foods)
- Canning Funnel (for easy jar filling)
- Acid Tester (for checking acidity levels)
- Jar Lifter (for safe jar handling)
- Kitchen Scale (for accurate measurements)
- Timer (for monitoring processing times)
Supplies & Materials
- Mason Jars (various sizes)
- Lids and Bands (new, for each jar)
- Canning Salt (for preserving meats and vegetables)
- Sugar (for making jams and jellies)
- Lemon Juice (for adding acidity to foods)
- Pectin (for making jams and jellies)
- Pickling Spices (for making pickled foods)
Step-by-Step Instructions
- 1. First, let’s start by preparing our canning station. This is where the magic happens, and I like to think of it as my own personal laboratory. Gather all your equipment, including jars, lids, and a large pot for boiling, and make sure everything is clean and sanitized. I like to use a mixture of water and white vinegar to give all my equipment a good rinse.
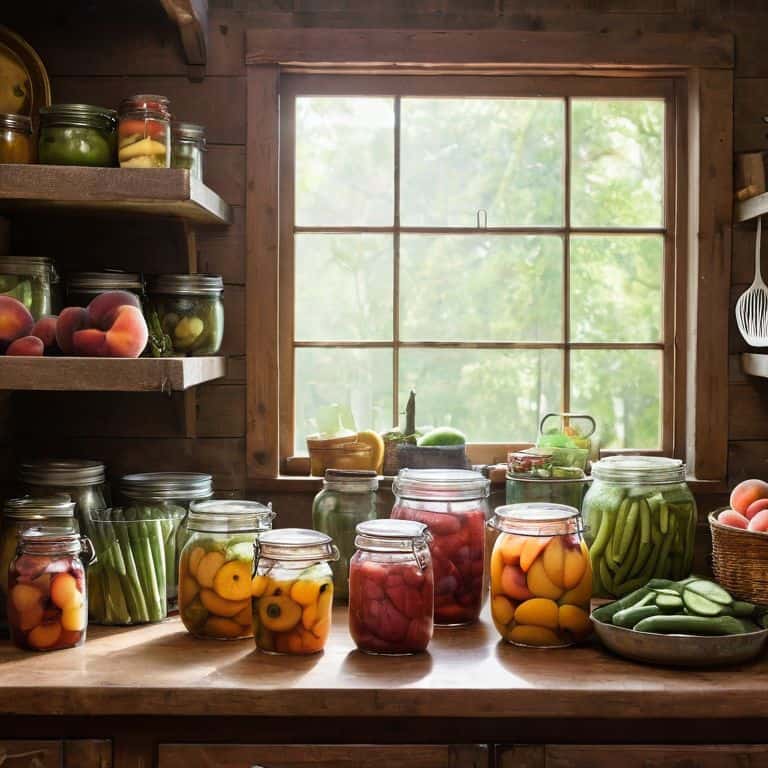
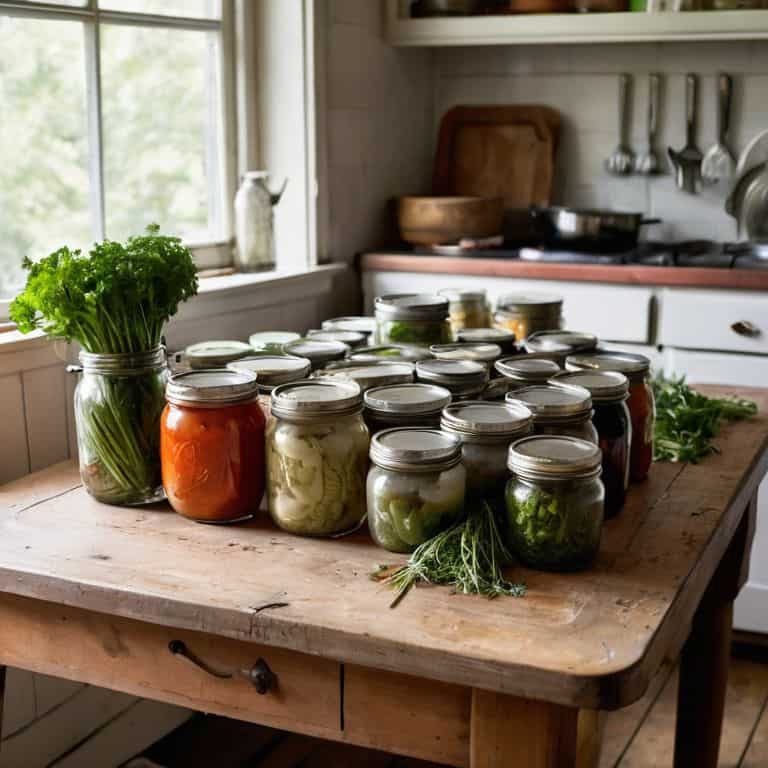
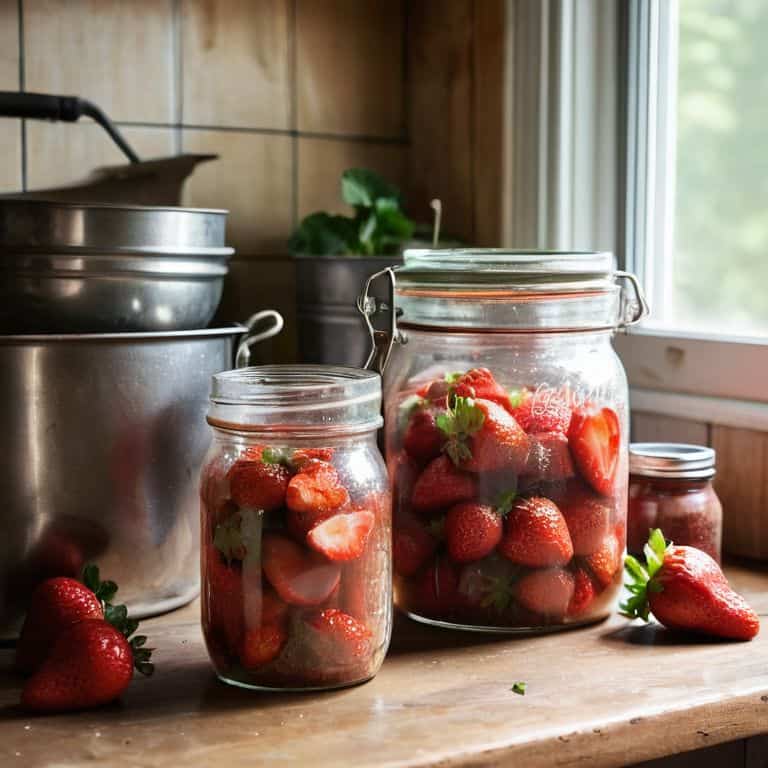
- 2. Next, we need to decide what we’re going to can. For me, it’s all about using fresh, seasonal ingredients that are readily available at my local farmer’s market. Whether it’s juicy peaches or crisp cucumbers, the key is to choose ingredients that are at their peak flavor and texture. This will ensure that our final product is not only delicious but also packed with nutrients.
- 3. Now it’s time to sterilize our jars. This is a crucial step that will help prevent any contamination and ensure that our canned goods last for months to come. I like to use a large pot of boiling water to sterilize my jars, and I always make sure to leave them in for at least 10-15 minutes to get them nice and hot.
- 4. While our jars are sterilizing, we can start preparing our ingredients. This might involve chopping, slicing, or dicing, depending on what we’re making. For my famous pickled carrots, I like to slice them up into thin rounds and soak them in a brine made from water, salt, and spices. This helps to bring out their natural sweetness and gives them a nice tangy flavor.
- 5. Once our jars are ready, it’s time to fill them up. This is the fun part, where we get to be creative and add our own personal touch to the recipe. Whether it’s adding a sprinkle of spices or a squeeze of fresh citrus, the key is to experiment and find the combination that works best for you. Just be sure to leave a little room at the top of the jar for expansion, as the contents will heat up and expand during the canning process.
- 6. With our jars filled and ready to go, it’s time to seal them up. This is where we add the lids and rings, and make sure everything is nice and tight. I like to use a bit of twine or tape to keep the lids in place, just to make sure they don’t come loose during the canning process.
- 7. Finally, it’s time to process our jars. This involves submerging them in a large pot of boiling water and letting them cook for a set amount of time. The exact time will depend on what we’re making and the altitude at which we’re cooking, but I like to use a general rule of thumb of 10-15 minutes for most recipes. This will help to kill off any bacteria and create a vacuum seal that will keep our canned goods fresh for months to come.
A Guide to Canning and Preserving
As I delve into the world of canning and preserving, I’m reminded of the importance of canning techniques for beginners. It’s essential to start with the basics, like sterilizing your canning jars, to ensure your creations remain fresh and safe to eat. I’ve found that using a water bath canner is a great way to get started, and it’s perfect for high-acid canning, which includes most fruits and pickled vegetables.
When it comes to preserving food, I’m a big fan of experimenting with different flavor profiles. For those looking to reduce their sugar intake, preserving food without sugar is a great option. You can use natural sweeteners like honey or maple syrup, or even try your hand at making your own low-sugar jams and jellies. The key is to find a balance between flavor and preservation, and I’ve found that using citrus juices or spices can add a lot of depth without adding refined sugars.
As someone who’s passionate about using local and seasonal ingredients, I love that canning and preserving allow me to enjoy my favorite fruits and veggies year-round. Whether you’re following a special diet or just looking to get creative in the kitchen, canning and preserving for special diets can be a game-changer. From low-acid canning for meats and vegetables to making your own infused oils and vinegars, the possibilities are endless, and I’m excited to share more of my favorite tips and tricks with you.
Canning Techniques for Beginners Made Easy
Canning Techniques for Beginners Made Easy
When I first started canning, I was intimidated by all the equipment and rules. But trust me, it’s easier than you think! The key is to start small and experiment with simple recipes. I began with classic dill pickles and soon moved on to more adventurous flavors like spicy kimchi. Remember, it’s all about having fun and getting creative with the process. Don’t be afraid to try new things and make mistakes – they’re all part of the learning journey.
For beginners, I recommend starting with a water bath canner and focusing on high-acid foods like fruits, pickles, and jams. This will help you build confidence and develop a sense of what works and what doesn’t. And don’t worry if your first batches don’t turn out perfectly – with practice, you’ll get the hang of it and be canning like a pro in no time!
Preserving Food Without Sugar a Game Changer
Preserving food without sugar is a total game changer. I mean, think about it – most traditional preserving methods rely on sugar to balance out the flavors and act as a preservative. But what if you want to reduce your sugar intake or create something that’s a little more savory? That’s where getting creative with spices, herbs, and other natural flavor enhancers comes in. I’ve had amazing results using things like garlic, ginger, and chili peppers to add depth and complexity to my preserves.
For example, I recently made a batch of pickled carrots using just apple cider vinegar, water, and a blend of warming spices like cumin and coriander. The result was a tangy, slightly sweet, and utterly addictive snack that’s perfect for munching on the go. By experimenting with different flavor combinations and techniques, you can create a wide range of sugar-free preserves that are not only delicious but also packed with nutrients and goodness.
Get Your Hands Dirty: 5 Essential Tips for Canning and Preserving

- Start with the freshest ingredients you can find – it makes all the difference in the flavor and texture of your final product
- Never be afraid to experiment with new ingredients and flavor combinations – some of the best recipes come from happy accidents
- Always sterilize your equipment and jars before filling them with your delicious creations – you don’t want any unwanted visitors in your pantry
- Don’t be intimidated by the idea of making your own pickling spices or infusions – it’s easier than you think and adds a whole new level of depth to your preserves
- Remember, the most important thing is to have fun and not be too hard on yourself if things don’t turn out perfectly – it’s all about the process, not just the end result
Key Takeaways to Get You Started
Embracing the art of canning and preserving is all about experimentation and having fun with the process – don’t be afraid to try new recipes and flavors!
By focusing on using local, seasonal ingredients and avoiding unnecessary additives, you can create nutrient-dense, delicious foods that will elevate your meals and snacks
Remember, practice makes perfect, so don’t be discouraged if your first few attempts at canning or preserving don’t turn out exactly as planned – keep trying, and you’ll soon be a pro at turning fresh ingredients into tangy, tasty masterpieces!
Preserving the Art of Self-Sufficiency
The true magic of canning and preserving lies not in the recipes, but in the ritual of transforming fresh, local ingredients into a culinary time capsule that tells the story of our connection to the earth and to each other.
Tom Navarro
Conclusion: Preserving the Art of Canning
As we’ve journeyed through this guide to canning and preserving, I hope you’ve picked up on the importance of experimentation and the value of getting your hands dirty. From mastering canning techniques for beginners to exploring the world of preserving food without sugar, we’ve covered a lot of ground. Remember, the key to success lies in embracing the process, not just following a recipe. Don’t be afraid to try new things, to taste and adjust as you go, and to make mistakes – they’re an essential part of the learning process.
As you close this guide and head into your kitchen, I want to leave you with a final thought: the art of canning and preserving is a journey, not a destination. It’s about connecting with your food, with your community, and with the traditions that have been passed down through generations. So, go ahead, get creative, and make it your own. Your taste buds, your family, and your friends will thank you. And who knows, you might just discover a new passion that will stay with you for a lifetime.
Frequently Asked Questions
What are the most essential tools and equipment I need to get started with canning and preserving?
My friend, let’s get down to business! To start canning and preserving, you’ll need some basic tools like a large pot, jars, lids, and a utensil for packing and removing food. I also swear by my trusty acid tester and a good old-fashioned canning funnel. Now, don’t worry if you don’t have everything at first, just start with the essentials and build your collection as you get more comfortable with the process!
How do I know if my jars are properly sealed and sterilized to prevent spoilage?
Check those jars like you mean it! After processing, let them cool, then press on the top – if it doesn’t move, you’re golden. Also, listen for that sweet ‘pop’ when you open it, and make sure the lid is concave. If it’s sealed and sterilized, you’ll know it!
Can I use any type of fruit or vegetable for canning and preserving, or are there specific varieties that work best?
The possibilities are endless, my friend! While some fruits and veggies are more traditional for canning and preserving, I say, why limit yourself? Experiment with different varieties to find your new favorites. That being said, some staples like cucumbers, carrots, and berries tend to work beautifully, but don’t be afraid to try pickling those unusual veggies or infusing unique fruits – you never know what magic you’ll create!