I still remember my first backcountry hiking trip to Alaska, where I stumbled upon a rustic campsite with a cast iron skillet hanging over the fire pit. The aroma of sizzling bacon and scrambled eggs wafted through the air, and I was hooked. As a former bush pilot, I’ve had my fair share of campfire cooking, but mastering the art of using a cast iron skillet was a game-changer. If you’re looking to learn how to use a cast iron skillet, you’re in the right place. Many people believe that cooking with cast iron is a daunting task, but I’m here to tell you that it’s easier than navigating a Cessna through calm skies.
As we embark on this culinary journey together, I promise to share practical tips and tricks for getting the most out of your cast iron skillet. You’ll learn how to season, clean, and cook a variety of dishes with ease. From hearty breakfasts to satisfying dinners, I’ll guide you through the process with the same patience and clarity that I use when teaching my flight students. By the end of this article, you’ll be confident in your ability to use a cast iron skillet like a pro, and you’ll be eager to get cooking and explore the endless possibilities that this versatile cookware has to offer.
Table of Contents
- Guide Overview: What You'll Need
- Step-by-Step Instructions
- Mastering Cast Iron Skillet Flight
- Climbing to Cruising Altitude: 5 Essential Tips for Mastering Your Cast Iron Skillet
- Key Takeaways from Mastering Cast Iron Skillet Navigation
- Flying High with Cast Iron
- Landing Gear Down: You're Now a Cast Iron Skillet Pro
- Frequently Asked Questions
Guide Overview: What You'll Need
Total Time: 30 minutes to 1 hour
Estimated Cost: $20 – $50
Difficulty Level: Easy
Tools Required
- Oven mitts for handling hot skillet
- Soft sponge for cleaning
- Towel for drying
Supplies & Materials
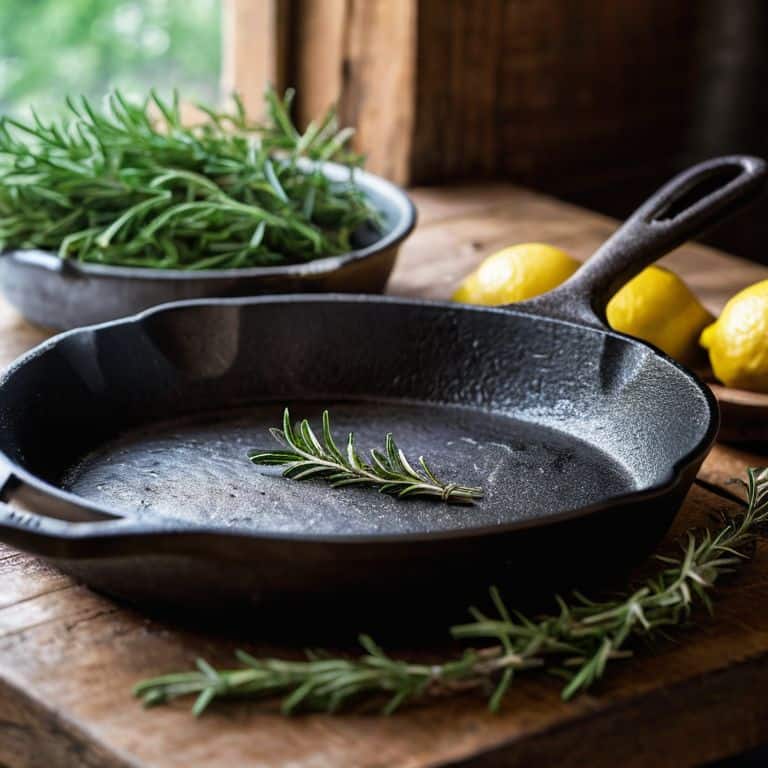
- Cast iron skillet pre-seasoned or unseasoned
- Cooking oil for seasoning or cooking
- Salt for cleaning and removing residue
- Water for cleaning and rinsing
Step-by-Step Instructions
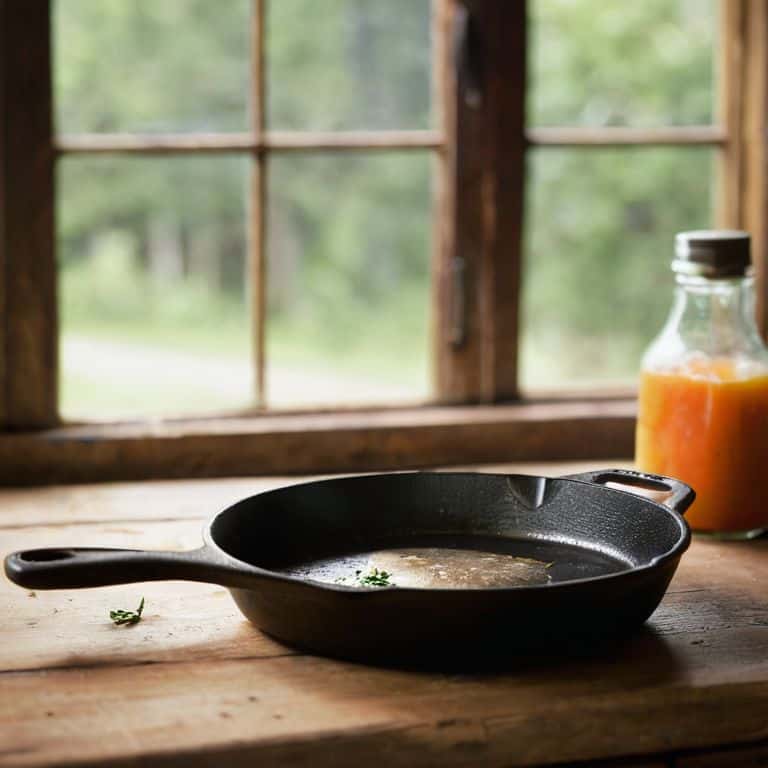
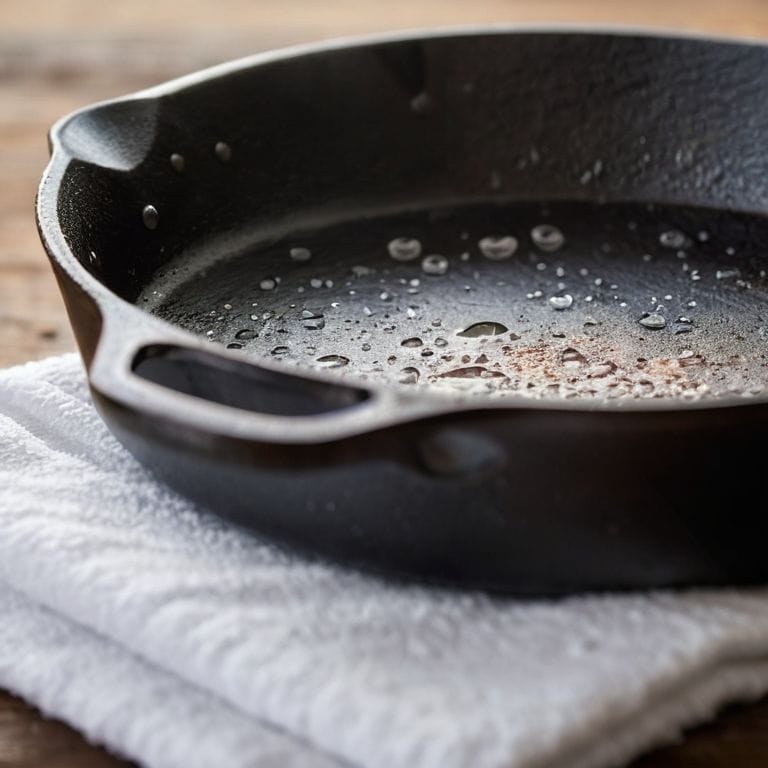
- 1. First, let’s start with preheating our cast iron skillet, which is essential for even cooking and preventing food from sticking to it. To do this, place the skillet over medium heat on your stovetop and let it warm up for about 5-7 minutes. You can test if it’s ready by flicking a few drops of water onto the skillet – if they sizzle and evaporate quickly, it’s good to go.
- 2. While our skillet is heating up, let’s prepare our ingredients. For a simple dish like pancakes or scrambled eggs, make sure you have all your ingredients measured out and ready to go. This includes having your mixtures or batter pre-mixed and any additional ingredients like spices or toppings within arm’s reach, much like how a pilot prepares for flight by going through a detailed pre-flight checklist.
- 3. Now that our skillet is hot and our ingredients are ready, it’s time to add a small amount of oil to the skillet. Use a high-smoke-point oil like avocado or grapeseed oil, and just add a thin layer to the bottom of the skillet. This will help prevent our food from sticking and add some extra flavor to our dish. Think of this step like applying the right amount of thrust to an aircraft – just the right amount is necessary for a smooth takeoff.
- 4. With our oil in place, we can now add our main ingredients to the skillet. Whether it’s pouring in batter for pancakes or cracking in eggs for scrambled eggs, make sure to do so gently to avoid splashing or making a mess. As a flight instructor, I always tell my students to approach each maneuver with precision and control, and the same applies here.
- 5. Once our ingredients are in the skillet, let them cook for a bit. The exact cooking time will depend on what you’re making, but as a general rule, you want to let the bottom side cook for a few minutes before flipping or stirring. This is similar to how a pilot needs to monitor their altitude and airspeed during different phases of flight, adjusting as necessary to ensure a smooth ride.
- 6. After the initial cooking time has passed, it’s time to flip or stir our ingredients. Use a spatula to carefully flip or stir your food, making sure not to scratch the bottom of the skillet. This step requires a bit of finesse, much like navigating through turbulent airspace – you need to be smooth and deliberate in your movements to avoid any issues.
- 7. Finally, once our food is cooked to our liking, it’s time to remove it from the skillet and serve. Use your spatula to carefully slide your food out onto a plate, and voila! You’ve successfully cooked with a cast iron skillet. Remember to always clean and maintain your skillet after use to keep it in good condition, much like how a pilot must perform routine maintenance on their aircraft to ensure it remains airworthy.
Mastering Cast Iron Skillet Flight
As we dive into the world of cast iron skillet cooking, it’s essential to understand the importance of cast iron skillet maintenance tips. Just like a pre-flight checklist, regular maintenance ensures your skillet performs optimally and lasts for years to come. This includes avoiding harsh chemicals and abrasive cleaners, which can strip away the seasoning. Instead, opt for gentle soap and water, and dry your skillet thoroughly after each use.
When it comes to cooking with your cast iron skillet, temperature control is crucial. This is where the art of skillet navigation comes into play. By mastering the heat, you can achieve perfectly cooked dishes every time. For example, when searing meat, you want to get the skillet scorching hot to lock in those juices. On the other hand, when cooking delicate foods like vegetables, a lower heat setting is necessary to prevent burning.
To take your cast iron skillet cooking to the next level, consider experimenting with different skillet cooking techniques. From stir-frying to baking, the possibilities are endless. And remember, practice makes perfect, so don’t be discouraged if your first few attempts don’t turn out as expected. With time and patience, you’ll be navigating your cast iron skillet like a pro, and enjoying delicious meals along the way.
Navigating Cooking Temperatures With Ease
To navigate cooking temperatures with ease, think of it like adjusting your altitude in flight. You need to be aware of your surroundings and make subtle adjustments to maintain a steady course. With cast iron, this means understanding how it retains heat and making adjustments accordingly. A good rule of thumb is to preheat your skillet over medium-high heat, then reduce to medium-low once you add your ingredients.
This technique allows for a smooth transition, much like leveling off after a climb. By controlling the heat, you’ll be able to achieve a perfect sear or gentle simmer, depending on your recipe. Remember, it’s all about finesse and feeling the rhythm of your skillet, just like a pilot develops a sense of the aircraft’s response to their inputs.
Skillet Pre Flight Maintenance Tips
To ensure a smooth ‘flight’ with your cast iron skillet, pre-flight maintenance is key. Just as a pilot checks the aircraft before takeoff, you’ll want to inspect your skillet for any signs of wear or damage. A well-maintained skillet is a happy skillet, and it starts with regular cleaning and seasoning. I like to think of it as filing a flight plan – you’re setting yourself up for success.
A simple rinse with warm water and a gentle scrub with a soft sponge will keep your skillet in top condition. For tougher messes, a mixture of equal parts water and white vinegar will do the trick. After cleaning, apply a thin layer of oil to the skillet and place it in the oven at 350°F for an hour to re-season. This routine will keep your skillet flying high, and your dishes will thank you.
Climbing to Cruising Altitude: 5 Essential Tips for Mastering Your Cast Iron Skillet
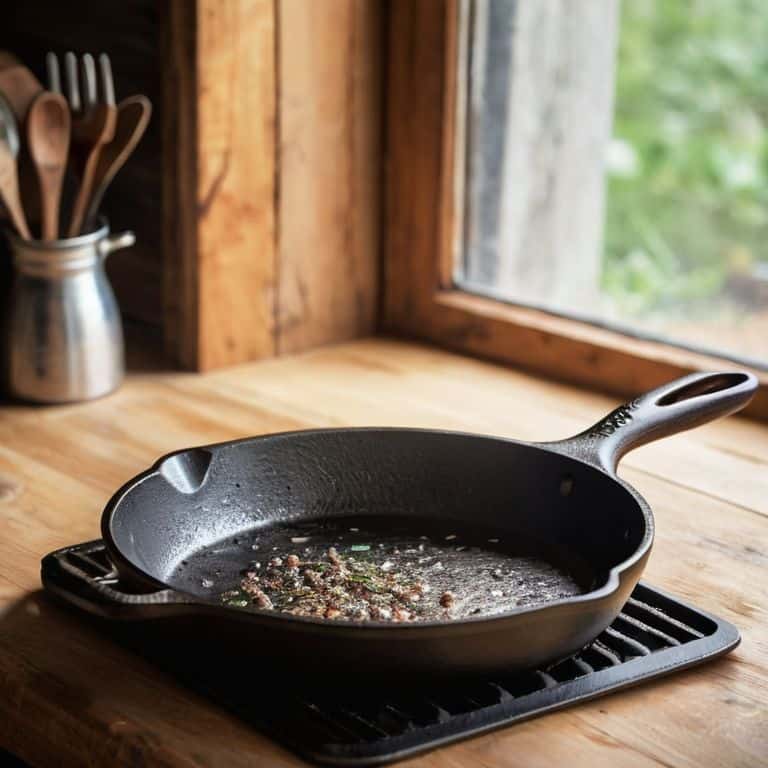
- Pre-heat your skillet over low-medium heat for 5-10 minutes before adding oil or food to ensure even heating and prevent hotspots
- Choose the right oil for the job – for high-heat searing, use an oil with a high smoke point like avocado oil, while for lower heat cooking, olive oil can add rich flavors
- Don’t be afraid to get a little aggressive with your seasoning – a well-seasoned skillet is a non-stick skillet, and it’s easier to maintain than you think
- Respect the cooking temperatures – just like navigating through different airspaces, understanding the optimal temperature ranges for your dishes will make all the difference in the final product
- Treat your cast iron skillet like your trusty aircraft – regular maintenance, gentle cleaning, and proper storage will ensure it remains your reliable companion in the kitchen for many flights to come
Key Takeaways from Mastering Cast Iron Skillet Navigation
Always pre-flight your skillet: Before cooking, ensure your cast iron skillet is properly seasoned and maintained to guarantee optimal performance and flavor.
Understand your flight plan: Navigate cooking temperatures with ease by knowing when to apply high heat for searing and low heat for simmering, just like adjusting altitude in flight.
Stay calm and land smoothly: Don’t rush the cooking process; with patience and practice, you’ll master the art of cast iron cooking, and your dishes will be as smooth as a well-executed landing.
Flying High with Cast Iron
Just as a well-maintained aircraft requires regular checks and balances, a cast iron skillet demands attention to its seasoning and care – the key to a smooth culinary flight, every time.
Daniel Sato
Landing Gear Down: You're Now a Cast Iron Skillet Pro
As we touch down on our journey to mastering the cast iron skillet, let’s do a quick post-flight review. We’ve covered the essential steps to get you cooking like a pro, from seasoning and maintenance to navigating those sometimes-tricky cooking temperatures. Remember, safety first means never being afraid to take your time and ensure your skillet is ready for the task at hand. Whether you’re a seasoned chef or a culinary cadet, the key to success lies in understanding the fundamentals and being willing to practice, practice, practice.
So, as you put your cast iron skillet away, hopefully with a newfound appreciation for its capabilities, keep in mind that the sky’s the limit. Don’t be afraid to experiment with new recipes and techniques – after all, the art of cooking is a journey, not a destination. And when you’re out there, whipping up a storm and making unforgettable meals, just remember: every great dish starts with a solid foundation, a bit of patience, and a willingness to take to the skies, culinary style.
Frequently Asked Questions
What are the best types of oil to use for seasoning a cast iron skillet?
For seasoning a cast iron skillet, I recommend using high-smoke-point oils like peanut or avocado oil. These oils form a durable, non-stick surface. You can also use flaxseed oil for its polymerizing properties, creating a hard, resilient finish. Remember, the right oil is like the right fuel for your aircraft – it sets you up for a smooth flight.
How do I prevent rust from forming on my cast iron skillet?
To prevent rust, think of it like protecting your aircraft from the elements. After use, simply clean and dry your skillet thoroughly, then apply a thin layer of oil to seal it. This ‘seasoning’ creates a barrier, much like a plane’s wax coating, keeping rust at bay and your skillet airworthy for the next culinary flight.
Can I use a cast iron skillet for cooking delicate foods like fish or eggs?
Absolutely, you can cook delicate foods like fish or eggs in a cast iron skillet. Just think of it like flying a sensitive aircraft – gentle touch and smooth control. Preheat your skillet to a medium-low heat, add a small amount of oil, and cook your dish with care. It’s all about finesse, just like navigating through turbulence.