I still remember the first time I tried to preserve a batch of fresh herbs – it was a disaster. I had been told that drying them out was the way to go, but all I ended up with was a bunch of bland, crumbling leaves. It wasn’t until I stumbled upon an old cookbook that I discovered the secret to how to dry fresh herbs for storage. The trick, it turned out, was to do it with intention and care, rather than just tossing them in a dry cupboard. By taking the time to properly dry and store my herbs, I was able to unlock a whole new world of flavors and aromas in my cooking.
As someone who’s passionate about fermenting and preserving, I’m excited to share my knowledge with you on how to dry fresh herbs for storage. In this article, I’ll be walking you through my favorite methods for drying and storing fresh herbs, from the basics of air drying to more advanced techniques like freeze-drying. My goal is to empower you with the skills and confidence to take control of your own pantry, and to start experimenting with the amazing flavors and textures that dried herbs have to offer. By the end of this guide, you’ll be well on your way to becoming a master preserver, with a stash of delicious, home-dried herbs to enhance all your favorite dishes.
Table of Contents
Guide Overview: What You'll Need
Total Time: 1 hour 30 minutes to several days
Estimated Cost: $0 – $20
Difficulty Level: Easy
Tools Required
- String or twine for hanging herbs
- Paper bags for air drying
- Airtight containers for storage
- Tray or basket for laying out herbs
Supplies & Materials
- Fresh herbs such as basil, rosemary, or thyme
- Paper towels for drying
- Wire rack optional, for improved air circulation
Step-by-Step Instructions
- 1. First, let’s start by preparing our herbs for the drying process. This involves giving them a good rinse with cold water to remove any dirt or debris, and then gently patting them dry with a paper towel to remove excess moisture. I like to think of this step as giving my herbs a little spa day before they become the stars of my pantry.
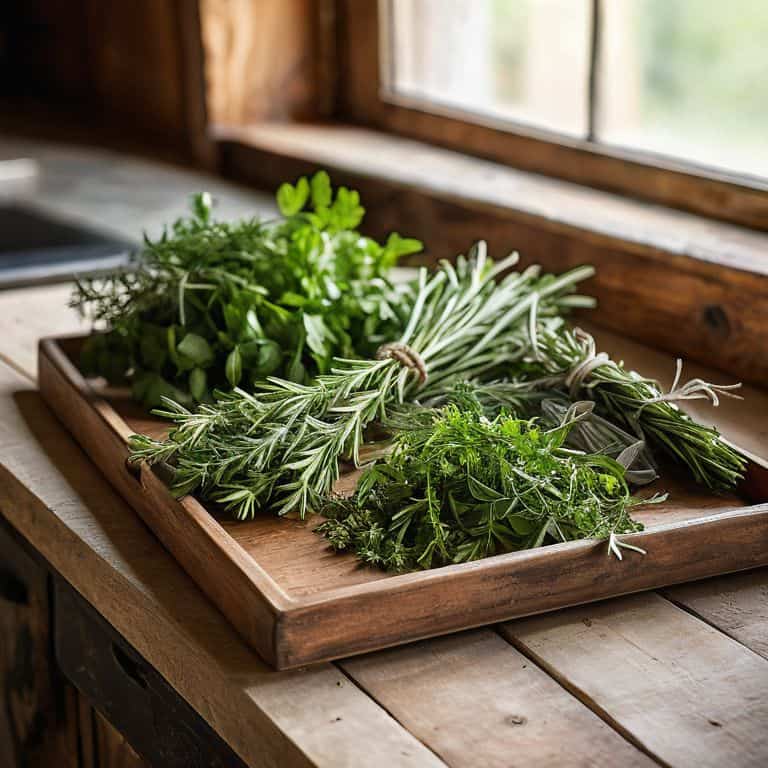
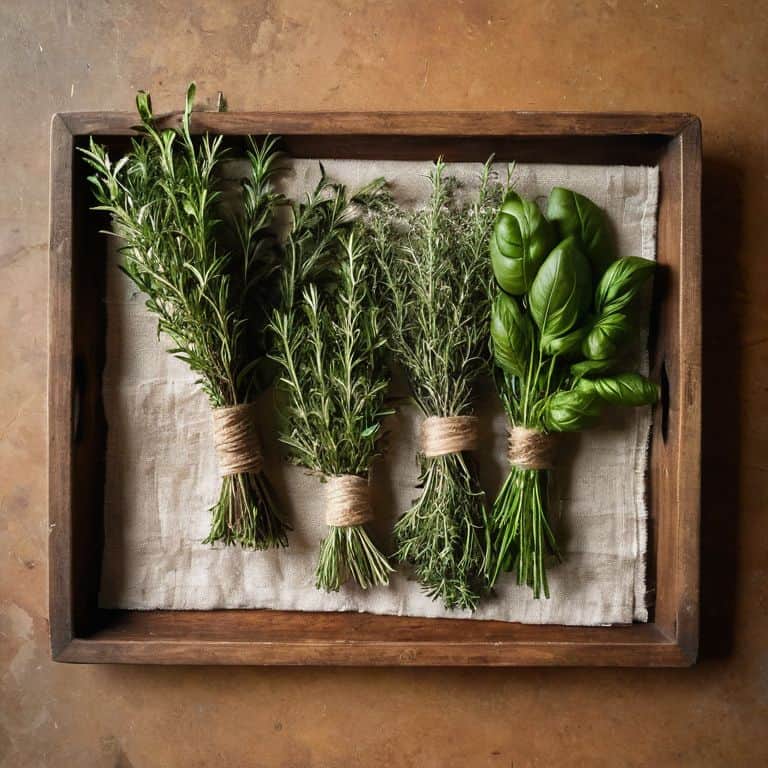
- 2. Next, we need to decide on a drying method. There are a few ways to do this, but my personal favorite is using a simple air drying technique. This involves tying our herbs into small bunches and hanging them upside down in a warm, dry, and dark place. I like to use my pantry for this, as it’s the perfect environment for drying herbs without any direct sunlight or moisture getting in the way.
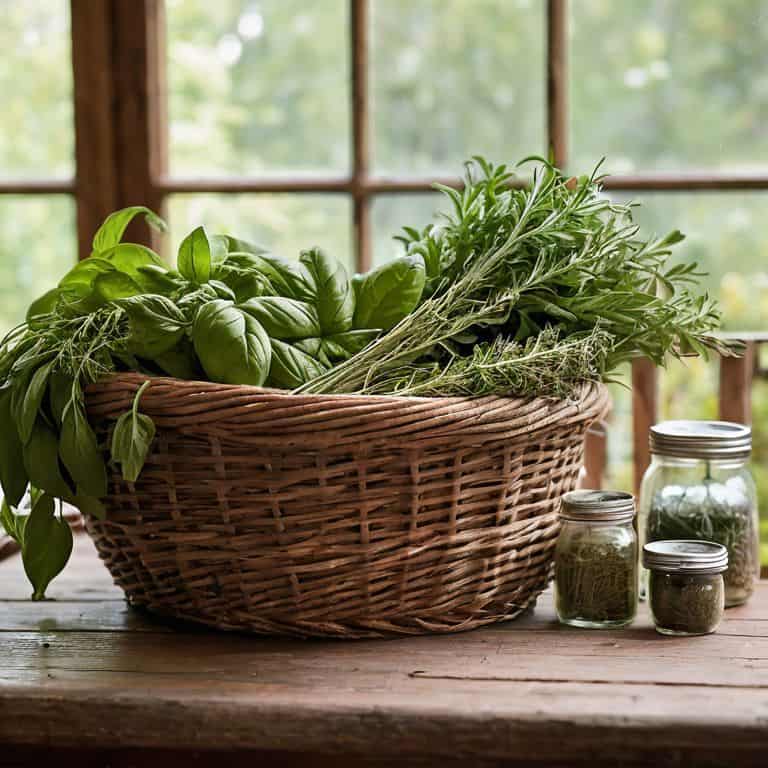
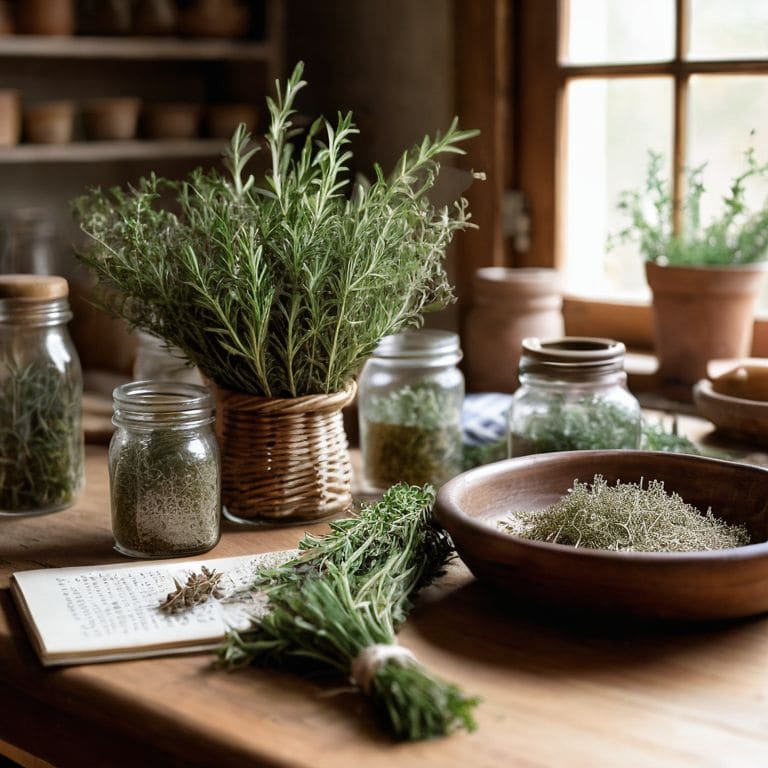
- 3. While our herbs are drying, let’s talk about equipment preparation. We’ll need some airtight containers to store our dried herbs in, as well as some labels to keep track of what we have. I like to use old glass jars and write the names of the herbs on them with a marker. It’s a simple, yet effective way to keep my pantry organized and looking great.
- 4. Now, let’s get back to our drying herbs. After about 1-2 weeks, they should be completely dry and crumbly to the touch. This is when we know they’re ready to be stored away. I like to remove the leaves from the stems and place them in my prepared containers, making sure to press out as much air as possible before sealing them.
- 5. Another method for drying herbs is using a dehydrator. This is a great option if you’re short on time or prefer a more controlled environment for drying your herbs. Simply place the herbs in a single layer on the dehydrator trays and set the temperature to its lowest setting. I like to check on them after a few hours to make sure they’re not overdrying.
- 6. Once our herbs are dried and stored, it’s time to think about uses in the kitchen. Dried herbs are perfect for adding flavor to soups, stews, and sauces. I like to use them in combination with other ingredients to create unique blends that add depth and complexity to my dishes. Experimenting with different recipes is all part of the fun.
- 7. Finally, let’s not forget about labeling and rotation. It’s essential to keep track of how long our herbs have been stored and to use the oldest ones first. I like to label my containers with the date and contents, and then store them in a way that makes it easy to see what I have. This helps me ensure that my herbs stay fresh and flavorful for as long as possible.
Dry Herbs Like a Pro
As I delve into the world of drying herbs, I’ve come to realize that preserving herbal flavors is an art that requires a bit of finesse. To achieve the best results, it’s essential to understand the nuances of drying times and temperatures. I’ve found that a low and slow approach works wonders, allowing the herbs to retain their potency and aroma. When it comes to drying herb garden harvest, I like to think of it as a way to bottle up the essence of the season, saving it for when the weather turns cold and grey.
One of the most significant advantages of drying herbs is the ability to create homemade herb infusions that can be used in a variety of dishes. By drying herbs at home, I can control the quality and flavor profile, ensuring that my infusions are always bursting with flavor. Plus, drying herbs is a great alternative to freezing, as it allows for a longer shelf life and easier storage. I’ve experimented with different herb drying methods comparison, and I can confidently say that air drying is my preferred method.
To get the most out of my dried herbs, I make sure to store them in a cool, dark place, away from direct sunlight and moisture. This helps to preserve the aromatic oils and ensure that my herbs remain potent for months to come. Whether I’m using them to make tea or add flavor to my favorite dishes, I know that my dried herbs will always deliver. And, as an added bonus, I can use them to make delicious storing dried herbs for tea, perfect for a soothing cup on a chilly evening.
Drying vs Freezing Which Wins
When it comes to preserving herbs, the debate is on: drying vs freezing. In my experience, both methods have their perks. Drying is amazing for concentrates, like when I want to make herbal teas or infuse oils. But, let’s be real, frozen herbs are like a flavor bomb just waiting to happen – they retain that vibrant taste and aroma that’s just perfect for soups, stews, or sauces.
For me, it ultimately comes down to the herb itself and what I’m using it for. Delicate herbs like basil or dill, I like to freeze. Heartier ones like rosemary or thyme, I’ll dry. It’s all about experimenting and finding what works best for you and your recipes.
Preserving Herbal Flavors Made Easy
Now that we’ve mastered the art of drying fresh herbs, let’s talk about preserving their incredible flavors. I like to think of it as capturing a moment in time – when those herbs were at their peak freshness and potency. By drying them, we’re essentially locking in that flavor and aroma, making it easy to add a punch of herbal goodness to any dish, anytime. Whether it’s a sprinkle of dried basil on a homemade pizza or a pinch of dried rosemary in a hearty stew, the possibilities are endless.
I’ve found that the key to preserving herbal flavors is to experiment and have fun with different blends and combinations. Try mixing dried herbs with other ingredients like lemon peel, garlic, or chili flakes to create unique flavor profiles that will elevate your cooking to the next level.
My Top 5 Tips for Drying Fresh Herbs Like a Rockstar
- Harvest your herbs at the right time, just as the sun is rising – the dew will still be glistening on the leaves, and the oils will be at their most potent
- Use a combination of air drying and desiccant packets to absorb any excess moisture – trust me, it’s a game-changer for preserving those delicate flavors
- Don’t be afraid to get creative with your drying methods – I’ve used everything from old wooden clothespins to DIY herb drying racks made from repurposed pallets
- Monitor the temperature and humidity levels in your drying area – you want it to be cool, dry, and draft-free, like a cozy little herb sanctuary
- Store your dried herbs in airtight containers, like mason jars or hand-carved wooden boxes, to preserve the flavors and aromas – and don’t forget to label them with the date and herb type, so you can keep track of your stash
Key Takeaways for the Herb Enthusiast
By embracing the art of drying fresh herbs, you’ll unlock a world of flavors to elevate your cooking and baking, all while preserving the essence of your favorite seasonal herbs.
Drying and preserving your own herbs at home is simpler than you think, requiring just a few basic tools and some patience, allowing you to stockpile flavor bombs for months to come.
Whether you’re a seasoned chef or a curious beginner, mastering the techniques of drying and preserving herbs will connect you deeper to your food, encouraging experimentation and creativity in the kitchen.
The Art of Preservation
Drying fresh herbs isn’t just about storing them for later, it’s about unlocking a depth of flavor that’s just waiting to elevate your dishes to the next level – and the best part is, you get to be the curator of that flavor!
Tom Navarro
Drying Fresh Herbs: The Key to Unlocking Endless Flavors
Now that we’ve covered the basics of drying fresh herbs for storage, let’s recap the essentials: we’ve discussed how to prepare our herbs, the different methods for drying them, and some tips for preserving their flavors. Whether you’re a seasoned pro or just starting out, drying your own herbs can be a total game-changer for adding depth and complexity to your cooking. By following these simple steps, you can enjoy your favorite herbs year-round and experiment with new recipes and flavors.
As you start drying your own fresh herbs, remember that the process is just as important as the end result. It’s about getting creative and having fun with the ingredients you have on hand. Don’t be afraid to experiment and try new things – you never know what amazing flavors you might discover. With a well-stocked pantry of dried herbs, the possibilities are endless, and I’m excited to see what you’ll create. Happy drying, and don’t forget to share your favorite herb-drying tips and recipes with me!
Frequently Asked Questions
What's the best way to dry delicate herbs like basil or mint without losing their flavor and aroma?
For delicate herbs like basil or mint, I swear by air-drying – just tie them in small bunches and hang upside down in a warm, dry spot. This method preserves their fragile flavors and aromas beautifully, and it’s ridiculously easy!
Can I use my oven to dry fresh herbs, or is it better to air dry them?
Absolutely, you can use your oven to dry fresh herbs, but I’m a fan of air drying – it’s low-maintenance and preserves those delicate flavors. Just tie them up in small bunches and hang upside down in a warm, dry spot. Oven drying works too, just keep it on the lowest temp setting and check on them frequently to avoid burning those beautiful herbs.
How do I know when my dried herbs are properly preserved and ready for storage?
Ah, the moment of truth! Your dried herbs are ready to rock when they’re crispy and crumbly to the touch, with no hint of moisture or flexibility – that’s when you know you’ve got a perfectly preserved batch, baby!