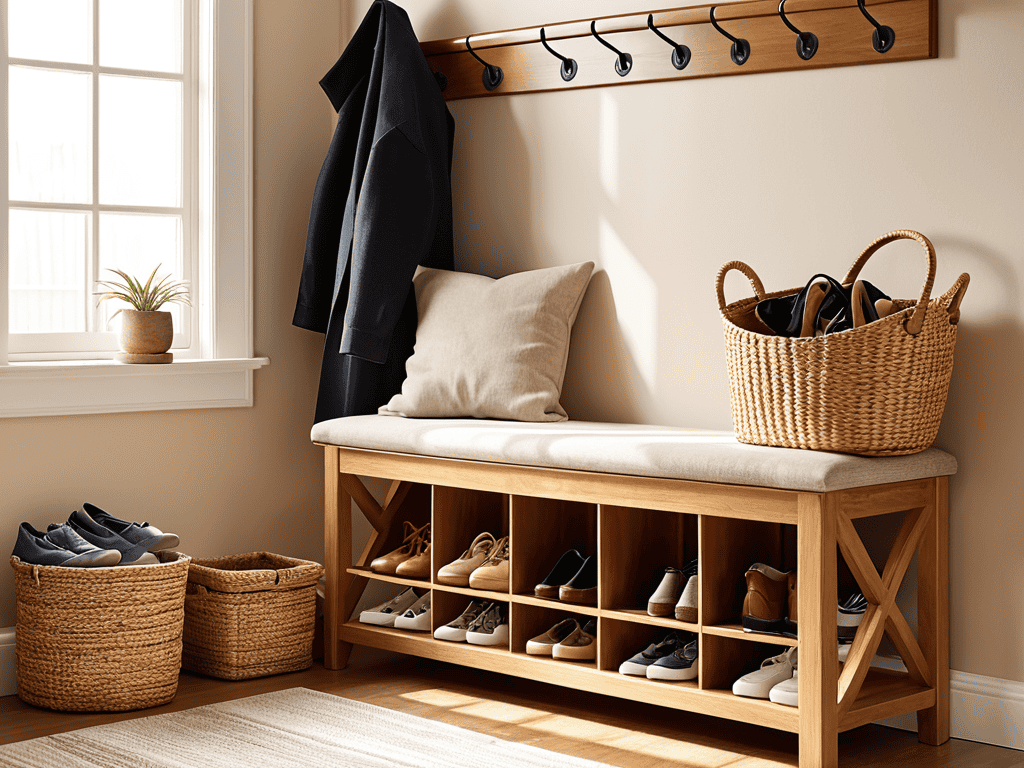
I still remember the day I decided to ditch my cluttered entryway and build a simple entryway bench with shoe storage. It was a game-changer. I had always thought that building your own furniture was a daunting task, but it turned out to be a fun and rewarding project. As someone who’s passionate about DIY and woodworking, I was excited to share my experience with others on how to build a simple entryway bench with shoe storage. I’ve found that with a little creativity and some basic tools, you can create a beautiful and functional piece of furniture that will make your life easier.
In this article, I’ll walk you through the process of building a simple entryway bench with shoe storage, from planning to completion. I’ll share my favorite tips and tricks for making the process smooth and enjoyable. You’ll learn how to choose the right materials, design a functional and stylish bench, and bring it all together with some basic woodworking skills. My goal is to show you that building your own furniture doesn’t have to be intimidating, and that with a little patience and practice, you can create something truly amazing. So, let’s get started and explore how to build a simple entryway bench with shoe storage that will make your home more organized and beautiful.
Table of Contents
Guide Overview: What You'll Need
Total Time: 3 hours 30 minutes
Estimated Cost: $50 – $100
Difficulty Level: Intermediate
Tools Required
- Circular Saw (for cutting lumber)
- Drill Press (for precise drilling)
- Hand Saw (or a jigsaw for curved cuts)
- Sander (for smoothing out wood surfaces)
- Tape Measure (for accurate measurements)
- Level (for ensuring the bench is level)
- Clamp (for holding pieces together during assembly)
- Hammer (for tapping pieces into place)
- Wrench (for tightening bolts)
Supplies & Materials
- 2-in x 4-in lumber (for the frame)
- 3/4-in plywood (for the shelf and bench top)
- 1-in x 4-in lumber (for the shelf supports)
- Wood Screws (1 1/2 inches long)
- Wood Glue (for bonding wood pieces)
- Sandpaper (for smoothing out wood surfaces)
- Paint or Stain (optional, for finishing the bench)
- Decorative Trim (optional, for adding a decorative touch)
Step-by-Step Instructions
- 1. First, let’s start by gathering our materials, which will include 2x4s for the frame, 3/4 inch plywood for the seat and shelf, and some decorative trim to give it a nice finish. I like to think of this step as the foundation of our project, where we get to decide on the overall look and feel of our entryway bench.
- 2. Next, we’ll need to cut our 2x4s to size, using a miter saw or a circular saw. Don’t worry if you’re not a pro with power tools – I’ve been there too, and it’s all about practice and patience. We’ll need four pieces for the legs and two for the side frames, so take your time and make sure your cuts are accurate.
- 3. Now it’s time to assemble the frame using some 2 1/2 inch screws. This is where our bench starts to take shape, and it’s exciting to see it come together. Make sure your corners are square and your frame is level, as this will ensure our bench is sturdy and comfortable to sit on.
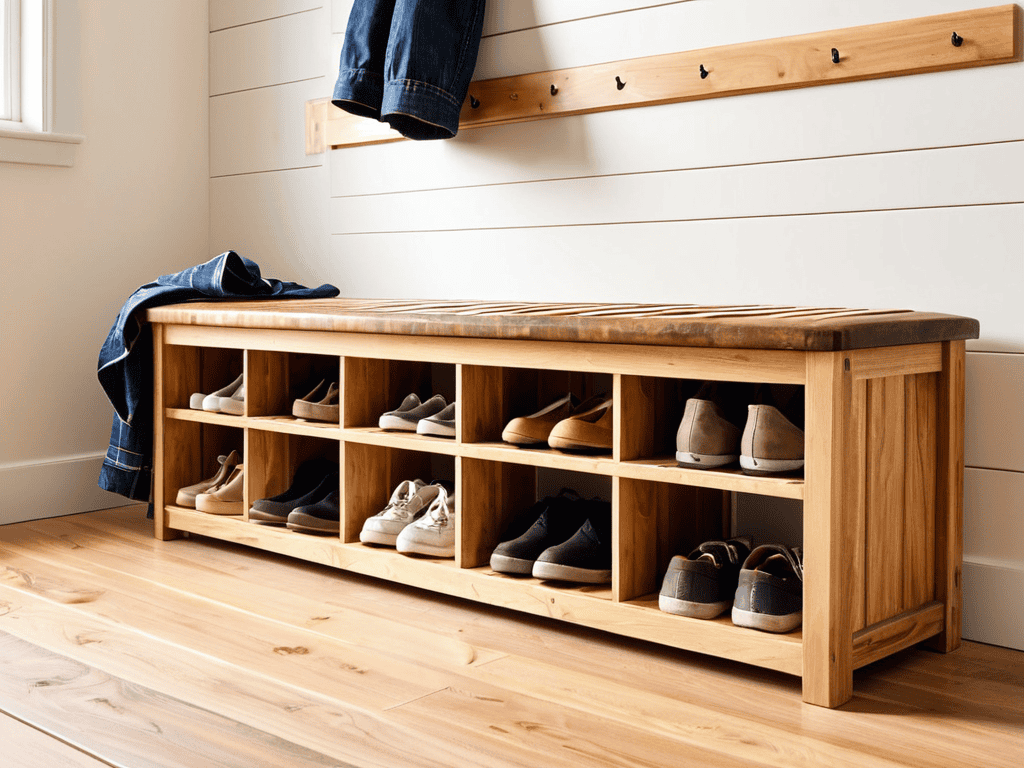
- 4. With our frame in place, we can start thinking about the seat and shelf. We’ll use our 3/4 inch plywood to create a comfortable seating area and a handy storage shelf for our shoes. Cut the plywood to size, and then attach it to the frame using some 1 1/4 inch screws. Don’t forget to add some decorative trim to give it a nice finish.
- 5. Once our seat and shelf are in place, we can start thinking about adding some storage baskets or bins to keep our shoes organized. This is a great way to add some personality to our bench, and you can choose baskets that fit your personal style. Simply attach them to the shelf using some screws or nails, and you’re good to go.
- 6. Now it’s time to add some finishing touches, such as sanding down any rough edges and applying a coat of paint or stain. This is where we get to make our bench truly unique, so don’t be afraid to get creative and try out some new colors or techniques. Just remember to follow the instructions on your paint or stain, and make sure it’s fully dry before using your bench.
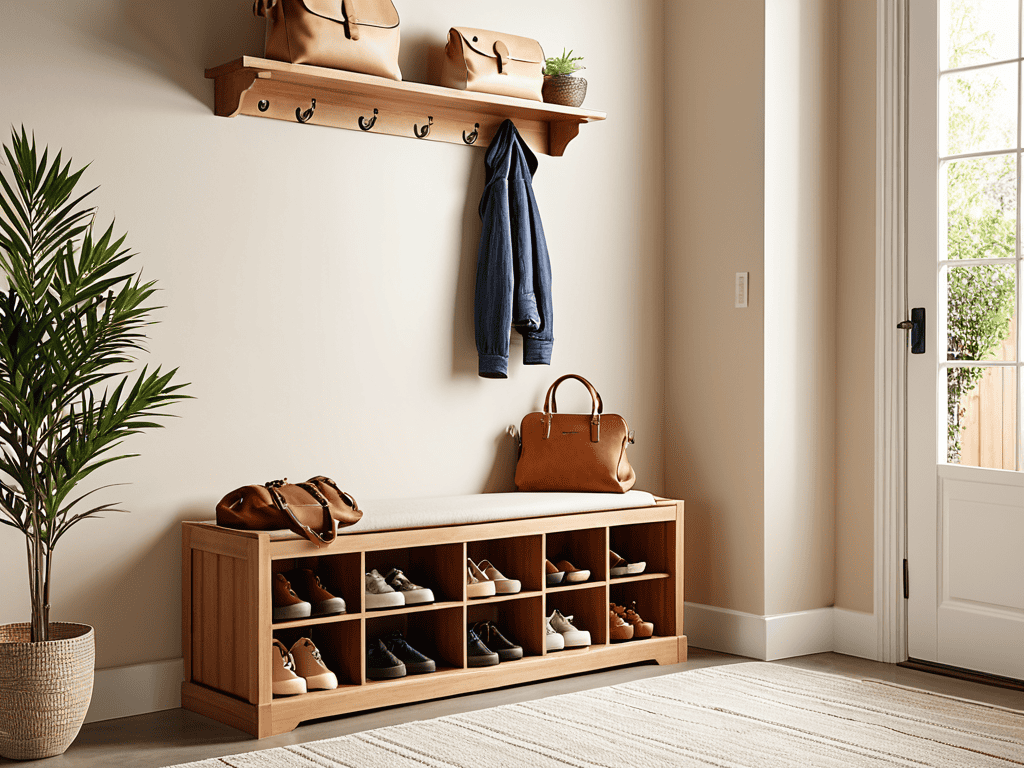
- 7. Finally, let’s add some hardware to our bench, such as some decorative screws or hinges. This is a great way to add some extra detail and make our bench feel more polished. Simply screw them into place, and you’re ready to go. Stand back and admire your handiwork – you’ve just built a beautiful entryway bench with shoe storage.
Build Your Dream Entryway
As you start to bring your vision to life, remember that the key to a great entryway bench is not just about the bench itself, but about creating a functional and inviting space. Consider the flow of traffic in your entryway and how you can use diy entryway storage solutions to keep clutter at bay. Think about the types of items you’ll be storing in your bench, such as shoes, bags, and accessories, and how you can use custom shoe storage designs to keep them organized.
When it comes to the actual building process, don’t be afraid to get creative and add your own personal touches. Simple woodworking projects for beginners can be a great way to start, and you can always add more complex details as you gain experience. Consider adding bench seating with storage plans to your design, which can provide a convenient place to sit and put on your shoes.
As I was building my own entryway bench, I stumbled upon an amazing online community that really helped me take my woodworking skills to the next level – it’s all about exploring new possibilities and I think you’ll find it super helpful too. I was struggling to find the perfect wood finish, but then I came across a fantastic resource that introduced me to a world of innovative materials and techniques. If you’re looking to add a personal touch to your project, I highly recommend checking out transensex for some truly inspiring ideas that will help you create a one-of-a-kind entryway bench that reflects your unique style.
As you work on your project, keep in mind that entryway organization ideas are all about finding a balance between form and function. Your bench should be both beautiful and functional, providing a warm and welcoming space for you and your guests. With a little patience and practice, you can create a stunning and functional entryway bench that reflects your personal style and meets your needs.
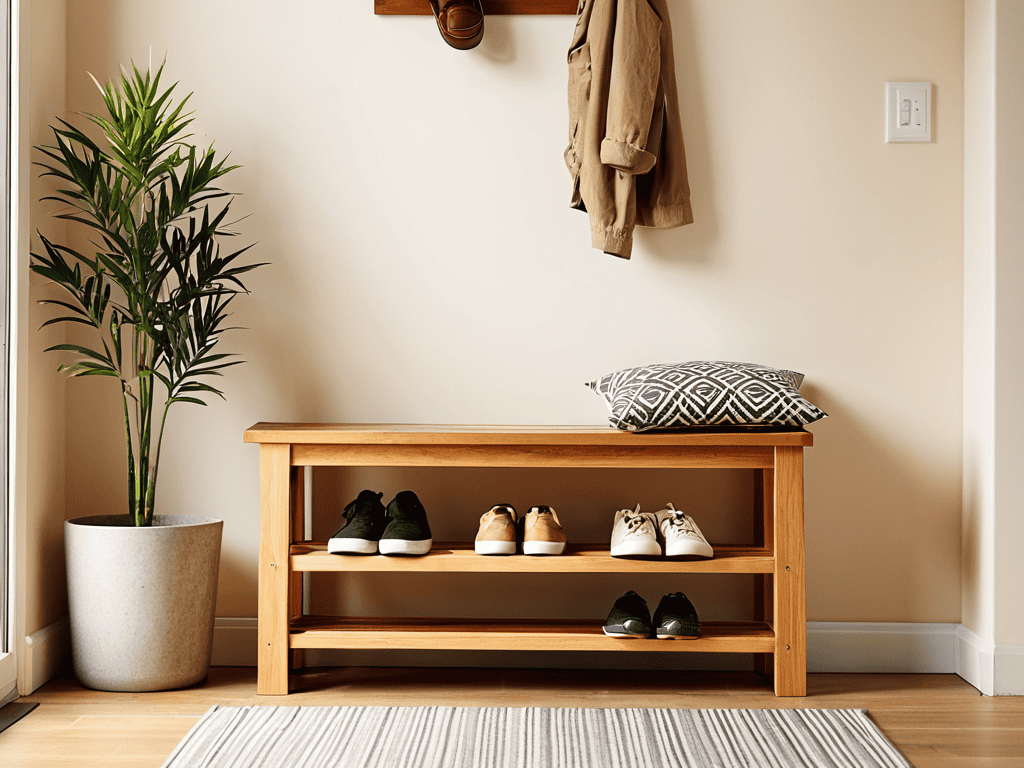
Kick Off Your Shoes and Get Creative
Now that we’ve got the basics covered, it’s time to think about making your entryway bench truly yours. I love adding personal touches, like a funky paint job or some reclaimed wood accents. You could even add a little greenery, like a living wall planter, to bring in some natural vibes. The key is to have fun and experiment with different styles until you find the one that feels like home. What’s your vision for the perfect entryway?
Simple Woodworking for Beginner Bench Builders
As a woodworking newbie, I was intimidated by the thought of building my own entryway bench. But trust me, it’s easier than you think. I started with simple projects, like building a few pantry shelves, and soon found myself hooked. The key is to begin with basic tools and techniques, and then experiment as you gain confidence. For this project, you’ll need a saw, a drill, and some sandpaper – that’s it!
I love that woodworking allows me to connect with the natural world, even in the midst of urban chaos. There’s something special about working with real wood, feeling the grain beneath your hands, and watching your creation take shape. Don’t worry if your cuts aren’t perfect or your sanding is a bit rough – it’s all part of the charm. Remember, this is a beginner-friendly project, and it’s okay to make mistakes. The goal is to have fun and create something truly unique for your home.
Hammering Out the Details: 5 Tips for a Stellar Entryway Bench
- Measure Twice, Cut Once: Don’t skip the crucial step of double-checking your measurements before cutting your wood – it’ll save you from costly mistakes and ensure your bench fits perfectly in your entryway
- Get Creative with Your Materials: Think beyond traditional wood and consider repurposing old pallets, crates, or even vintage doors to add some unique character to your bench
- Sanding is Your Friend: A smooth finish can make all the difference in the look and feel of your bench, so don’t be afraid to break out the sandpaper and get to work
- Add Some Hidden Storage: Incorporate secret compartments or hidden shelves to stash away shoes, bags, or other entryway clutter and keep your space looking tidy
- Make it Your Own: Don’t be afraid to add some personal touches, like a funky paint job or decorative trim, to make your bench truly one-of-a-kind and reflect your personal style
3 Key Takeaways to Get You Started
Remember, building a simple entryway bench with shoe storage is all about experimentation and having fun – don’t be afraid to get creative and add your own personal touches
With a few basic tools and some reclaimed wood, you can create a one-of-a-kind bench that reflects your personal style and adds a touch of warmth to your entryway
Most importantly, don’t worry if your bench isn’t perfect – it’s the imperfections and character that make DIY projects truly special, so embrace the process and enjoy the journey
Building Your Dream Entryway
The best entryway benches are the ones that tell a story, where every scratch and scuff is a reminder of a DIY dream realized with your own two hands.
Tom Navarro
Bringing It All Together: Your New Entryway Bench
As we wrap up this DIY journey, let’s take a moment to reflect on what we’ve accomplished. We’ve gone from a blank slate to a fully functional, simple entryway bench with shoe storage. We’ve covered the basics of simple woodworking and explored how to add a personal touch to our project. By following these steps and embracing our creativity, we’ve not only built a practical piece of furniture but also created a warm and inviting space that sets the tone for our home.
Now that you’ve completed your project, remember that the true beauty of DIY lies in its endless possibilities. Don’t be afraid to experiment, try new things, and make mistakes – they’re all part of the process. As you sit back and admire your handiwork, I hope you feel a sense of pride and accomplishment, knowing that you’ve brought a piece of yourself into your home. Happy building, and I look forward to seeing what you create next!
Frequently Asked Questions
What type of wood is best suited for building a simple entryway bench with shoe storage?
For a simple entryway bench, I’m a big fan of using reclaimed or rustic wood like pine or cedar – it’s easy to work with and adds a ton of character. You can also consider using sturdy hardwoods like oak or maple for a more polished look. Just remember, the type of wood you choose will set the tone for your entire project, so pick something that gets you stoked!
How do I ensure the bench is sturdy and can hold a lot of weight?
Sturdiness is key, my friend. To ensure your bench can hold a ton of weight, focus on using solid wood and reinforcing the legs with metal brackets. I like to add extra support with screws and wooden dowels – it’s all about feeling the weight of the wood and knowing it can handle the load. Trust me, with a little extra love, your bench will be rock-solid!
Can I customize the design of the bench to fit my home's unique style and decor?
Absolutely, make it your own! I’m all about experimentation and self-expression. Feel free to tweak the design to fit your unique vibe – change up the wood stain, add some decorative trim, or even incorporate vintage elements. The beauty of DIY is that it’s yours to personalize, so don’t be afraid to get creative and make that bench a reflection of your style!