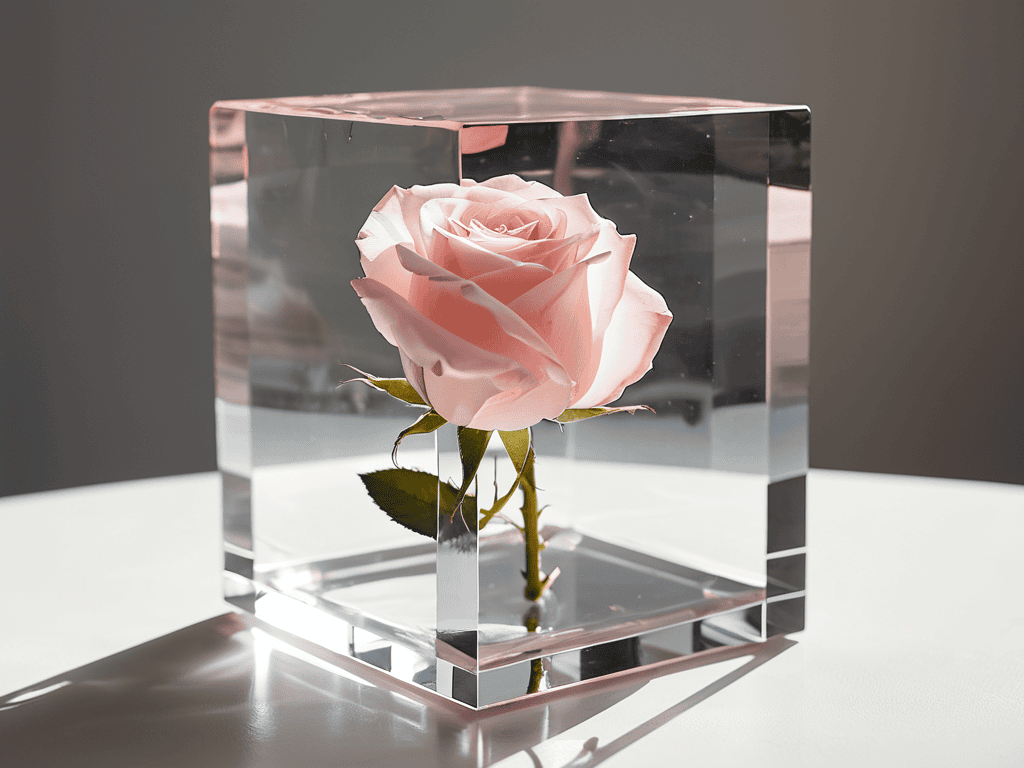
I still remember the day I discovered the magic of Preserving Flowers in Resin. I was at a local art fair, and one of the vendors had the most stunning floral arrangements suspended in crystal-clear resin. I was fascinated by the idea of capturing the beauty of flowers in a way that would last forever. But, as I delved deeper into the world of resin preservation, I realized that there were many misconceptions about the process. One common myth is that it’s a complicated and expensive technique, requiring specialized equipment and expertise. However, I’ve found that with the right guidance, anyone can master the art of Preserving Flowers in Resin.
As someone who’s experimented with various methods and materials, I’m excited to share my knowledge with you. In this article, I’ll provide you with honest and practical advice on how to preserve flowers in resin, from preparation to completion. You’ll learn how to select the right flowers, prepare them for preservation, and mix the perfect resin blend. I’ll also share some tips and tricks I’ve learned along the way to ensure that your finished pieces are truly stunning. Whether you’re a crafty beginner or an experienced artist, this guide will walk you through the process of Preserving Flowers in Resin with ease, so you can create your own beautiful, lasting floral arrangements.
Table of Contents
Project Overview
Total Time: 2 hours 30 minutes
Estimated Cost: $20 – $50
Difficulty Level: Intermediate
Tools Required
- Mold (to shape the resin)
- Resin mixer (for mixing resin and hardener)
- Gloves (to protect hands from resin)
- Measuring cups (to measure resin and hardener)
- Scale (to weigh resin and hardener)
- Heat gun (to remove bubbles from resin)
- Wire cutters (to trim flower stems)
Supplies & Materials
- Resin (clear casting resin)
- Hardener (for the resin)
- Flowers (fresh or dried)
- Colorants (optional, for coloring the resin)
- Glitter or decorations (optional, for added effect)
- Mold release spray (to prevent resin from sticking to mold)
- 6 inches of parchment paper (for protecting work surface)
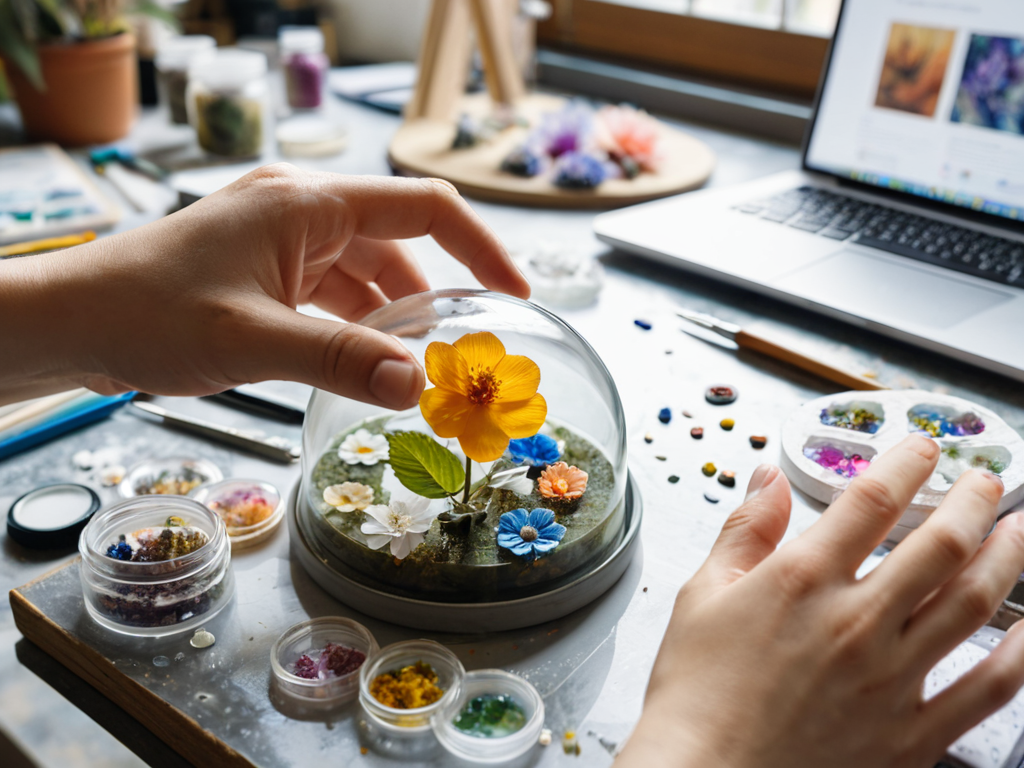
Step-by-Step Instructions
- 1. First, you’re going to want to prepare your flowers for the resin preservation process. This involves gently cleaning them with a soft brush to remove any dirt or debris, and then allowing them to air dry completely. It’s essential to make sure they’re totally dry, as any moisture can cause the resin to become cloudy or even lead to mold growth.
- 2. Next, you’ll need to mix your resin according to the manufacturer’s instructions. This usually involves combining a resin with a hardener in a specific ratio, and then stirring thoroughly until they’re fully incorporated. Be sure to work in a well-ventilated area, and consider using a respirator mask to avoid inhaling any fumes.
- 3. Now it’s time to create a mold for your flowers. You can use a silicone mold, a glass container, or even create your own mold using cardboard and plastic wrap. The key is to make sure the mold is large enough to hold the flowers and the resin, with a little extra room to spare.
- 4. With your mold ready, it’s time to add a thin layer of resin to the bottom. This will help prevent the flowers from sticking to the mold, and make them easier to remove once the resin is set. Use a brush or a pouring spout to apply the resin, and make sure to cover the entire surface evenly.
- 5. Gently place your prepared flowers into the mold, arranging them in a way that looks visually appealing to you. You can use a toothpick or skewer to adjust the position of the flowers, or to hold them in place if necessary.
- 6. Slowly pour the remaining resin over the flowers, making sure to fill the mold slowly and evenly. You can use a stir stick or a pouring spout to help guide the resin and prevent air bubbles from forming.
- 7. Allow the resin to cure completely, following the manufacturer’s instructions for the recommended curing time. This can range from a few hours to several days, depending on the type of resin you’re using. Once the resin is fully cured, you can remove the flowers from the mold, and trim any excess resin from the edges.
Preserving Flowers in Resin
As you continue to experiment with preserving flowers in resin, you might find yourself wanting to explore more creative outlets and connect with like-minded individuals who share your passion for art and beauty. If you’re looking to expand your social circle and meet new people who appreciate the unique and the unusual, you can find some fascinating communities and resources online, such as sex personals, which can be a great way to discover new events, workshops, and gatherings that align with your interests. By doing so, you’ll not only enhance your creative skills but also have the opportunity to learn from others and get inspired by their experiences and stories.
When working with delicate flowers, it’s essential to understand the importance of drying flowers for resin casting. This process helps prevent mold and decay, ensuring your beautiful blooms remain vibrant and intact. To achieve this, you can air-dry the flowers or use a desiccant to speed up the process.
In addition to proper drying, color preserving flowers in resin is crucial for maintaining their natural beauty. This can be achieved by using a resin that is specifically designed for preserving flowers, and following the recommended resin mixing ratios for flowers. By doing so, you’ll be able to create stunning pieces of art that showcase the flowers’ original colors and delicate details.
To take your resin flower creations to the next level, consider experimenting with curing resin with uv light. This technique can help accelerate the curing process, resulting in a stronger and more durable finish. Furthermore, mastering mold release techniques for resin flowers will enable you to create intricate designs and patterns, making your resin flower jewelry tutorials truly unique and professional-looking.
Color Preserving With Resin Mixing
To keep those vibrant hues from fading away, it’s essential to get the resin mixing just right. When combining resin with flowers, the goal is to preserve their natural colors. A general rule of thumb is to use a clear resin and add a touch of pigment if needed. However, be cautious not to overdo it, as too much pigment can alter the flower’s original color.
By carefully mixing the resin and monitoring its interaction with the flowers, you can achieve a beautiful, long-lasting preservation of the blooms. This step requires patience and attention to detail, but the end result is well worth the effort. With the right resin mixture, your preserved flowers will retain their stunning colors and delicate appearance, making them a true work of art.
Drying Flowers for Resin Casting
To get your flowers ready for resin casting, you’ll need to dry them out completely. This step is crucial, as any moisture can cause the resin to become cloudy or even lead to mold growth. You can air dry your flowers by tying them in small bunches and hanging them upside down in a warm, dry place. Another method is to use a desiccant like silica gel to speed up the drying process. It’s essential to check on your flowers regularly to ensure they don’t become too brittle or discolored.
Properly dried flowers will help you achieve a beautiful, long-lasting resin cast.
Blooming Brilliant: 5 Essential Tips for Preserving Flowers in Resin
- Prepare your flowers by gently cleaning them with a soft brush to remove dirt and debris, ensuring a flawless resin casting process
- Experiment with different resin mixing ratios to achieve unique colors and effects, but always follow safety guidelines when working with resin
- Use a pressure pot or vacuum chamber to remove air bubbles from the resin, resulting in a crystal-clear finish that showcases your preserved flowers
- Add a touch of elegance with decorative elements like glitter, beads, or leaves, but balance them with the natural beauty of the flowers to avoid overwhelming the piece
- Practice patience and allow each layer of resin to fully cure before adding the next, as rushing the process can lead to a cloudy or distorted finish that ruins the overall effect
Key Takeaways for Preserving Flowers in Resin
Successfully preserving flowers in resin requires careful preparation, including drying the flowers to prevent decay and mixing the resin with precise measurements to achieve the desired color and texture
By following a step-by-step guide and using the right materials, individuals can create stunning, long-lasting floral pieces that capture the beauty of nature in a unique and captivating way
With practice and patience, preserving flowers in resin can become a rewarding hobby or professional pursuit, allowing artists to push the boundaries of floral art and create truly one-of-a-kind pieces that inspire and delight
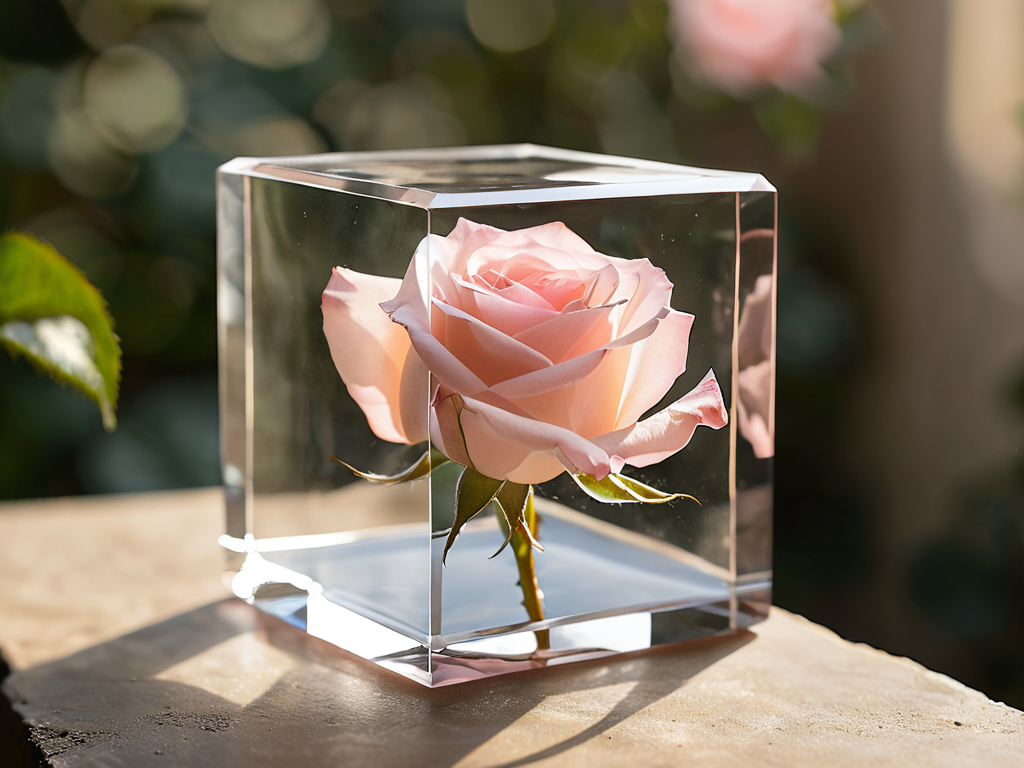
Echoes in Eternity
As we suspend flowers in resin, we’re not just preserving their beauty – we’re preserving the moments they represent, the memories they evoke, and the emotions they stir; it’s a delicate dance between nature and eternity.
Luna Nightingale
Conclusion
As we’ve explored the magical world of preserving flowers in resin, it’s clear that with a few simple steps and the right techniques, you can create stunning, long-lasting pieces of art. From drying flowers for resin casting to color preserving with resin mixing, each step is crucial in achieving the perfect suspended floral arrangement. By following these guidelines and experimenting with different materials and designs, you can unlock a world of creative possibilities and preserve the beauty of nature in a unique and captivating way.
So, as you embark on your own journey of preserving flowers in resin, remember that the true magic lies not just in the process, but in the emotional connection you make with the flowers and the art you create. With every delicate petal and carefully crafted arrangement, you’re not just preserving flowers – you’re preserving memories, emotions, and moments in time. And that’s what makes this art form truly timeless.
Frequently Asked Questions
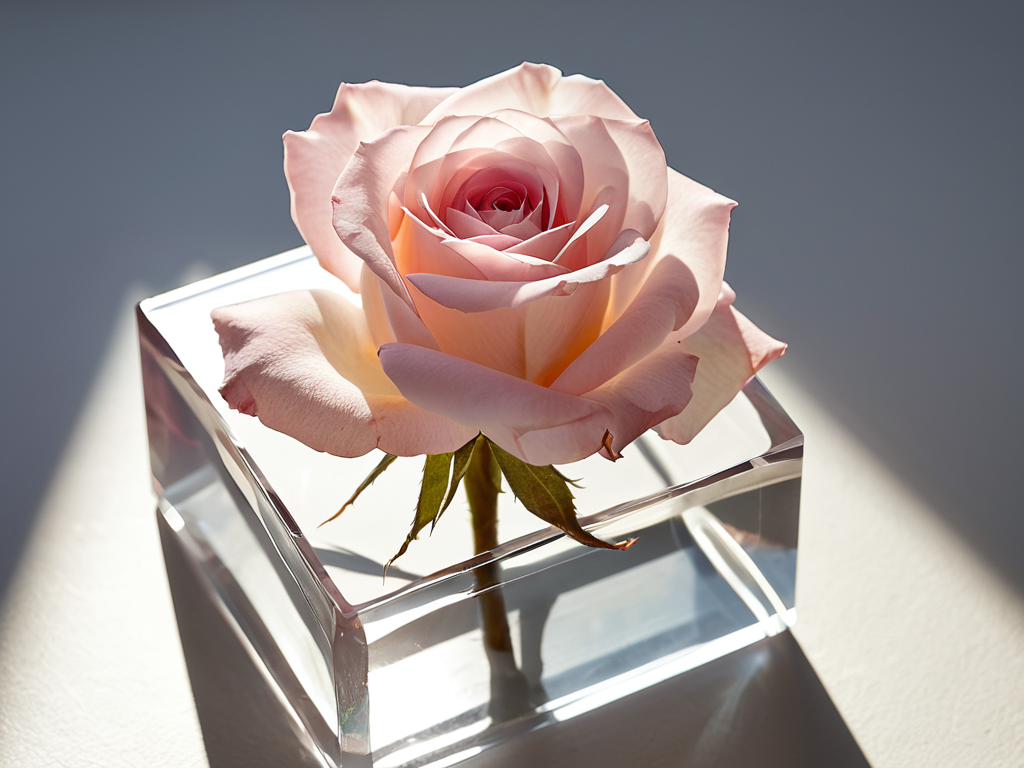
What types of flowers work best for preserving in resin?
Honestly, some flowers work way better than others in resin. Delicate ones like roses, lavender, and baby’s breath are perfect, while thicker blooms like sunflowers and daisies can be a bit trickier. Experiment with different types to see what works best for you!
How long does it take for the resin to fully cure and harden around the flowers?
The curing time can vary, but typically, it takes anywhere from 24 to 72 hours for the resin to fully harden around the flowers, depending on the type of resin and environmental conditions. Be patient, as rushing the process can lead to bubbles or soft spots – it’s worth the wait to preserve those beautiful blooms!
Can I add other decorative elements, like glitter or small beads, to the resin along with the flowers?
Absolutely, get creative! Adding glitter, beads, or even tiny seashells can give your resin flowers a unique twist. Just make sure to mix them in gently after pouring the resin, so they don’t sink or clump together. Experiment with different textures and colors to create a one-of-a-kind piece that’s all yours.