I still remember the first time I attempted to make my own cured meats – it was a disaster. I had been told that it was a complicated, precise process that required specialized equipment and a deep understanding of obscure techniques. But as I delved deeper into the world of how to make cured meats, I discovered that this wasn’t entirely true. In fact, the basics of curing meats are surprisingly simple, and with a little practice, anyone can create delicious, mouth-watering treats at home.
As we explore the art of how to make cured meats together, I promise to cut through the noise and give you the honest, no-hype advice you need to get started. We’ll cover the essential techniques, from selecting the right ingredients to troubleshooting common issues, and I’ll share some of my own favorite recipes to inspire you to experiment and try new things. Whether you’re a seasoned foodie or just starting out, my goal is to empower you with the knowledge and confidence to create your own amazing cured meats at home, and to discover the joy of working with your hands to create something truly delicious.
Table of Contents
Guide Overview: What You'll Need
Total Time: several days to several weeks
Estimated Cost: $50 – $200
Difficulty Level: Intermediate / Hard
Tools Required
- Meat Grinder (optional, depending on desired texture)
- Sausage Stuffer (for making sausages)
- Sharp Knife (for trimming and cutting meat)
- Curing Chamber or Refrigerator (for controlled temperature and humidity)
- Thermometer (for monitoring temperature)
- Hygrometer (for monitoring humidity)
Supplies & Materials
- Pork or Beef (or other meats of choice)
- Curing Salt (also known as pink salt or Prague powder)
- Brown Sugar (for balancing flavor)
- Black Pepper (for flavor)
- Other Spices and Seasonings (optional, depending on desired flavor profile)
- Casings (for making sausages, can be natural or synthetic)
- Cheesecloth or Paper Towels (for drying and wrapping cured meats)
Step-by-Step Instructions
- 1. First, let’s start by preparing our curing mixture, which typically consists of a combination of salt, sugar, and other ingredients like pink curing salt, black pepper, and any other spices or herbs we like. I like to think of this step as the foundation of our entire cured meat-making process, so it’s essential to get it just right. We’ll be using this mixture to coat our meat, so make sure to have enough on hand.
- 2. Next, we need to select and prepare our meat, which can be anything from pork belly to beef brisket or even lamb. The key is to choose a cut that’s high in fat, as this will help to keep our cured meat moist and flavorful. Once we’ve selected our meat, we’ll need to trim any excess fat or connective tissue, and then slice it into thin strips or leave it whole, depending on the type of cured meat we’re making.
- 3. Now it’s time to apply the curing mixture to our meat, making sure to coat it evenly and thoroughly. I like to use my hands for this step, as it allows me to get a feel for the meat and the curing mixture. Just be sure to wear gloves, as the curing mixture can be quite harsh on the skin. Once we’ve applied the curing mixture, we’ll need to massage it into the meat, making sure that it’s fully absorbed.
- 4. After applying the curing mixture, we’ll need to let our meat rest and cure for a period of time, which can range from a few days to several weeks. This step is crucial, as it allows the curing mixture to penetrate deep into the meat, drawing out moisture and helping to preserve it. During this time, we’ll need to check on our meat regularly, turning it and massaging it to ensure that it’s curing evenly.
- 5. Once our meat has finished curing, we’ll need to rinse off the curing mixture and pat it dry with paper towels. This step is important, as it helps to remove any excess salt or other ingredients that may be lingering on the surface of the meat. After rinsing and drying our meat, we can begin to think about the next step in the process, which is air-drying.
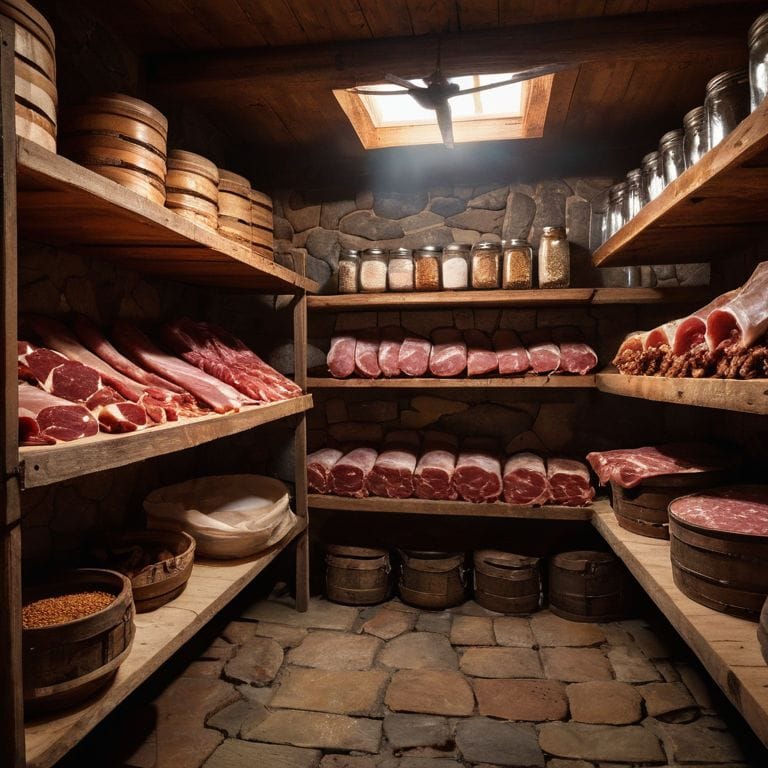
- 6. To air-dry our cured meat, we’ll need to create a controlled environment that’s cool, dry, and well-ventilated. This can be as simple as setting up a drying rack in a pantry or cupboard, or as complex as building a dedicated curing chamber. The key is to maintain a consistent temperature and humidity level, which will help to prevent the growth of bacteria and other microorganisms.
- 7. Finally, after several weeks or months of air-drying, our cured meat is ready to be sliced and served. This is the moment we’ve all been waiting for – the chance to taste the fruits of our labor and enjoy the delicious, complex flavors that we’ve worked so hard to create. Whether we’re making prosciutto, salami, or something else entirely, the end result is sure to be truly delicious.
Mastering How to Make Cured Meats

As I delve deeper into the world of cured meats, I’ve come to realize that curing meat with pink salt is an art form that requires patience and attention to detail. It’s not just about following a recipe, but about understanding the nuances of the curing process and how it affects the final product. I’ve experimented with various homemade bacon recipes, and I can tell you that the key to success lies in finding the perfect balance of flavors and textures.
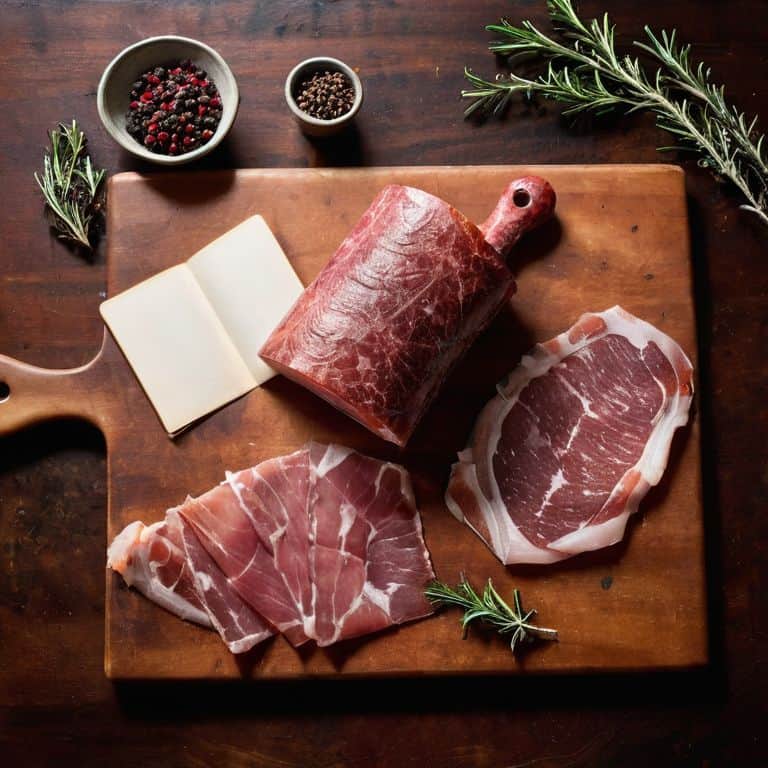
When it comes to creating a charcuterie board, I like to think about the interplay of flavors and textures between different cured meats. For instance, the rich, buttery flavor of pancetta pairs perfectly with the salty, crispy prosciutto. But what’s the difference between these two Italian staples? In short, pancetta is typically cured with spices and herbs, while prosciutto is cured with just salt and time. Understanding these differences can help you create a more dynamic and interesting charcuterie board.
To take your cured meat game to the next level, it’s essential to master meat curing temperature control. This involves maintaining a consistent temperature and humidity level to ensure that your meats cure evenly and safely. Whether you’re using dry curing or wet curing methods, temperature control is crucial to preventing spoilage and ensuring that your final product is delicious and safe to eat. By paying attention to these details, you’ll be well on your way to creating mouth-watering cured meats that will impress even the most discerning palates.
Curing Meat With Pink Salt Secrets
Now that we’ve got the basics down, let’s dive into one of my favorite secrets for taking our cured meats to the next level: pink salt. I’m obsessed with this stuff, and for good reason – it adds a depth of flavor and tenderness that’s hard to replicate with regular old salt. When I’m curing a new batch of prosciutto or pancetta, I always make sure to have some pink salt on hand. The key is to use it sparingly, as it can quickly overpower the other flavors in the meat. But when used just right, it’s like a symphony of salty, savory goodness.
Dry vs Wet Curing the Debate
When it comes to curing, the debate rages on: dry vs wet. I’ve experimented with both, and let me tell you, each has its own magic. Dry curing is all about creating an environment where the natural enzymes can work their wonders, breaking down the proteins and fats to create that tender, velvety texture. It’s an art form, really – you need to carefully balance the salt, sugar, and time to get it just right.
Wet curing, on the other hand, is more about immersion – submerging your meat in a flavorful brine that infuses it with aromas and moisture. I love using this method for my homemade pastrami, where the sweetness of the brown sugar and the spice of the coriander can really shine through. Both methods have their perks, and it ultimately comes down to the type of flavor and texture you’re after.
Get Curing Like a Pro: 5 Essential Tips to Elevate Your Game
- Cure in a Cool, Dry Place: Temperature and humidity control are crucial when it comes to curing meats. I like to think of my curing station as a sanctuary for my meats – a cool, dry place where they can develop that deep, rich flavor.
- Don’t Be Shy with the Spices: I’m all about experimentation, and curing meats is the perfect opportunity to get creative with your spice blends. From classic combinations like garlic and black pepper to more adventurous mixes featuring ingredients like juniper berries and coriander, the right spices can make all the difference.
- Monitor That Moisture: Keeping an eye on the moisture levels in your curing environment is vital. You want to aim for a humid microclimate that’s not too dry, not too damp – just like Goldilocks, it’s all about finding that sweet spot.
- Patience is a Virtue: Curing meats isn’t a rush job, my friends. It takes time, effort, and a whole lot of patience. Don’t be tempted to shortcut the process or you’ll end up with subpar results. Trust me, the wait is worth it.
- Practice Makes Perfect: Like any skill, curing meats takes practice to master. Don’t be discouraged if your first few attempts don’t turn out exactly as you hoped – just keep at it, and you’ll soon be churning out delicious, professional-grade cured meats like a pro.
Key Takeaways for Crafting Delicious Cured Meats
Remember, the key to making mouth-watering cured meats is all about experimentation and patience – don’t be afraid to try new ingredients and techniques to create unique flavors
Understanding the difference between dry and wet curing is crucial, as it can make or break the texture and flavor of your final product – so take the time to learn about the benefits of each method
By mastering the art of curing meats, you’ll not only be able to create delicious, professional-grade dishes at home, but you’ll also be able to preserve the harvest and enjoy your favorite flavors year-round
The Art of Curing
The magic of curing meats isn’t just about following a recipe, it’s about understanding the alchemy of salt, time, and patience – and how these simple elements can transform a humble cut of meat into a culinary masterpiece that tells a story of tradition, culture, and love.
Tom Navarro
Embracing the Art of Cured Meats

As we conclude this journey into the world of cured meats, let’s reflect on the key principles we’ve covered: from understanding the difference between dry and wet curing, to mastering the use of pink salt. It’s been a hands-on, sometimes messy, but always rewarding process. We’ve delved into the _nitty-gritty_ of creating our own cured meats from scratch, and I hope you’ve enjoyed the ride as much as I have. Whether you’re a seasoned pro or a curious newcomer, the art of curing is all about experimentation and patience. Remember, it’s not just about following a recipe, but about _feeling_ your way through the process, and that’s what makes it so wonderfully _human_.
Now, as you stand in your kitchen, surrounded by the tools and ingredients of your newfound craft, I want to leave you with a final thought: the power is in your hands. You have the ability to transform simple ingredients into something truly _magical_. Don’t be afraid to try new things, to _push the boundaries_ of what you thought was possible with cured meats. Your pantry, your taste buds, and your sense of adventure will thank you. So go ahead, get creative, and let the journey of curing meats continue to inspire and delight you. Happy curing, and I look forward to seeing what _masterpieces_ you create!
Frequently Asked Questions
What are the most critical factors to consider when selecting the right type of meat for curing?
When it comes to selecting the right meat for curing, I always say it’s all about the fat content, freshness, and cut. You want a nice balance of fat and lean meat for that perfect tender bite. Look for cuts with a good fat cap, like pork belly or lamb legs, and make sure they’re super fresh – that’s key to avoiding any off-flavors or textures.
How do I ensure that my homemade cured meats are safe to eat and free from bacterial contamination?
Safety first, my friend! To avoid bacterial contamination, I always make sure to handle my meats with clean hands and equipment, and store them in a controlled environment with the right temperature and humidity. I also follow trusted recipes and guidelines for curing times and ratios – it’s all about balance and patience, you know?
Can I experiment with different flavor profiles and ingredients in my cured meats, such as using unique spices or herbs?
Absolutely, my friend! I’m all about experimentation. Try adding unique spices like smoked paprika or Korean chili flakes to give your cured meats a boost. You can also infuse them with fresh herbs like thyme or rosemary. The key is to taste as you go and adjust to your liking. Remember, it’s all about having fun and creating flavors that make your taste buds dance!