As I sit here, sipping on a warm cup of soup made with my own homemade vegetable stock, I’m reminded of the countless times my students have asked me about the secrets to making a great stock. You see, when it comes to how to make homemade vegetable stock, many people believe it’s a complicated and time-consuming process. But, I’m here to tell you that’s just not true. In fact, making your own stock is quite straightforward, and with a few simple steps, you can create a delicious and nutritious base for all your favorite soups and stews.
So, what can you expect to learn from this article? I’ll walk you through the entire process of how to make homemade vegetable stock, from selecting the right ingredients to simmering the perfect blend. You’ll get honest, no-hype advice on how to create a rich and flavorful stock that’s free from preservatives and additives. By the end of this guide, you’ll be equipped with the knowledge and confidence to make your own homemade vegetable stock, and I’m excited to share my passion for cooking with you, just as I do with my flight students when teaching them about the fundamentals of flying.
Table of Contents
- Guide Overview: What You'll Need
- Step-by-Step Instructions
- Mastering Homemade Stock
- Cleared for Takeoff: 5 Essential Tips for Making Homemade Vegetable Stock
- Key Takeaways for Homemade Vegetable Stock
- Navigating the Flavors
- Landing Gear: Touching Down on Homemade Stock Success
- Frequently Asked Questions
Guide Overview: What You'll Need
Total Time: 1 hour 30 minutes
Estimated Cost: $10 – $20
Difficulty Level: Easy
Tools Required
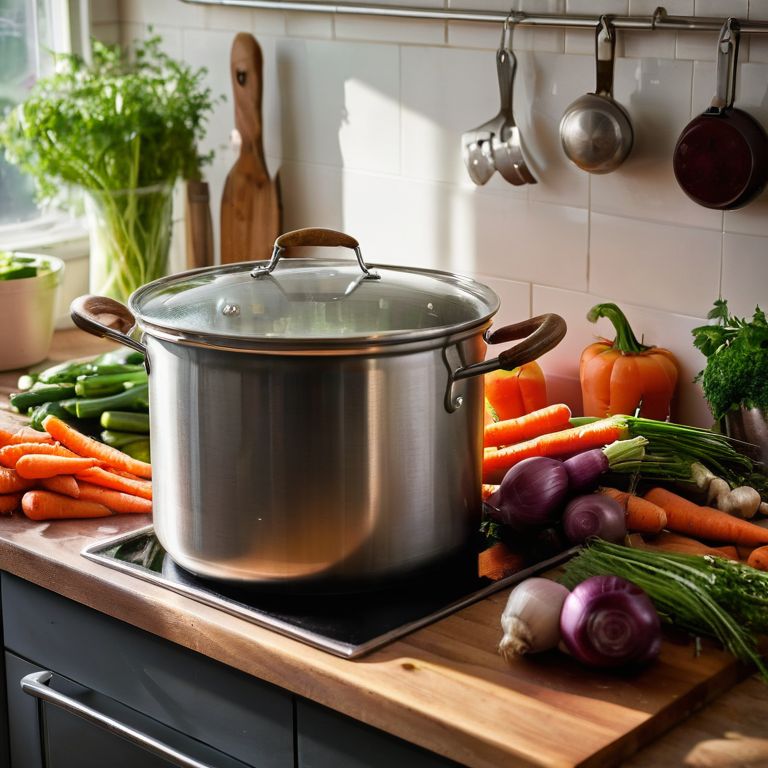
- Large Pot (at least 8 quarts in size)
- Colander
- Cheesecloth or Fine-Mesh Strainer
Supplies & Materials
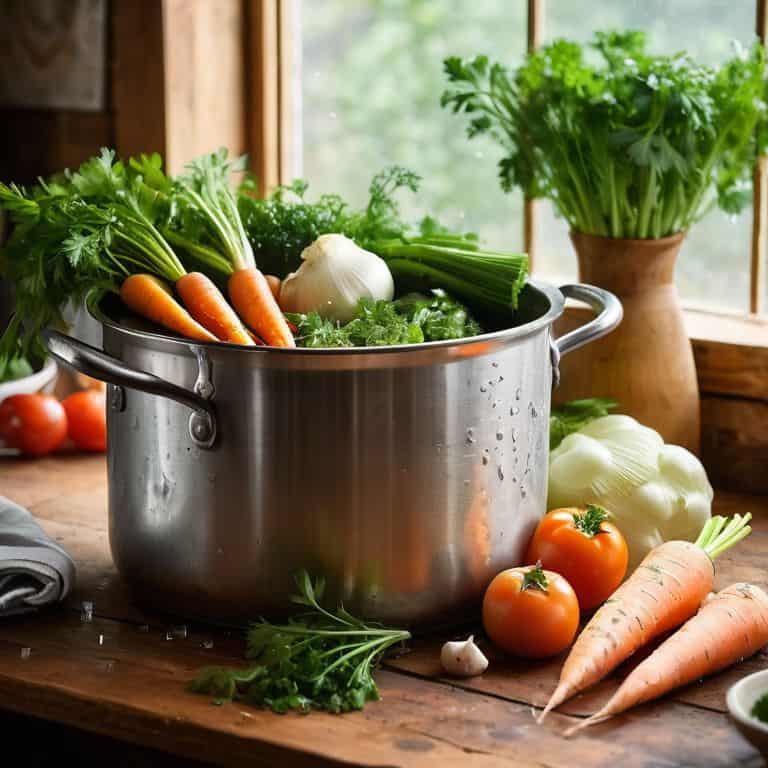
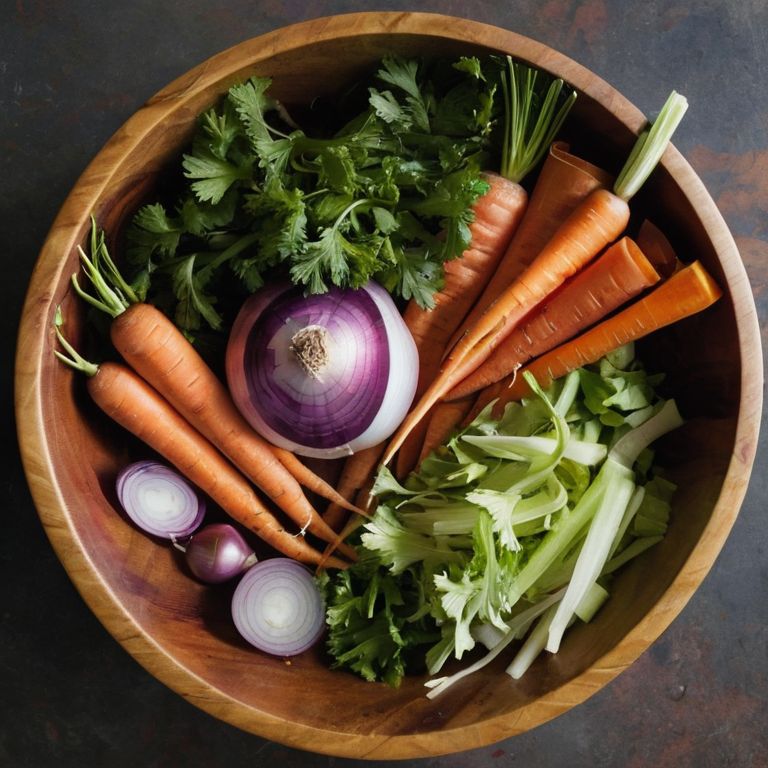
- Assorted Vegetable Scraps (such as carrot tops, onion peels, and celery leaves)
- Mushroom Stems
- Herbs like Thyme and Bay Leaves
- Water (around 6 quarts)
- Optional Aromatics (like garlic, ginger, or leeks)
Step-by-Step Instructions
- 1. First, let’s start by gathering our ingredients, just like a pre-flight checklist. We’ll need a variety of vegetables such as carrots, celery, and onions, as well as some aromatics like garlic and bay leaves. Make sure to wash and chop them up into large pieces, as this will help to release their flavors.
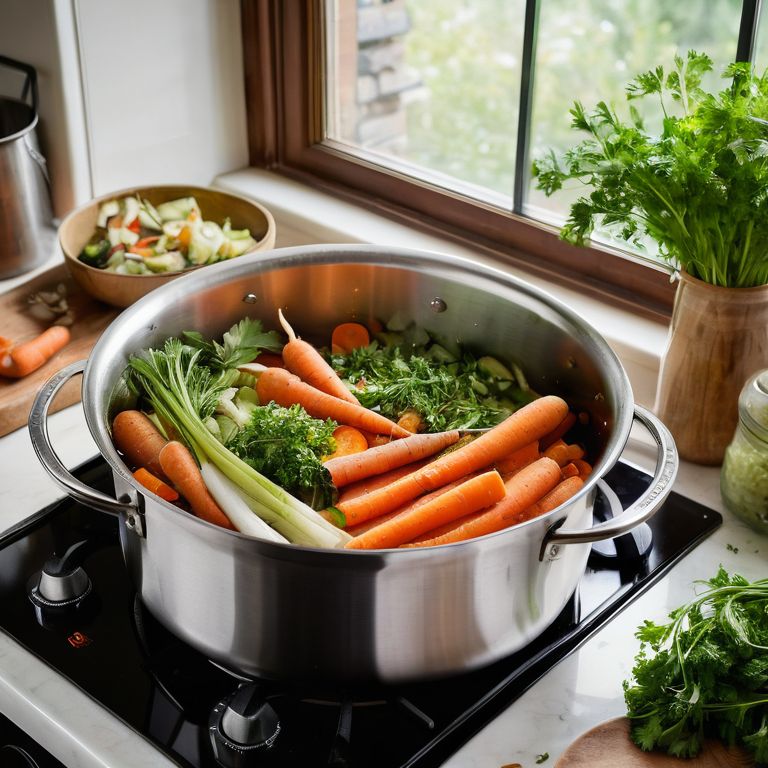
- 2. Next, we’ll need to heat up our pot, filling it with enough water to cover all the vegetables. I like to think of this step as taxiing to the runway – we’re getting ready for takeoff, but we need to make sure everything is in place first. Use a large stockpot and fill it with about 6-8 quarts of water.
- 3. Now it’s time to add our chopped vegetables and aromatics to the pot. This is like loading the cargo, making sure we have everything we need for a successful flight. Add the chopped carrots, celery, onions, garlic, and bay leaves to the pot, and make sure they’re all submerged in the water.
- 4. Bring the water to a boil, then reduce the heat to a simmer. This is like reaching cruising altitude, where we can relax and let the flavors meld together. Let it simmer for at least 30 minutes to an hour, or until the vegetables are tender and the liquid has reduced slightly.
- 5. As we wait for the stock to simmer, let’s talk about the importance of skimming the fat. Just like how we need to make adjustments during flight to stay on course, we need to remove any impurities that rise to the surface of our stock. Use a spoon to skim off any foam or fat that rises to the top.
- 6. After our stock has finished simmering, it’s time to land and secure. Turn off the heat and let the stock cool slightly. Then, use a fine-mesh strainer or cheesecloth to strain the stock into a large bowl or container, discarding the solids.
- 7. Finally, let’s review our checklist and make sure our stock is ready for use. Check the stock for any remaining impurities or sediment, and give it a taste to see if it needs any additional seasoning. Now our homemade vegetable stock is ready to use in all our favorite recipes, and we can feel proud of ourselves for navigating the process with ease.
Mastering Homemade Stock
As we delve into the world of homemade stock, it’s essential to understand the importance of using vegetable scraps for stock. This simple technique can elevate your stock to the next level, adding a depth of flavor that’s hard to replicate with fresh vegetables alone. By utilizing scraps, you’re not only reducing waste but also creating a more complex and rich broth.
When it comes to preparing your stock, consider trying a roasted vegetable stock recipe. This method involves roasting your vegetables before simmering them, which brings out their natural sweetness and adds a hint of caramelization to the stock. Whether you choose to use a slow cooker or stovetop, the key is to cook the vegetables low and slow, allowing the flavors to meld together.
For those looking to make their stock last, freezing homemade vegetable stock is a great option. By freezing the stock in ice cube trays, you can easily add a burst of flavor to any dish. Additionally, you can also try making a vegetable stock concentrate recipe, which involves reducing the stock to a concentrated form that can be easily stored and reconstituted when needed.
Roasting for Rich Flavor
When it comes to adding depth to your homemade stock, roasting is a game-changer. Just like how a pre-flight check ensures a smooth takeoff, roasting your vegetables before making stock lays the groundwork for a rich, full-bodied flavor. By caramelizing the natural sugars in the vegetables, you’ll create a complexity that elevates your stock from basic to brilliant.
I like to think of roasting as the “climb” phase of stock-making – it’s where the magic happens, and the flavors start to meld together. Simply toss your chosen vegetables in a bit of oil, spread them on a baking sheet, and let the oven do its thing. The result is a deep, velvety flavor that’s sure to take your homemade stock to new heights.
Slow Cooker vs Stovetop Secrets
When it comes to cooking your homemade stock, you have two main options: slow cooker or stovetop. I like to think of it as choosing between a steady climb to cruising altitude or a swift takeoff. The slow cooker method is like a gradual ascent, allowing flavors to meld together over time, resulting in a rich and deep stock. On the other hand, the stovetop method is like a quick takeoff, requiring more attention but yielding a lighter, more vibrant flavor.
As a flight instructor, I always emphasize the importance of understanding your equipment. Similarly, knowing when to use a slow cooker or stovetop can make all the difference in your stock’s flavor profile. For heartier stocks, I recommend the slow cooker, while clearer stocks benefit from the stovetop method. By choosing the right “flight plan” for your stock, you’ll be well on your way to creating a delicious and satisfying base for your favorite soups and stews.
Cleared for Takeoff: 5 Essential Tips for Making Homemade Vegetable Stock
- Pre-Flight Checklist: Always start by selecting a variety of vegetables, including carrots, celery, and onions, to create a rich and balanced flavor profile
- Airborne Navigation: Don’t be afraid to experiment with different combinations of vegetables to find your perfect blend – just like how pilots adjust their flight plans for optimal navigation
- Ground School Lesson: Roasting your vegetables before simmering them can add a depth of flavor – think of it as gaining altitude, where the views get better and the experience is more rewarding
- Clearing Turbulence: Skim off any impurities that rise to the surface during the simmering process to ensure a clear and delicious stock, just like how pilots navigate through turbulence to reach smoother skies
- Final Approach: Let your stock cool completely before straining and storing it, allowing the flavors to meld together like a well-executed landing – smooth, controlled, and satisfying
Key Takeaways for Homemade Vegetable Stock
By following a simple, step-by-step process, you can create a delicious and healthy homemade vegetable stock that elevates your cooking to new heights, much like how a well-executed pre-flight checklist ensures a safe and successful flight
Roasting your vegetables before making the stock can add a rich, depth of flavor, similar to how a pilot must consider various weather conditions to navigate through challenging skies
Whether you choose to use a slow cooker or stovetop method, understanding the secrets and techniques behind each can help you master the art of making homemade stock, just as a pilot must understand the fundamentals of flight to navigate safely and efficiently
Navigating the Flavors
Just as a steady hand on the controls is essential for a smooth flight, a gentle touch with your ingredients is crucial for a rich and satisfying homemade vegetable stock – it’s all about balance and patience.
Daniel Sato
Landing Gear: Touching Down on Homemade Stock Success
As we conclude our journey through the skies of flavor, let’s do a quick systems check to ensure we’ve covered all the essential steps for making homemade vegetable stock. We’ve discussed the importance of starting with a solid foundation, just like a pre-flight checklist, and then moved on to the crucial steps of roasting for rich flavor and navigating the secrets of slow cookers versus stovetops. By mastering these techniques, you’ll be well on your way to creating delicious, hearty stocks that will elevate your cooking to new heights.
Now, as you embark on your own culinary flights, remember that the art of making homemade vegetable stock is all about experimentation and exploration. Don’t be afraid to try new ingredients, to chart your own course, and to make adjustments as you go. With practice and patience, you’ll develop a sense of what works best for you, and your stocks will become a true reflection of your unique flavor profile. So go ahead, take to the skies, and bon appétit!
Frequently Asked Questions
What are the best vegetables to use for making homemade stock?
Just like choosing the right flight plan, selecting the best vegetables for homemade stock is key. I recommend a mix of carrots, celery, and onions for a classic base, with optional add-ins like mushrooms, leeks, or garlic for extra depth. Think of it as plotting a course for flavor!
Can I use leftover or rotten vegetables to make stock?
When it comes to making homemade vegetable stock, I always advise my students to use fresh, high-quality ingredients. Using leftover or rotten vegetables can compromise the flavor and safety of your stock. Think of it like pre-flight checks – you want to ensure everything is in top condition before taking off. Fresh veggies will give you a cleaner, richer flavor, so it’s best to start with those.
How long can I store homemade vegetable stock in the fridge or freezer?
Storing homemade stock is like planning a flight route – you need to know your limits. Homemade vegetable stock can be stored in the fridge for up to 5 days or frozen for up to 6 months. Just like checking your fuel levels, be sure to label and date your containers for safe storage.