I still remember the first time I attempted to make brown butter for cookies – it was a total disaster! I had heard that it was a simple process, but somehow I managed to burn the butter to a crisp. It wasn’t until I learned the secret to perfectly nutty brown butter that my cookie game changed forever. The truth is, how to make brown butter for cookies is not as complicated as some recipes make it out to be. With a few simple tips and tricks, you can achieve that perfect, nutty flavor that elevates your cookies to the next level.
In this article, I’ll share my honest, no-hype advice on how to make brown butter for cookies. You’ll learn the essential steps to achieve perfectly browned butter, from the type of butter to use to the ideal temperature for browning. I’ll also share some of my favorite tips for incorporating brown butter into your favorite cookie recipes. By the end of this guide, you’ll be equipped with the knowledge and confidence to make brown butter for cookies like a pro. So, let’s get started and take your cookie-baking skills to new heights!
Table of Contents
Guide Overview: What You'll Need
Total Time: 15 minutes
Estimated Cost: $5 – $10
Difficulty Level: Easy
Tools Required
- Medium Saucepan with a heavy bottom to prevent burning
Supplies & Materials
- Unsalted Butter 1/2 cup or 1 stick, cut into 1-inch pieces
- Whisk for stirring
- Heat-Resistant Spoon for tasting and adjusting
- Glass Bowl for cooling the brown butter
Step-by-Step Instructions
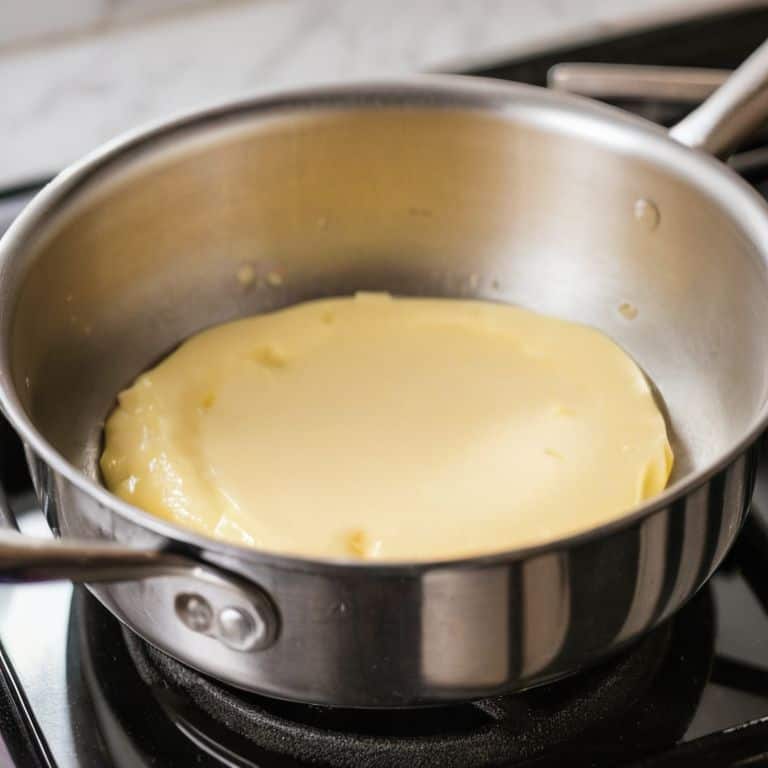
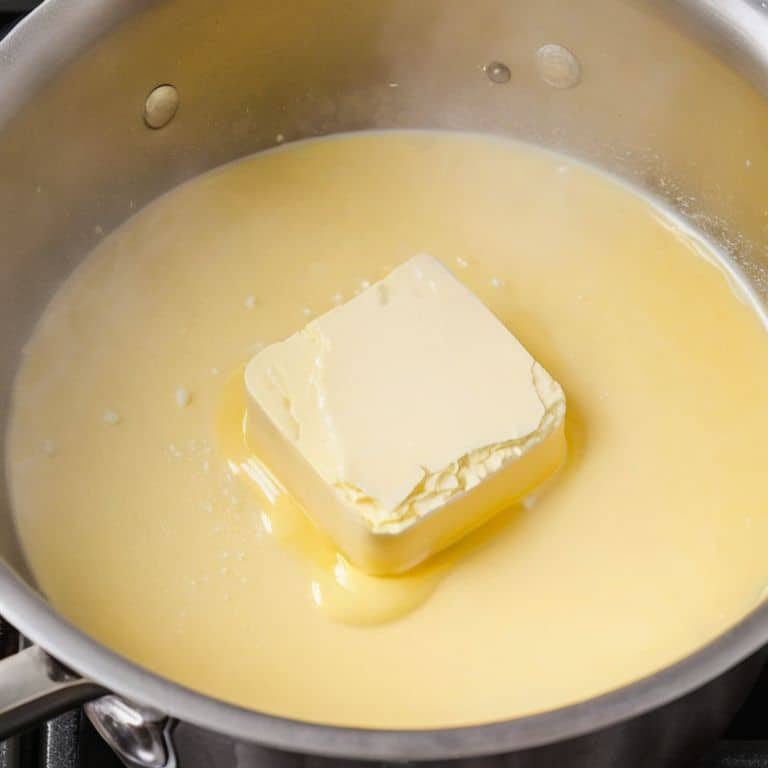
- 1. First, let’s start with the basics: to make brown butter, you’ll need to begin with high-quality, salted butter. I like to use a European-style butter with a higher fat content, as it tends to brown more evenly and gives a richer flavor. Simply place the butter in a saucepan over medium heat, and let it start to melt.
- 2. As the butter melts, you’ll begin to notice it starting to foam and bubble. This is completely normal, and it’s a sign that the butter is starting to release its moisture. Use a spoon to gently stir the butter, making sure to scrape the bottom of the pan and release any stuck bits. This will help the butter brown more evenly.
- 3. Now, let the butter simmer and reduce for about 5-7 minutes, stirring occasionally. You’ll start to notice the butter turning a light golden brown, and it will begin to smell nutty and aromatic. This is where the magic happens, and the butter starts to develop its rich, caramel-like flavor.
- 4. As the butter continues to brown, you’ll need to stir it more frequently to prevent it from burning. Keep a close eye on the color, and watch for it to turn a deep amber brown. This should take about 10-12 minutes in total, depending on the heat and the type of butter you’re using.
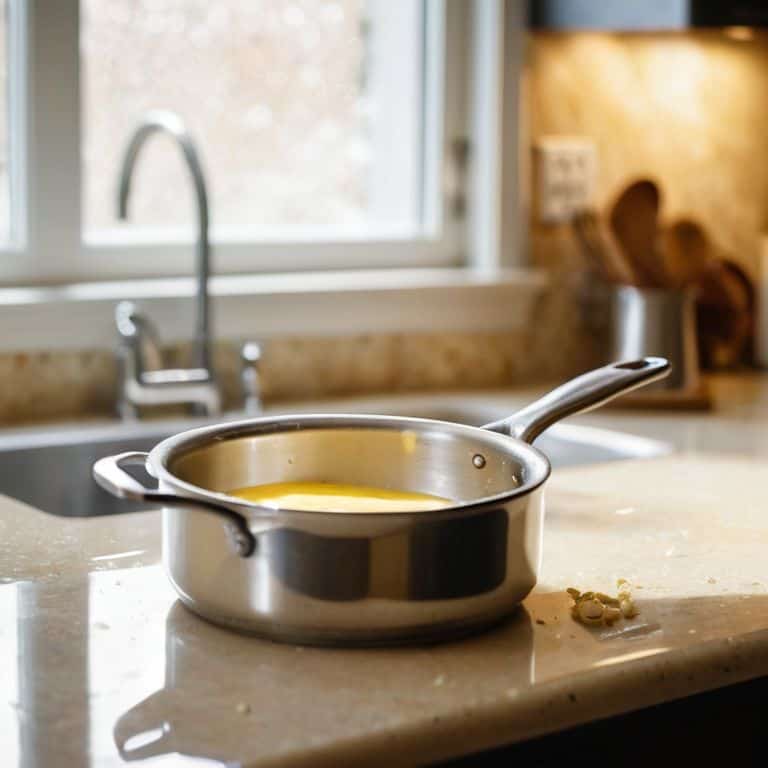
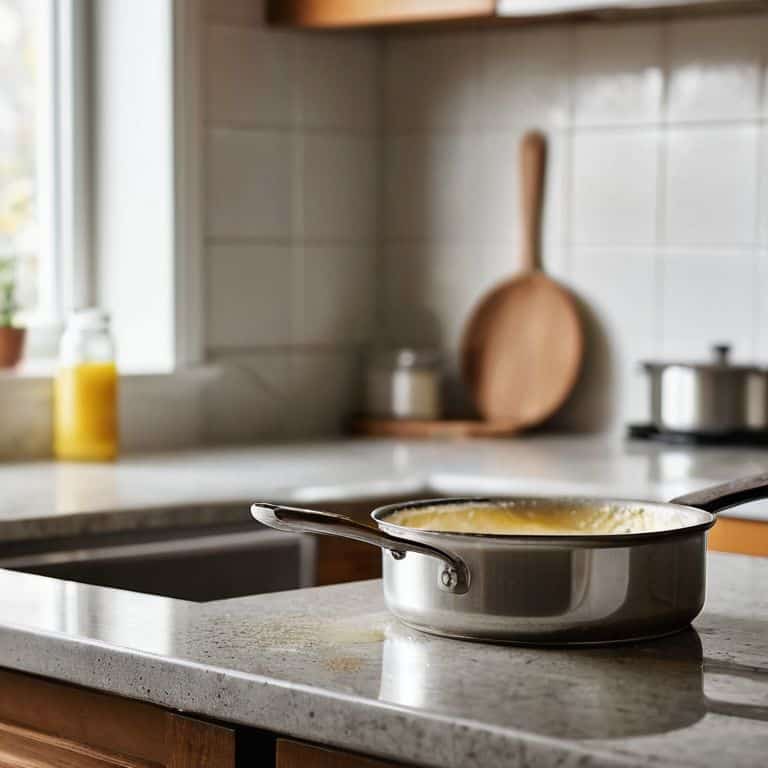
- 5. Once the butter has reached the perfect brown color, remove it from the heat and let it cool slightly. You can then strain the brown butter through a fine-mesh sieve or cheesecloth to remove any solids and achieve a smooth, creamy texture. Discard the solids, and reserve the brown butter for use in your favorite cookie recipe.
- 6. To ensure the brown butter is fully incorporated into your cookie dough, make sure to let it cool completely before using it. You can speed up the process by placing the brown butter in an ice bath or by stirring it over a bowl of ice water. This will help the butter to solidify and become easier to work with.
- 7. Finally, when you’re ready to use the brown butter in your cookie recipe, simply cream it together with sugar and any other ingredients called for in the recipe. The brown butter will add a rich, depth of flavor to your cookies that’s hard to replicate with regular butter. Enjoy the process, and don’t be afraid to experiment with different types of butter and flavor combinations to find your perfect cookie!
Mastering Brown Butter
When it comes to mastering brown butter, it’s all about patience and attention to detail. I like to think of it as a sensory experience – the smell of nutty goodness, the sound of sizzling butter, and the sight of it transforming into a golden brown delight. To achieve this, it’s essential to use high-quality butter, as it will make a significant difference in the flavor and texture of your brown butter cookie recipe.
As you’re making browned butter for baking, remember that the key is to cook it slowly over medium heat, allowing the milk solids to caramelize and develop a rich, nutty flavor. This process can take around 5-7 minutes, but trust me, it’s worth the wait. You’ll know it’s ready when it turns a deep amber color and gives off a fragrant aroma. At this point, you can remove it from the heat and let it cool before using it in your favorite dessert recipes.
By enhancing cookie flavor with brown butter, you’ll add a depth and complexity that’s hard to achieve with regular butter. So, don’t be afraid to experiment and find your perfect balance of flavors. Whether you’re using brown butter in a classic cookie recipe or trying out something new, the result is sure to be delicious. And that’s what it’s all about – creating something truly special, one batch of brown butter at a time.
Brown Butter Secret for Cookies
The key to making brown butter truly unforgettable is to not overcomplicate it. I’ve found that using high-quality, European-style butter with a higher fat content makes all the difference. It’s all about coaxing out that rich, nutty flavor. When you take the time to slowly melt the butter over medium heat, watching it transform into a golden brown delight, you’ll be rewarded with a depth of flavor that elevates your cookies to a whole new level.
For me, the secret to perfect brown butter is in the smell – when it hits that perfect note of toasted nuts, I know I’ve got it just right. It’s a sensory thing, and once you’ve experienced it, you’ll be hooked. Trust your instincts, and don’t be afraid to experiment until you find your perfect balance of flavors.
Browning Butter Best Practices
When it comes to browning butter, there are a few best practices to keep in mind. First, always use high-quality, European-style butter with a high butterfat content – it makes all the difference in the flavor department. Next, be patient and don’t rush the process. Browning butter is all about taking your time and waiting for that perfect, nutty aroma to develop. I like to stir the butter occasionally as it melts, just to make sure everything is cooking evenly. And don’t worry if it gets a little dark – that’s where the magic happens!
By following these simple tips, you’ll be well on your way to creating rich, velvety brown butter that elevates your cookie game to the next level.
My Top 5 Tips for Making Brown Butter Magic Happen
- Let the butter come to room temperature before melting it – trust me, it makes a difference in how evenly it browns
- Use a light-colored pan to make it easier to spot when the butter starts turning that gorgeous golden brown
- Don’t stir the butter too much – you want to allow it to develop a rich, nutty flavor, so just let it be for a bit
- Add a pinch of salt to the butter as it’s browning – it enhances the flavor and helps bring out that perfect balance of sweet and savory in your cookies
- Take the browned butter off the heat and let it cool slightly before using it in your cookie dough – this helps it retain that amazing flavor and texture
My Top 3 Tips for Perfect Brown Butter
Always use high-quality, European-style butter with a high fat content for the best flavor and texture
Never leave brown butter unattended, as it can quickly go from perfectly nutty to burnt and unusable
Experiment with different levels of browning to find your perfect balance – some people prefer a light, golden brown while others like it dark and rich
The Brown Butter Truth
The key to making irresistible cookies lies not in fancy ingredients, but in coaxing out the deep, nutty flavor of brown butter – it’s a simple step that will elevate your baking to a whole new level of comfort and love.
Sophie Carter
The Perfect Blend: Conclusion
As we wrap up our journey to perfectly nutty brown butter, remember that it’s all about balance and patience. We’ve covered the essential steps to make brown butter for cookies, from the initial melting to the magical moment when the aroma fills your kitchen. Mastering brown butter is an art that requires attention to detail, but with practice, you’ll be able to enhance your favorite cookie recipes with this rich, deep flavor. Whether you’re a seasoned baker or a beginner, the key is to not be afraid to experiment and find what works best for you.
So, the next time you’re in the kitchen, don’t be intimidated to try something new. Making brown butter is a game-changer for your baked goods, and with these simple steps, you’ll be well on your way to creating irresistible treats that will leave everyone wanting more. Keep in mind that the most important ingredient in any recipe is love, and when you put your heart into making something delicious, it shows. Happy baking, and I look forward to sharing more of my favorite comfort food recipes with you!
Frequently Asked Questions
What happens if I burn the butter while trying to make brown butter for cookies?
Don’t worry, it’s an easy mistake! If you burn the butter, just start over – it’s better to begin fresh than risk a bitter taste in your cookies. Keep an eye on it, and stir frequently, as it can go from perfectly nutty to burnt in seconds.
Can I use salted butter to make brown butter for cookies or does it have to be unsalted?
While you can use salted butter, I prefer unsalted for brown butter cookies. The salt can intensify and sometimes become bitter when browned, throwing off the flavor balance. If you only have salted butter, just omit or reduce any additional salt called for in your cookie recipe – it’ll still be delicious!
How do I store brown butter after it's made to keep it fresh for future cookie baking?
To keep your brown butter fresh, simply strain it into an airtight container and store it in the fridge for up to a week or freeze for up to 3 months. I like to portion mine into ice cube trays for easy cookie baking later – just pop out a cube and you’re ready to go!