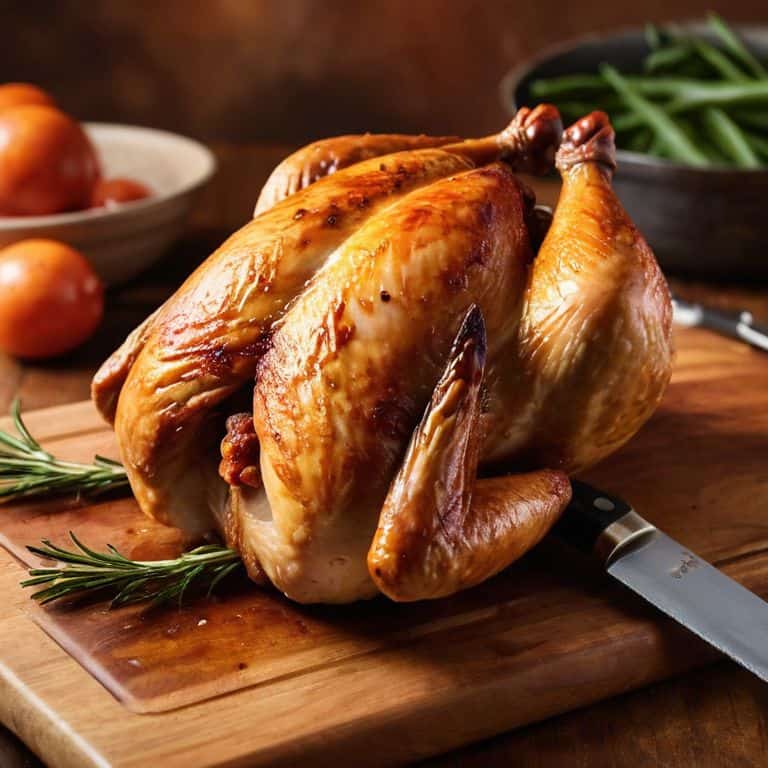
I still remember the first time I attempted to carve a roast chicken for my family’s Sunday dinner. I was so nervous, having heard all sorts of horror stories about dried-out meat and mangled presentations. But as I stood there, knife in hand, staring down at that beautifully golden-brown bird, I realized that all the fuss was for nothing. The truth is, learning how to carve a roast chicken is not rocket science – it just takes a little patience, the right tools, and a willingness to get your hands dirty.
As someone who’s spent years perfecting the art of roast chicken carving, I’m excited to share my no-fuss approach with you. In this article, I’ll walk you through the simple, step-by-step process of carving a roast chicken like a pro. You’ll learn how to choose the right knife, navigate the bird’s anatomy, and present your masterpiece with confidence. My goal is to empower you with the skills and knowledge to create a delicious, stress-free roast chicken dinner that will impress your family and friends. So, let’s get started and make carving a roast chicken a breeze!
Table of Contents
Guide Overview: What You'll Need
Total Time: 1 hour 45 minutes
Estimated Cost: $10 – $20
Difficulty Level: Intermediate
Tools Required
- Sharp Carving Knife (preferably 8 inches long)
- Cutting Board (large enough to hold the chicken)
- Fork (for holding the chicken in place)
- Kitchen Shears (optional, for removing giblets and neck)
Supplies & Materials
- Roasting Chicken (thawed, 3-4 pounds)
- Aluminum Foil (for wrapping the chicken)
- Meat Thermometer (to ensure safe internal temperature)
Step-by-Step Instructions
- 1. First, let’s get started with the most important part: preparing your tools. You’ll want to grab a super sharp knife, trust me, it makes all the difference! I like to use a long, slender knife that’s specifically designed for carving. Make sure it’s clean and dry before you begin.
- 2. Next, you’ll want to let the chicken rest for about 10-15 minutes before carving. This allows the juices to redistribute, making the chicken even more tender and flavorful. I know it’s hard to wait, but trust me, it’s worth it. Use this time to gather your other tools, like a carving fork and a serving platter.
- 3. Now it’s time to remove the legs. Hold the chicken firmly in place with your carving fork, and use your knife to cut through the joint that connects the leg to the body. Be gentle, but firm – you don’t want to tear the surrounding meat. Repeat this process for the other leg.
- 4. With the legs removed, you can now focus on slicing the breast. Start by cutting along both sides of the breastbone, being careful not to cut too deeply and hit the bone. You want to create a smooth, even surface for slicing. Once you’ve made these initial cuts, you can begin slicing the breast into thin, even pieces.
- 5. To carve the thighs, you’ll want to cut them away from the body, just like you did with the legs. Then, use your knife to slice them into smaller, more manageable pieces. I like to cut them into thin strips, perfect for serving alongside the sliced breast.
- 6. Now that you’ve carved the majority of the chicken, it’s time to add some finishing touches. Use your knife to cut away any excess fat or skin, and arrange the sliced meat on your serving platter. You can also use this opportunity to add some fresh herbs or garnishes, like parsley or thyme, to give your dish a pop of color and flavor.
- 7. Finally, take a step back and admire your handiwork! You’ve successfully carved a delicious roast chicken, and it’s ready to be served. I like to serve mine with a side of roasted vegetables or mashed potatoes, but the possibilities are endless. Take a bite, and enjoy the fruits of your labor!
How to Carve a Roast Chicken
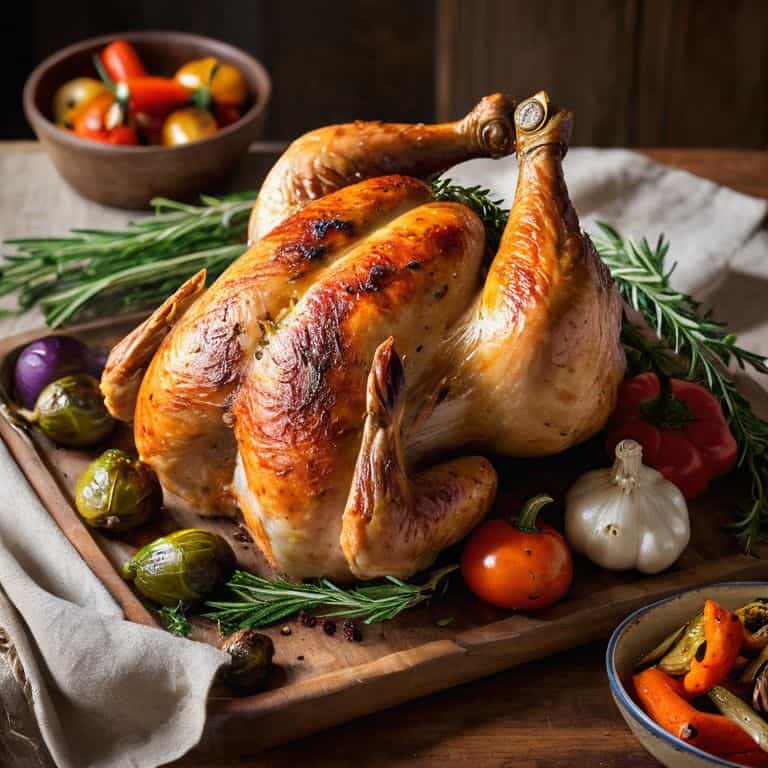
As I always say, the key to a beautifully carved roast chicken is all about the easy chicken carving techniques. It’s not just about slicing the meat, but also about presenting it in a way that makes your family and friends go wow. One of my favorite roast chicken presentation ideas is to arrange the carved meat on a platter with some fresh herbs and a side of roasted vegetables. This not only adds color to the dish but also makes it look more appealing.
When it comes to carving a chicken, having the right tools is essential. I swear by my trusty best knife for carving chicken, which makes the process so much smoother. If you’re new to carving chickens, don’t worry, it’s easier than you think. With a little practice and patience, you’ll be a pro at carving a chicken for beginners in no time. Just remember to take your time and focus on making smooth, even cuts.
To make the process even easier, you can invest in some chicken carving tools and gadgets that can help you achieve perfectly carved meat every time. From carving forks to slicing knives, there are plenty of options available that can make a big difference in the quality of your carve. By following these tips and practicing your skills, you’ll be able to create a beautifully carved roast chicken that’s sure to impress your loved ones.
Best Knife for a Perfect Roast Chicken
When it comes to carving a perfect roast chicken, the right knife can make all the difference. I swear by my trusty sharp chef’s knife – it’s a game-changer. The key is to find a knife that’s sharp enough to glide through the meat with ease, without tearing or shredding it. I’ve tried plenty of knives in my time, but a good quality chef’s knife is still my go-to.
Look for a knife with a sharp, thin blade and a comfortable handle that feels balanced in your hand. This will give you the control and precision you need to carve your roast chicken with confidence. And don’t be afraid to invest in a good knife sharpener – a dull knife is not only frustrating to use, but it’s also more likely to slip and cause accidents. Trust me, a sharp knife is worth the investment for a perfectly carved roast chicken every time.
Easy Chicken Carving Techniques Uncovered
Now that we’ve covered the basics, let’s dive into some easy techniques to make carving a breeze. I swear by using a sharp knife and carving in a smooth, even motion. It’s all about confidence and taking your time – don’t be afraid to get up close and personal with that chicken!
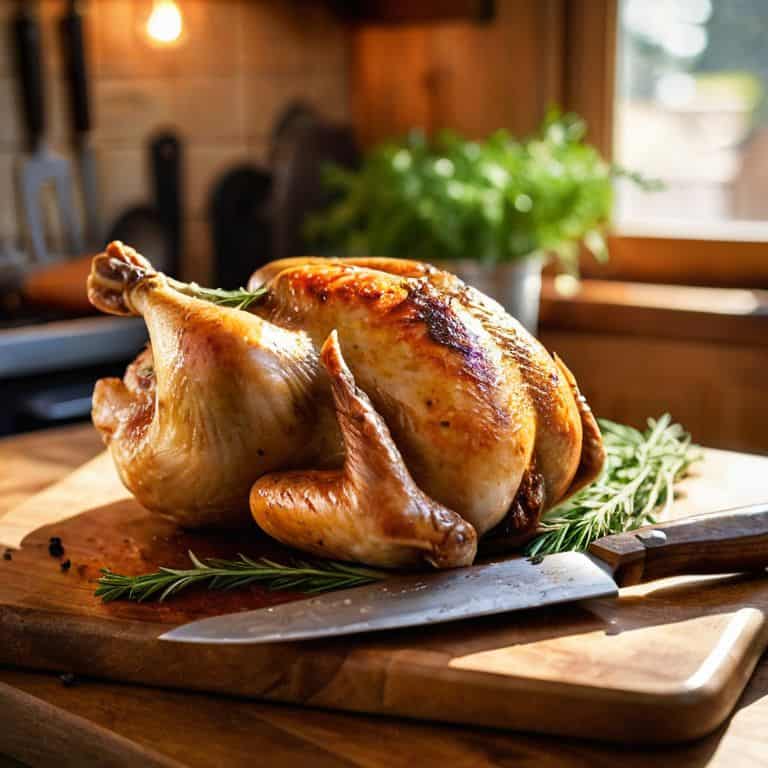
I also like to carve in a well-lit area, so I can see exactly what I’m doing. And don’t worry if it’s not perfect at first, practice makes perfect, and you’ll soon be carving like a pro. Remember, the goal is to have fun and enjoy the process of creating a delicious meal for yourself and your loved ones.
My Top 5 Secrets to Carving a Roast Chicken Like a Pro
- Let the chicken rest for at least 10-15 minutes before carving to allow the juices to redistribute, making it easier to slice and more tender to eat
- Use a sharp, high-quality knife that’s specifically designed for carving, as it will make a huge difference in the smoothness and evenness of your slices
- Start by removing the legs and thighs, then move on to the wings and finally the breast, using a gentle sawing motion to cut through the joints
- Don’t press down too hard on the knife, as this can cause the meat to tear and become uneven – instead, let the weight of the knife do the work for you
- Take your time and carve slowly, using a gentle, sweeping motion to create beautiful, even slices that will make your roast chicken look almost too good to eat
My Top 3 Tips for Carving a Roast Chicken Like a Pro
Always, always, always use a super sharp knife – it makes the world of difference in getting clean, even slices and not shredding that beautiful chicken
Let your chicken rest for at least 10-15 minutes before carving to allow the juices to redistribute, making it more tender and juicy
Don’t be afraid to get a little creative with your carving – try carving against the grain for more tender slices, and don’t forget to save that delicious chicken broth for a future recipe
Carving Wisdom
The key to carving a roast chicken is not just about the knife, it’s about respecting the bird – taking your time, and letting the juices guide your cuts, so every slice is a taste of perfection.
Sophie Carter
Bringing It All Together: The Art of Carving a Roast Chicken
As we’ve explored the world of carving a roast chicken, I hope you’ve picked up on a few key takeaways: the importance of using a sharp knife, the ease of carving when the chicken has rested, and the simplicity of breaking it down into manageable pieces. Whether you’re a seasoned pro or a beginner in the kitchen, mastering the art of carving a roast chicken is all about confidence and practice. Don’t be afraid to experiment and find your own rhythm – after all, that’s what cooking is all about!
So the next time you’re faced with a beautifully roasted chicken, remember that it’s not just about the carving – it’s about the love and care you put into creating a delicious meal for yourself and others. With these simple steps and a bit of patience, you’ll be well on your way to becoming a roast chicken carving pro, and more importantly, a master of your own kitchen. Happy cooking, and don’t forget to savor the flavors!
Frequently Asked Questions
What's the best way to let the roast chicken rest before carving to ensure the juices stay inside?
To keep those juices locked in, let the chicken rest for at least 15-20 minutes before carving. I like to tent it with foil to keep it warm and cozy, allowing the juices to redistribute and the meat to relax – trust me, it makes all the difference!
How do I prevent the chicken from tearing when I'm carving it, especially around the breast area?
To prevent the chicken from tearing, especially around the breast area, I swear by using a super sharp knife and slicing in a smooth, gentle motion. Let the knife do the work, don’t apply too much pressure. Also, make sure to slice parallel to the breast, following the natural curve of the meat. It makes all the difference, trust me!
Are there any specific carving techniques for different parts of the chicken, like the legs or wings?
Absolutely, I’ve got some favorite techniques for carving different parts of the chicken! For the legs, I like to use a gentle sawing motion to release the joints, while the wings are easiest to carve when you cut right through the shoulder joint. And for the breast, slicing in a smooth, even motion is key.