I still remember the first time I tried to make bread from scratch – it was a disaster! I had followed a guide to making bread to the letter, but somehow, my loaves ended up dense and flavorless. It wasn’t until I started experimenting with different ingredients and techniques that I discovered the secret to making truly amazing bread. The truth is, making bread is not rocket science, but it does require a bit of patience and practice. I’ve spent years perfecting my craft, and now I’m excited to share my knowledge with you.
In this article, I’ll walk you through the simple, no-fuss process of making delicious bread from scratch. You’ll learn how to choose the right ingredients, mix and knead the dough, and bake perfect loaves every time. My goal is to provide you with honest, practical advice that will help you overcome common obstacles and achieve success in the kitchen. Whether you’re a beginner or an experienced baker, I promise that you’ll find something valuable in this guide to making bread. So, let’s get started and uncover the joy of bread-making together!
Table of Contents
Guide Overview: What You'll Need
Total Time: 2 hours 30 minutes
Estimated Cost: $10 – $20
Difficulty Level: Easy
Tools Required
- Mixing Bowl large, stainless steel
- Measuring Cups dry and liquid
- Measuring Spoons
- Wooden Spoon
- Dutch Oven or Bread Loaf Pan for baking
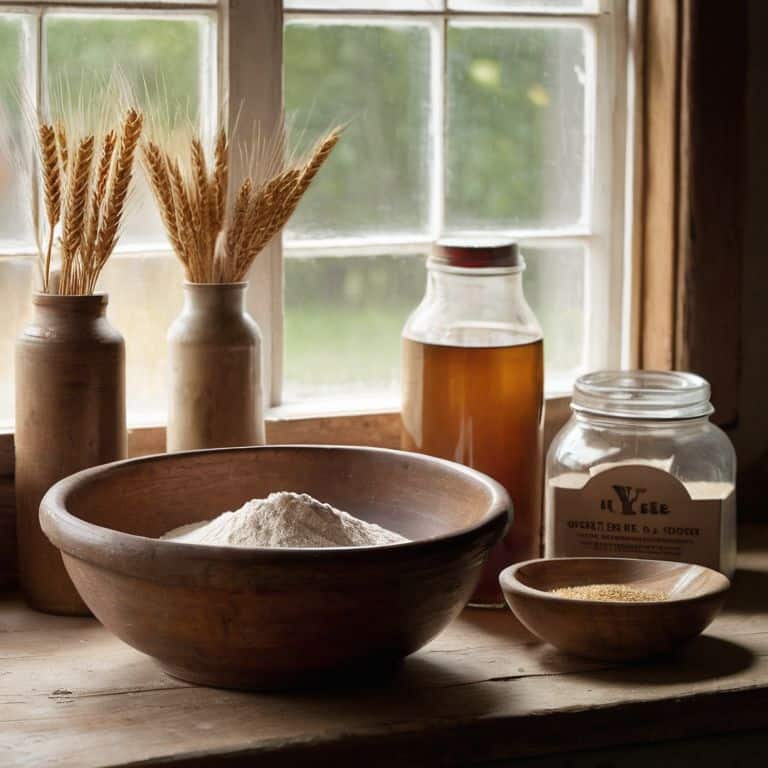
Supplies & Materials
- All-Purpose Flour 2 pounds
- Active Dry Yeast 1 packet
- Salt 1 teaspoon
- Sugar 1 teaspoon
- Warm Water 1 quart
Step-by-Step Instructions
- 1. First, let’s start by activating our yeast – this is the magic that makes our bread rise. In a large mixing bowl, combine 1 cup of warm water (not hot, not cold, just warm) with 2 teaspoons of sugar and 1 teaspoon of active dry yeast. Stir gently to dissolve the yeast and sugar, then let it sit for 5-10 minutes, or until the mixture becomes frothy and bubbly. You’ll know it’s ready when you see a layer of foam on top – it’s like a little sign from the yeast gods that we’re on the right track.
- 2. Next, we need to combine our dry ingredients – 3 cups of all-purpose flour, 1 teaspoon of salt, and any other flavor enhancers you like (think dried herbs, garlic powder, or grated cheese). Whisk these ingredients together in a separate bowl until they’re well combined, then set them aside for now. Don’t worry too much about getting everything perfectly mixed at this stage; we’ll get to that soon.
- 3. Now it’s time to bring our wet and dry ingredients together. Add the flour mixture to the yeast mixture, stirring with a wooden spoon or a stand mixer until a shaggy dough forms. Don’t overmix at this stage – we just want to get everything combined, not create a smooth, elastic dough (that comes later). You might notice the dough is a bit sticky at this point, but that’s okay – we’ll work on that in the next step.
- 4. Turn the dough out onto a floured surface and start kneading. This is the fun part – you get to use your hands and really work the dough. Push down with the heel of your hand, fold the dough back up, and repeat for 10-15 minutes, or until the dough becomes smooth and elastic. You can also use a stand mixer with a dough hook attachment if you prefer, but there’s something therapeutic about doing it by hand.
- 5. Once our dough is kneaded, it’s time to let it rise. Place the dough in a lightly oiled bowl, cover it with plastic wrap or a damp towel, and let it sit in a warm, draft-free place for about an hour, or until it’s doubled in size. You can also let it rise in the fridge overnight if you prefer a slower, more leisurely rise.
- 6. After our dough has risen, it’s time to shape it into a loaf. Punch down the dough to release any air bubbles, then shape it into a round or oblong loaf. Place the loaf onto a baking sheet lined with parchment paper, cover it with a clean towel, and let it rise for another 30-45 minutes, or until it’s puffed up again.
- 7. Finally, it’s time to bake our bread. Preheat your oven to 375°F (190°C), then place the loaf on the middle rack. Bake for 35-40 minutes, or until the bread is golden brown and sounds hollow when tapped on the bottom. Remove the bread from the oven and let it cool on a wire rack for at least 10-15 minutes before slicing – this is the hardest part, but trust me, it’s worth the wait.
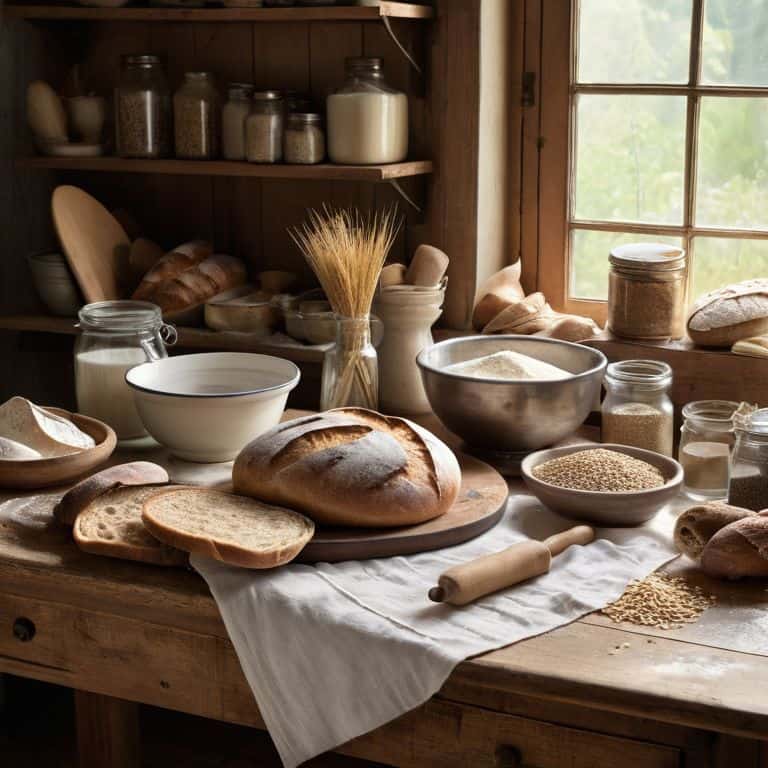
A Guide to Making Bread
As I always say, the key to making incredible bread is all about the quality of your ingredients. For me, that means using the best types of flour for bread making, like a hearty whole wheat or a rich, nutty rye. When you’re just starting out, it’s easy to get overwhelmed by all the different options, but trust me, it’s worth taking the time to experiment and find the one that works best for you. And don’t even get me started on the importance of using fresh yeast – it makes all the difference in getting that perfect rise.
One of the most common bread baking mistakes I see is overmixing the dough. It’s tempting to just keep stirring until everything is fully incorporated, but this can lead to a dense, tough loaf. Instead, try to mix your ingredients just until they come together in a shaggy mass, then let the dough rest and do its thing. This is especially important when working with beginner friendly bread recipes, where the goal is to keep things simple and straightforward.
When it comes to actually mixing the dough, I’m a big fan of getting in there with your hands and doing it manually. There’s just something about feeling the dough come together under your fingers that can’t be replicated with a bread machine. Plus, it’s a great way to get the kids involved and make bread making a fun, family activity – try using easy bread recipes for kids and watch how quickly they take to it.
Avoiding Common Bread Baking Mistakes
As I always say, practice makes perfect, and I’ve had my fair share of bread baking mishaps. To avoid common mistakes, remember to not overmix your dough – it should still be a bit shaggy when you stop mixing. Also, don’t overproof your loaves, as this can lead to a dense, flat bread. Keep an eye on your oven temperature, too, as a fluctuation can affect the rise and texture of your bread.
By being mindful of these potential pitfalls, you’ll be well on your way to creating delicious, homemade bread that’s sure to impress. With a little patience and attention to detail, you’ll be enjoying freshly baked loaves in no time, and I just can’t wait for you to experience that joy!
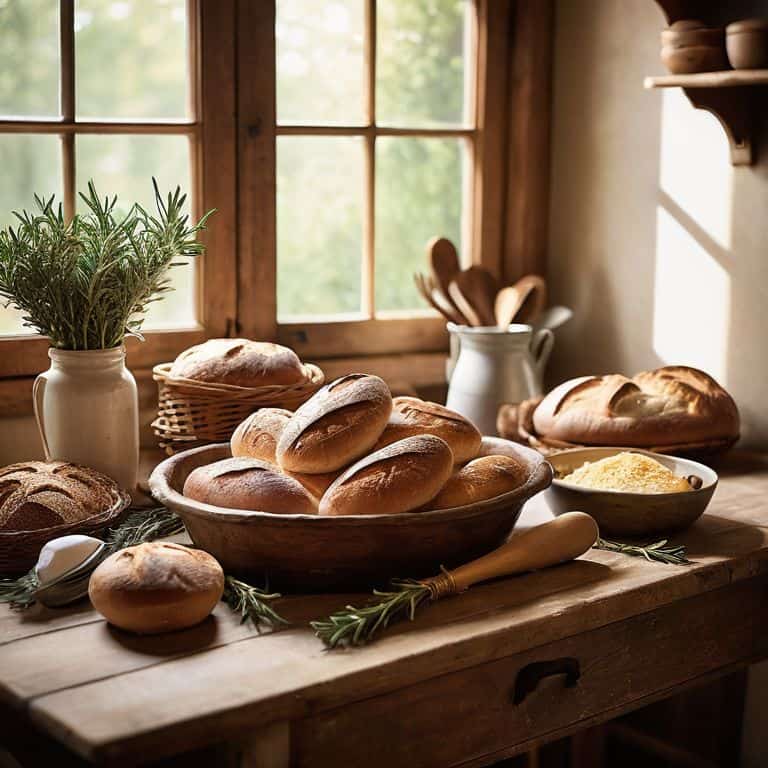
Beginner Friendly Bread Recipes Inside
As a beginner, it’s essential to start with recipes that are both delicious and forgiving. That’s why I’ve curated a selection of my favorite beginner-friendly bread recipes that are perfect for those just starting out. From classic white bread to hearty whole wheat, these recipes are designed to help you build confidence in the kitchen. I’ve included tips and tricks to ensure your loaves turn out perfectly, even if it’s your first time baking bread.
My goal is to make bread-making accessible to everyone, so I’ve kept things simple and straightforward. You’ll find recipes for soft dinner rolls, crusty baguettes, and even sweet breads like cinnamon swirl buns. Each recipe includes step-by-step instructions and photos to guide you through the process, making it easy to get started and achieve amazing results.
Rise to the Occasion: 5 Essential Tips for Bread Making
- Use high-quality yeast: I swear by this tip, and it’s a total game-changer – fresh yeast makes all the difference in helping your dough rise to perfection
- Keep it simple with ingredients: Don’t overcomplicate things, stick to basic ingredients and let the natural flavors shine through
- Temperature is everything: Make sure your ingredients are at room temperature before you start mixing, it’ll help the dough come together smoothly
- Don’t overmix: I know it’s tempting to keep mixing, but trust me, overmixing is the enemy of tender bread – stop once the ingredients just come together
- Let it rest: Give your dough the time it needs to rest and rise, it’s the secret to creating a delicious, airy crumb that’ll make your homemade bread truly special
Key Takeaways for the Perfect Loaf
Always remember to taste and adjust as you go, because the best ingredient in your bread is the one that brings everything together
Resist the urge to overmix – it’s all about finding that perfect balance between fluffy and firm, so your bread turns out light and divine
Don’t be afraid to experiment with different types of flour and ingredients, because that’s where the magic happens and you discover your new favorite recipe
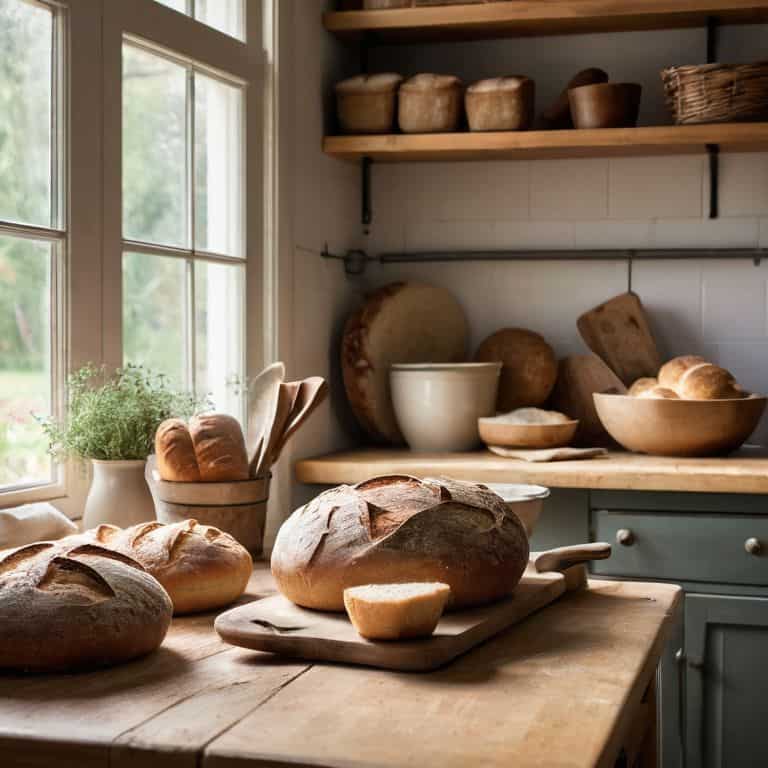
The Heart of Homemade Bread
Bread making is not just about following a recipe, it’s about creating a sense of comfort and warmth that fills your home and nourishes your soul – every delicious loaf is a labor of love.
Sophie Carter
Rise to the Occasion
As we conclude this journey through the world of bread making, let’s take a moment to reflect on the key takeaways. We’ve covered the essential steps to create delicious bread from scratch, from mixing and kneading to baking and cooling. We’ve also explored some beginner-friendly recipes and discussed how to avoid common mistakes that can make or break your bread. By mastering these fundamentals, you’ll be well on your way to becoming a confident bread baker, capable of creating a wide range of mouthwatering treats.
So, the next time you’re in the kitchen, remember that bread making is not just about following a recipe – it’s about creating something with love. It’s about the smell of freshly baked dough, the sound of crust cracking, and the joy of sharing a warm, homemade loaf with the people you care about. Don’t be afraid to experiment, try new things, and make mistakes – they’re all part of the beautiful process of bread making, and I’m honored to have been a part of your journey.
Frequently Asked Questions
What type of flour is best to use for a classic bread recipe?
For a classic bread recipe, I swear by unbleached all-purpose flour – it’s my go-to! Its balanced protein level gives you that perfect chew. If you want to get fancy, try bread flour for an even crisper crust, but honestly, all-purpose is my tried-and-true favorite.
How do I know when my bread is fully proofed and ready to bake?
The proofing stage – my favorite part! To check if your bread is fully proofed, gently poke it with your finger. If it springs back slowly and leaves a small indentation, it’s ready to bake. You can also look for a noticeable increase in size and a soft, airy texture. Trust me, with a little practice, you’ll develop a sixth sense for it!
Can I customize my bread with different mix-ins, such as nuts or dried fruits, and still achieve a great texture?
Absolutely, feel free to get creative with mix-ins like nuts or dried fruits! Just be sure to fold them in gently towards the end of the kneading process, so you don’t overwork the dough. This way, you’ll preserve the texture and still enjoy the added flavors and textures from your mix-ins.