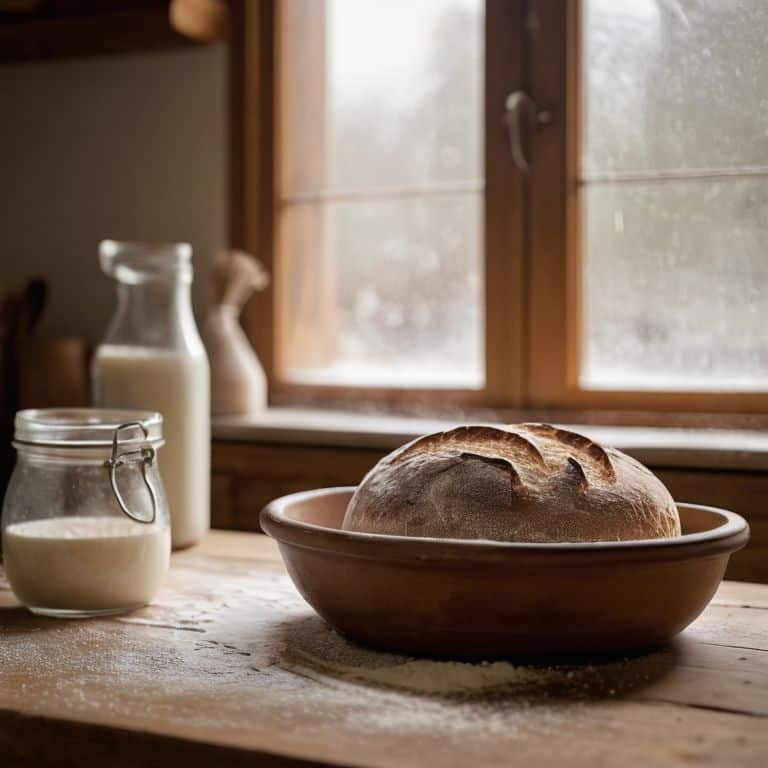
I still remember the first time I tried to create my own sourdough starter – it was a disaster! I had read all about the importance of having a natural yeast culture in a beginner’s guide to sourdough starter, but nothing seemed to be working for me. The mixture was too dry, too wet, or just plain lifeless. It wasn’t until I stumbled upon a simple, handwritten recipe card from my grandmother’s old collection that I finally understood the secret to making it work. Her recipe was part of a treasured family tradition, and it changed everything for me.
As I share my own experience with creating a sourdough starter, I want to assure you that it’s not as complicated as it seems. In this article, I’ll walk you through a step-by-step process to create your own sourdough starter from scratch, just like I did. You’ll learn how to mix, feed, and nurture your starter to create a natural yeast culture that will elevate your baked goods to the next level. With a little patience and practice, you’ll be enjoying freshly baked sourdough bread in no time, and I’m excited to be a part of your journey with this beginner’s guide to sourdough starter.
Table of Contents
- Guide Overview: What You'll Need
- Step-by-Step Instructions
- A Beginners Guide to Sourdough Starter
- Creating Magic From Scratch Sourdough Starter Basics
- Rise to the Occasion Tips for a Healthy Sourdough Starter
- Flour Power: 5 Essential Tips for a Thriving Sourdough Starter
- Sourdough Starter Essentials to Remember
- The Heart of Sourdough
- Rise to New Heights: A Sourdough Journey
- Frequently Asked Questions
Guide Overview: What You'll Need
Total Time: 7 to 14 days
Estimated Cost: $5 – $10
Difficulty Level: Easy
Tools Required
- Glass or Ceramic Container (with a wide mouth)
Supplies & Materials
- Flour unbleached, all-purpose flour
- Water filtered water
- Cheesecloth or Clean Linen for covering the container
Step-by-Step Instructions
- 1. First, let’s start by creating a warm and cozy environment for our sourdough starter to thrive. Find a comfortable spot in your kitchen, away from direct sunlight and drafts, where you can let your starter rest and ferment. I like to place mine on a quiet corner of my countertop, where I can keep an eye on it and make sure it’s happy.
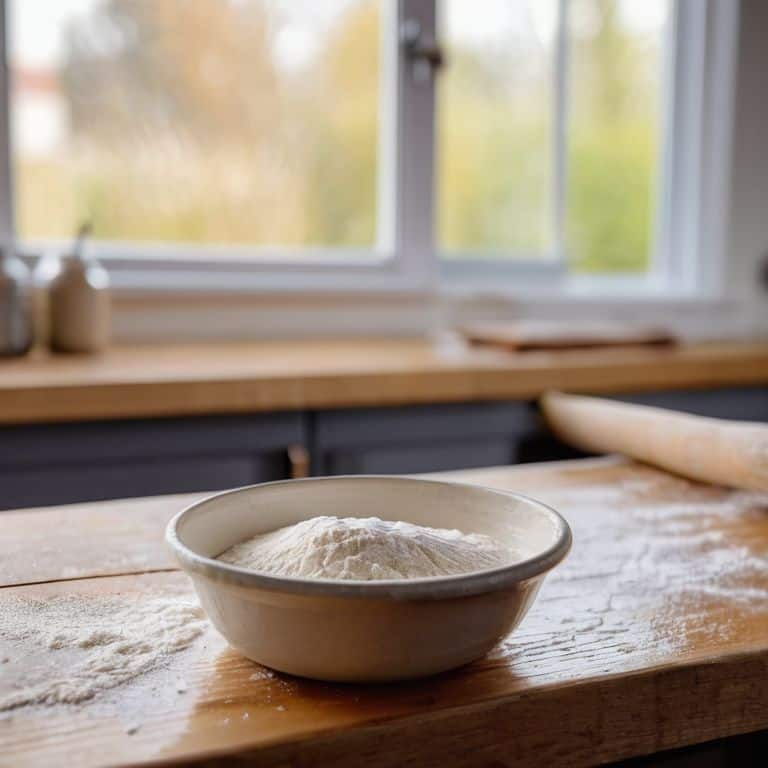
- 2. Next, we need to mix our initial starter ingredients. In a clean glass or ceramic container, combine 1/2 cup of warm water (around 90°F to 100°F) with 1/2 cup of flour. I _always_ use a digital thermometer to ensure the water is at the right temperature, as this will help our starter to activate and start fermenting. Use a wooden spoon or spatula to mix the ingredients until they form a smooth, thick batter.
- 3. Now it’s time to let our mixture rest and start fermenting. Cover the container with a cloth or plastic wrap and let it sit in the warm spot you’ve chosen for the next 24 to 48 hours. This is the most crucial step in creating your sourdough starter, as it allows the wild yeast and bacteria to start colonizing and fermenting the mixture. Be patient and let the magic happen!
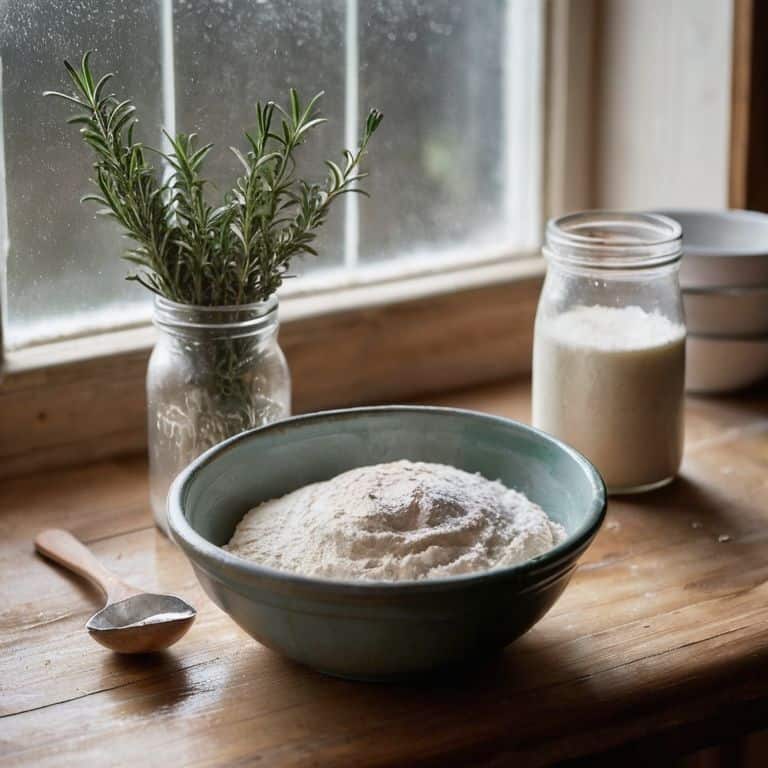
- 4. After 24 to 48 hours, it’s time to feed our starter. Discard half of the mixture and add another 1/2 cup of flour and 1/2 cup of warm water. Mix well and cover the container again. This process is called “feeding the starter,” and it’s essential to _keep your starter healthy and active_. Repeat this feeding process every 24 hours for the next 5 to 7 days to help your starter grow and become more robust.
- 5. As you feed your starter, you’ll start to notice it becoming more bubbly, frothy, and almost _foamy_. This is a great sign that your starter is alive and kicking! It’s also normal for your starter to emit a sour smell, which is a result of the fermentation process. Don’t worry; this smell will mellow out as your starter matures.
- 6. Around day 5 or 6, your starter should be active, bubbly, and nearly double in size after each feeding. This is a sign that it’s ready to use in recipes. To test its readiness, you can perform a “float test” by gently placing a small amount of starter in a cup of water. If it floats, it’s ready to go! If not, don’t worry; just continue feeding it for a few more days until it’s active and bubbly.
- 7. Finally, once your starter is active and ready to use, it’s essential to maintain its health and happiness. You can do this by feeding it once a week, storing it in the fridge to slow down fermentation, and taking it out to feed it and let it rest at room temperature every now and then. With proper care and attention, your sourdough starter will become a trusted companion in the kitchen, helping you create delicious bread, pancakes, and other treats for years to come.
A Beginners Guide to Sourdough Starter
As I always say, creating a sourdough starter from scratch is an art that requires patience, love, and a little bit of magic. To keep your starter happy and healthy, remember to feed it regularly with equal parts of flour and water. I like to think of it as giving my starter a warm hug, nurturing it to become the best version of itself.
When it comes to sourdough baking for beginners, it’s essential to understand the fermentation process. This is where the magic happens, and your starter starts to come alive. Understanding sourdough starter fermentation is key to creating delicious bread and pastries. I recommend taking notes and observing your starter’s behavior, as this will help you troubleshoot any issues that may arise.
To maintain a healthy sourdough starter, it’s crucial to provide the right environment. Keep your starter in a warm, draft-free place, and make sure to store it properly when not in use. By following these simple tips and being gentle with your starter, you’ll be well on your way to creating mouth-watering bread and pastries. Remember, troubleshooting common sourdough starter issues is all about patience and practice, so don’t be discouraged if things don’t go as planned at first.
Creating Magic From Scratch Sourdough Starter Basics
Creating Magic from Scratch: Sourdough Starter Basics
Now that we’ve got our starter going, let’s dive into the fundamentals. I like to think of my sourdough starter as a pet – it needs regular feeding and a little love. To keep yours happy and healthy, make sure to feed it once a week with equal parts flour and water. You’ll know it’s thriving when it’s bubbly, frothy, and has a slightly tangy smell. Don’t worry if it gets a bit messy – that’s just part of the charm!
As you get to know your starter, you’ll start to notice its unique personality. Some days it’ll be more active, and others it might be a bit sluggish. That’s okay! Just adjust your feeding schedule accordingly, and trust that with time, you’ll develop a sixth sense for what your starter needs.
Rise to the Occasion Tips for a Healthy Sourdough Starter
Now that we’ve covered the basics, let’s talk about how to keep your sourdough starter happy and healthy. I like to think of it as giving my starter a little TLC – tender loving care, that is. To help your starter rise to the occasion, make sure to feed it regularly and keep it in a warm, cozy spot. I store mine on the kitchen counter, where I can keep an eye on it and give it a little stir every now and then.
A healthy starter should be bubbly, frothy, and have a slightly tangy smell – if yours is looking a bit sluggish, don’t worry! Just give it a little more time, and maybe a bit more food, and it’ll be back to its old self in no time. Remember, patience is key when it comes to sourdough – with a little love and care, your starter will be thriving in no time.
Flour Power: 5 Essential Tips for a Thriving Sourdough Starter
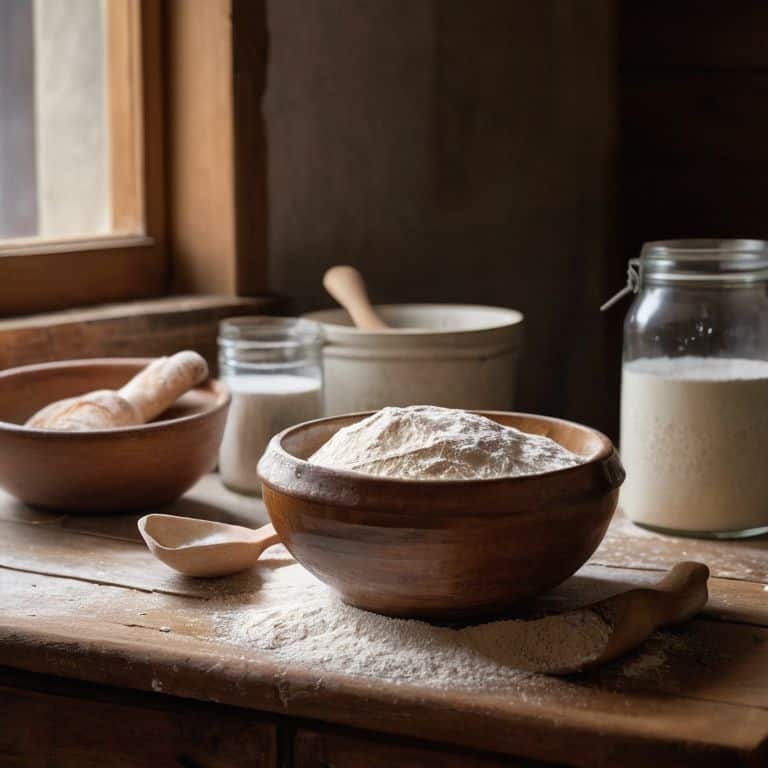
- Start with a clean slate: Use a glass or ceramic container to create your sourdough starter, as metal can inhibit the natural fermentation process
- Feed it like you mean it: Use a consistent ratio of flour to water to feed your starter, and make sure to discard half of it before each feeding to maintain a healthy balance
- Temperature tantrums: Keep your sourdough starter in a warm, draft-free place, ideally between 75-80°F, to encourage the wild yeast to thrive
- Be patient, young grasshopper: Creating a sourdough starter from scratch can take anywhere from 7-14 days, so don’t get discouraged if it doesn’t happen overnight
- Get your hands in there: Regularly stirring and handling your sourdough starter will help to develop its texture and encourage the formation of a robust, bubbly dough
Sourdough Starter Essentials to Remember
Always use a clean environment and utensils when handling your sourdough starter to prevent contamination and ensure a healthy fermentation process
Feed your sourdough starter regularly, ideally once a day, to maintain its activity and create a robust, bubbly texture that’s perfect for baking
Be patient and observe your sourdough starter’s behavior, as it may take some time to develop its unique characteristics and flavor profile, but with proper care, it will become your trusted companion in the kitchen
The Heart of Sourdough
A sourdough starter is more than just a mixture of flour and water – it’s a promise of warmth, comfort, and the love that only a homemade loaf can bring.
Sophie Carter
Rise to New Heights: A Sourdough Journey
As we conclude this beginner’s guide to sourdough starter, remember that creating a healthy starter is just the beginning of an incredible journey. We’ve covered the basics of mixing, feeding, and nurturing your starter, and I hope you’ve found the process as rewarding as I do. From the initial mixture of flour and water to the first signs of life, every step is a discovery. Don’t be afraid to experiment and find your own rhythm – after all, that’s what makes sourdough so unique.
Now that you’ve got your starter thriving, it’s time to think about the endless possibilities ahead. Imagine the warm, crusty loaves you’ll create, the flavors you’ll experiment with, and the joy you’ll share with family and friends. Bake with love, and remember, the most important ingredient in any recipe is the passion you put into it. Happy baking, and I look forward to hearing about your sourdough adventures!
Frequently Asked Questions
How often should I feed my sourdough starter to keep it healthy and active?
Feeding your sourdough starter is like giving it a daily dose of love. I recommend feeding it once a day, preferably in the morning, with a mix of flour and water. This keeps it healthy, active, and ready to rise to the occasion – literally! Aim for a 1:1:1 ratio of starter, flour, and water, and adjust as needed to maintain a happy, bubbly balance.
Can I use all-purpose flour to create my sourdough starter, or are there specific types of flour that work better?
While all-purpose flour works, I swear by bread flour or whole wheat for a more vibrant sourdough starter. The higher protein content in bread flour helps create a more robust starter, while whole wheat adds a nuttier flavor. Feel free to experiment, but if you want my secret to success, start with one of these!
What are some common mistakes to avoid when creating and maintaining a sourdough starter, and how can I troubleshoot issues if my starter isn't rising properly?
Don’t worry, friend! Common mistakes include overmixing, using chlorinated water, and not feeding your starter enough. If yours isn’t rising, check the temperature, and make sure it’s getting enough food and water. Try adjusting the ratio of flour to water, and give it a little more time – it might just need a boost!