I still remember the first time I stumbled upon the magic of fermentation – it was like unlocking a secret world of flavors. I was experimenting with a guide to fermentation in my tiny kitchen, trying to recreate the tangy kimchi my friend’s Korean mom used to make. The process was messy, the recipes were vague, but the end result was nothing short of astonishing. As I delved deeper into the world of fermentation, I realized that it’s not just about following a recipe, but about understanding the alchemy that happens when you combine simple ingredients with time and patience.
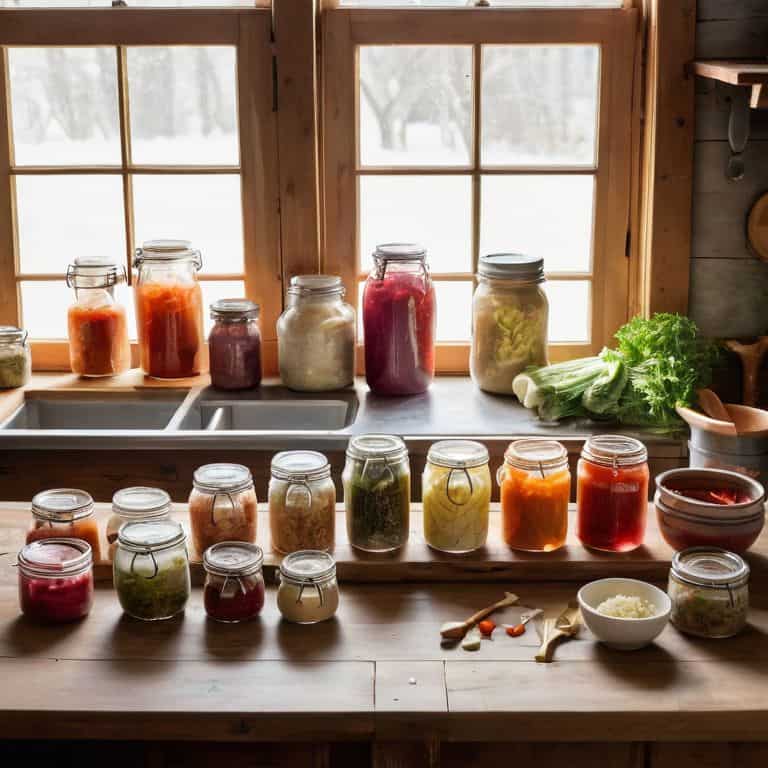
In this guide to fermentation, I’ll share my honest, no-hype approach to creating delicious, fermented foods at home. You won’t find any fancy equipment or complicated recipes here – just straightforward, practical advice on how to get started with fermentation. I’ll walk you through the basics of creating your own fermentation station, from making spicy kimchi to brewing bubbly kombucha. My goal is to empower you to take control of your food, to experiment, and to have fun with the process. So, let’s get our hands dirty and unlock the flavor revolution, one fermented bite at a time!
Table of Contents
Guide Overview: What You'll Need
Total Time: 2 weeks to several months
Estimated Cost: $20 – $100
Difficulty Level: Intermediate
Tools Required
- Large Glass Jars (with lids)
- Crock or Fermentation Vessel (at least 1 gallon capacity)
- Weight or Stone (for keeping vegetables submerged)
- Cheesecloth or Butter Muslin (for covering jars)
- Rubber Band (for securing cloth coverings)
Supplies & Materials
- Vegetables (cabbage, cucumbers, carrots, etc.)
- Salt (preferably non-iodized)
- Water (filtered or spring water)
- Sugar (optional, depending on recipe)
- Starter Culture (optional, for specific types of fermentation)
Step-by-Step Instructions
- 1. First, let’s start with the basics: gathering our ingredients and equipment. For a simple fermentation project, you’ll need a few jars, some water, salt, and your chosen vegetables or fruits. I like to use whatever’s in season and available at my local farmer’s market, so feel free to get creative with your selections. Make sure to wash those jars thoroughly and dry them with a clean towel to prevent any contamination.
- 2. Next, we need to create a _brine solution_ that will help our fermentation process along. This is where the magic happens, folks! To make the brine, mix 1 cup of water with 1-2 tablespoons of salt in a saucepan. Heat the mixture over low heat, stirring until the salt dissolves. Let it cool to room temperature before using it – we don’t want to shock our ingredients with hot water.
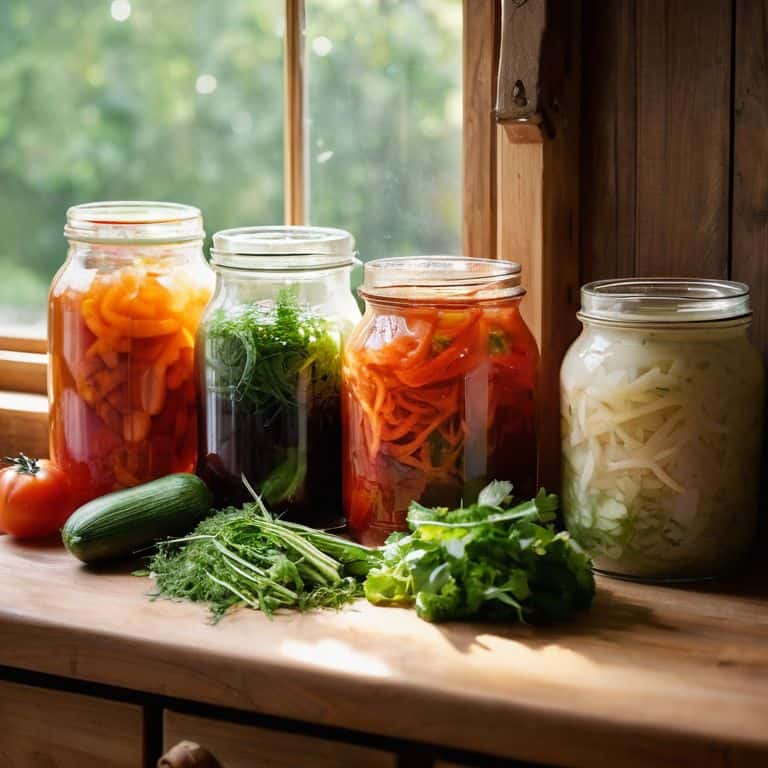
- 3. Now it’s time to prepare our ingredients. Chop, slice, or dice your chosen vegetables or fruits, depending on the desired texture and appearance. For something like sauerkraut, you’ll want to shred the cabbage finely, while for pickles, you might prefer to slice the cucumbers into thick rounds. The key is to create a consistent texture that will allow for even fermentation.
- 4. With our ingredients ready, it’s time to _pack the jars_. Start by adding a layer of your prepared ingredients to the jar, followed by a sprinkle of salt and a few tablespoons of the cooled brine solution. Repeat this process until the jar is filled, making sure to leave about an inch of space at the top. Use a utensil or your hands (I like to get a little messy!) to press down on the ingredients and remove any air pockets.
- 5. The next step is to seal the jars, but not too tightly – we want to allow for a bit of airflow to facilitate the fermentation process. You can use a lid or a piece of cloth to cover the top, just make sure it’s secure enough to keep dust and other contaminants out. Now, find a cool, dark place for your jars to _ferment_ – a pantry or cupboard is perfect.
- 6. As the fermentation process begins, you’ll start to notice _bubbles forming_ and a sour smell emanating from the jars. Don’t worry, this is completely normal! It’s a sign that the good bacteria are doing their job, breaking down the ingredients and creating that tangy flavor we’re after. Check on your jars daily, making sure the brine level is still above the ingredients and that everything is progressing as it should.
- 7. Finally, after several days or weeks (depending on the recipe and your desired level of fermentation), it’s time to taste and store our creations. Give them a try, and if they’re to your liking, transfer the jars to the fridge to slow down the fermentation process. This will allow you to enjoy your homemade fermented goodies for weeks to come. Remember, the beauty of fermentation lies in its imperfections, so don’t be afraid to experiment and try new things – it’s all part of the fun!
A Guide to Fermentation
As I delve deeper into the world of fermentation, I’ve come to realize the importance of fermentation temperature control. It’s a crucial aspect that can make or break the entire process. I’ve learned to monitor the temperature of my fermentation station closely, ensuring that it stays within the optimal range for the specific type of fermentation I’m attempting. This attention to detail has allowed me to create a wide range of delicious fermented foods, from tangy sauerkraut to spicy kimchi.
One of the most significant advantages of fermented foods is the benefits they provide to our gut health. By incorporating fermented foods into our diet, we can promote a healthy balance of gut bacteria, which is essential for our overall well-being. I’ve experienced this firsthand, and it’s amazing to see how a simple change in diet can have such a profound impact on our health. When it comes to fermentation, I’m a big fan of using wild fermentation methods, which allow the natural bacteria on the ingredients to do their magic.
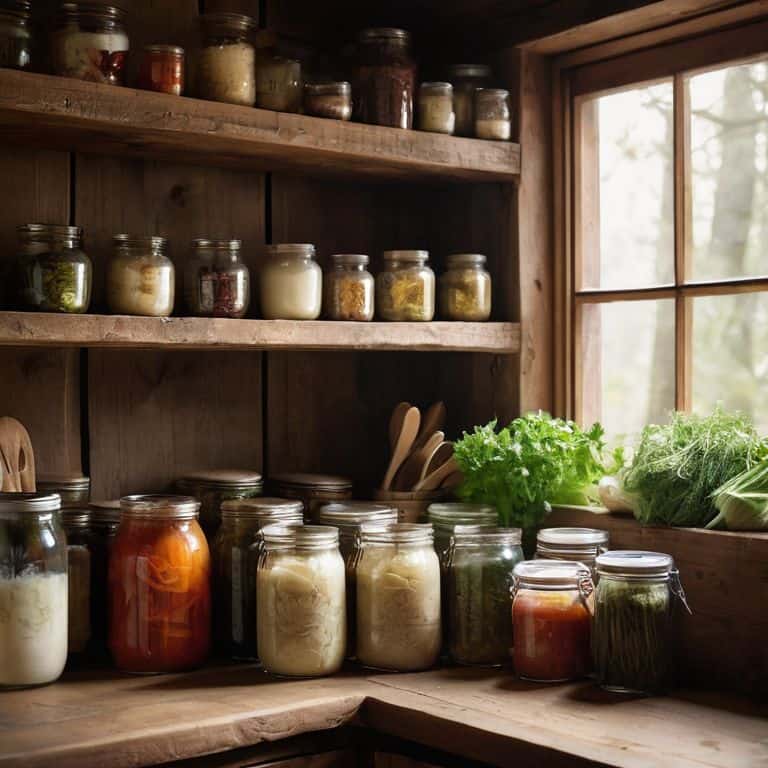
As a beginner, it’s essential to be aware of common fermentation mistakes that can hinder the process. One of the most common mistakes is not providing enough anaerobic conditions, which can lead to mold or yeast growth. To avoid this, I always make sure to use the right fermentation vessel options, such as glass jars or crocks, and to weigh down the ingredients to keep them submerged.
Benefits of Fermented Foods Uncovered
As I dive into the world of fermentation, I’m constantly amazed by the incredible benefits it unlocks. Not only do fermented foods boast bold, tangy flavors, but they’re also packed with probiotics, vitamins, and minerals. I’ve noticed a significant boost in my energy levels and digestion since incorporating fermented goodies into my daily routine. From spicy kimchi to sourdough bread, each bite is a testament to the magic that happens when we let nature take its course.
By embracing fermentation, we’re not only treating our taste buds, but also nurturing our gut health and supporting local, seasonal ingredients. It’s a win-win! As someone who’s passionate about DIY food production, I’m excited to share my favorite fermented recipes and tips with you, so you can start reaping the rewards in your own kitchen.
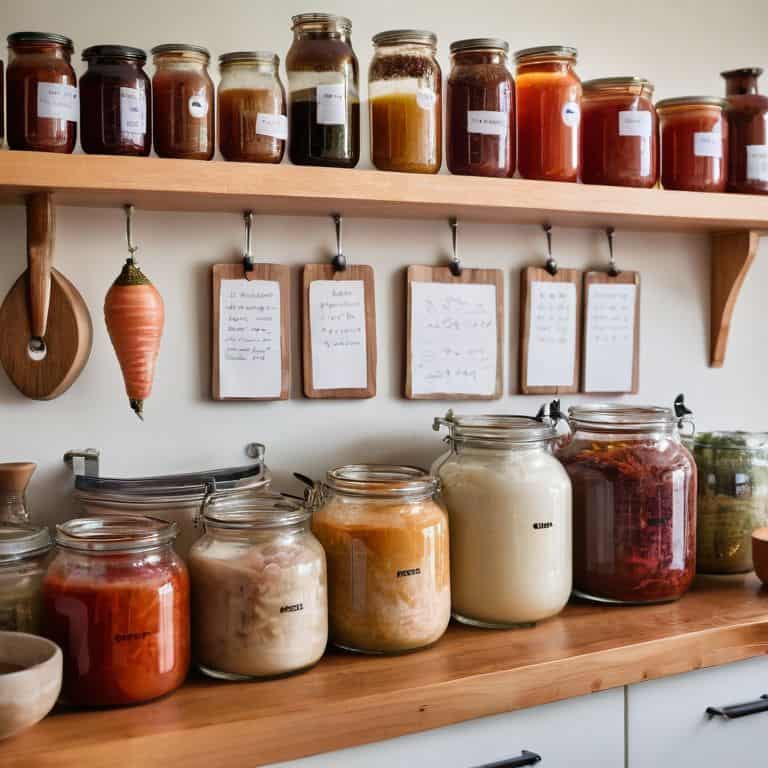
Fermentation Temperature Control Tips
Now that we’re fermenting like pros, let’s talk temperature control. I’ve learned that a consistent temp is key to unlocking those amazing flavors. For me, it’s all about finding that sweet spot – not too hot, not too cold. I like to keep my fermentation station between 68-72°F (20-22°C), which seems to be the magic zone for most of my ferments.
When I’m fermenting, I use a thermometer to keep an eye on things, and I’ve even rigged up a little temperature control system using an old thermometer and some insulation. It’s not fancy, but it works like a charm. By keeping your ferments at the right temperature, you’ll be rewarded with delicious, tangy flavors that’ll make your taste buds do the happy dance.
Get Fermenting: 5 Tips to Unlock the Flavor
- Start with the right equipment: invest in a good fermentation vessel, like a ceramic crock or a glass jar with a wide mouth, to make monitoring and maintaining your ferments a breeze
- Choose your ingredients wisely: select fresh, seasonal produce to ensure the best flavors and textures in your ferments – and don’t be afraid to experiment with new and unusual combinations
- Keep it clean: maintain a clean and sanitized environment to avoid contamination and spoilage, and always wash your hands before handling your ferments
- Monitor your temperatures: most ferments thrive in a cool, dark place with a consistent temperature between 64-75°F (18-24°C), so find a spot in your kitchen that fits the bill
- Be patient: fermentation is a waiting game, so don’t rush the process – let your ferments develop their unique flavors and textures over time, and enjoy the journey from raw ingredients to delicious, tangy treats
Fermentation Essentials to Get You Started
Start small and experiment with different ingredients to find your favorite fermented flavors, from spicy kimchi to tangy sauerkraut
Temperature control is key to successful fermentation, so make sure you’re monitoring those temperatures and adjusting as needed to get the best results
Remember, fermentation is all about patience and practice, so don’t be discouraged if things don’t turn out as expected at first – keep trying and you’ll soon be a pro at creating delicious, healthy fermented foods
Unlocking the Power of Fermentation
Fermentation is not just a process, it’s a journey of discovery – where the ordinary becomes extraordinary, and the flavors you unlock are a reflection of your own curiosity and creativity.
Tom Navarro
Embracing the Fermentation Journey
As we wrap up this guide to fermentation, I hope you’ve gained a deeper understanding of the magical process that turns simple ingredients into flavor bombs. From the importance of temperature control to the numerous benefits of fermented foods, we’ve covered the essential steps to get you started on your fermentation journey. Remember, fermentation is all about experimentation and patience, so don’t be afraid to try new recipes and ingredients – your taste buds will thank you!
Now that you’ve got the basics down, it’s time to unleash your inner fermentation enthusiast! Get creative, get messy, and most importantly, have fun with the process. Whether you’re making kimchi, kombucha, or your own signature hot sauce, the world of fermentation is full of endless possibilities. So go ahead, take the leap, and join the fermentation revolution – your pantry (and your taste buds) will never be the same!
Frequently Asked Questions
What are the most common mistakes to avoid when starting a fermentation project?
Don’t over-sanitize, or you’ll kill the good bacteria! Also, be patient and don’t rush the process – fermentation takes time. And please, don’t be afraid to experiment and try new things, that’s where the magic happens! I’ve learned from my own mistakes, like the time I forgot to weigh down my kimchi and it ended up a moldy mess.
How do I know if my fermentation is going correctly, and what are the signs of spoilage?
Check for bubbles, a tangy aroma, and a soft fizz – these are signs your fermentation is on track. But, if you notice mold, slime, or a foul smell, it’s time to start over. Trust your instincts, and don’t be afraid to taste as you go – your taste buds will be your best guide in the fermentation journey!
Can I ferment any type of vegetable or fruit, or are there certain varieties that work better than others?
The possibilities are endless, my friend. I’m a firm believer that any veggie can be pickled and any fruit can be infused. That being said, some varieties do lend themselves better to fermentation than others. Think about it, crunchy veggies like carrots and cucumbers make amazing pickles, while fruits like berries and citrus are perfect for infusing into vinegars or sauces. Experiment and find your favorites!