
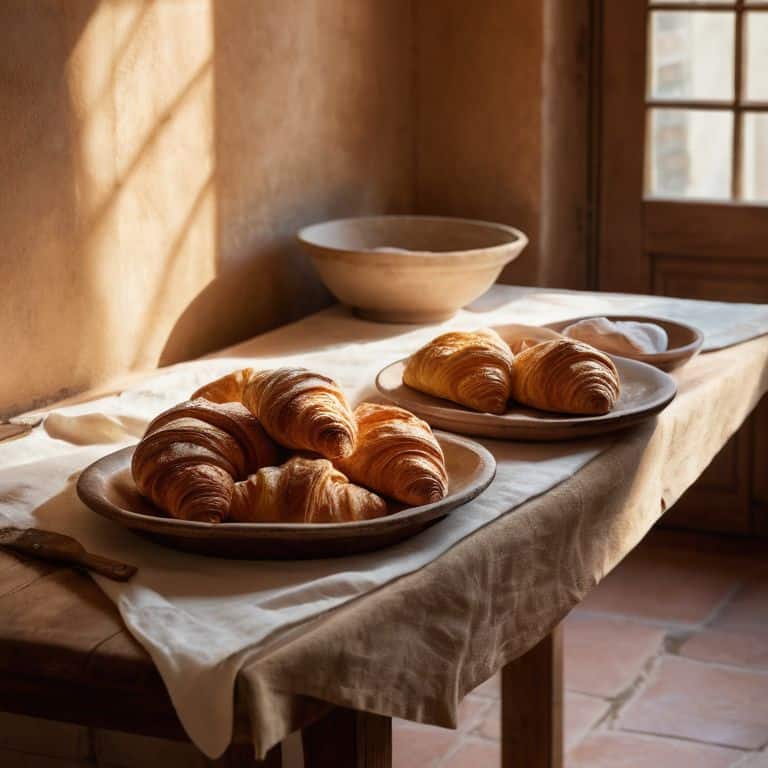
As I sat at a small café in Paris, watching the buttery aroma of freshly baked croissants waft through the air, I realized that the secret to how to make a perfect croissant lies not in fancy recipes or expensive ingredients, but in the simple, traditional techniques passed down through generations of French grandmothers. I’ve spent years traveling the world, learning the art of bread-making from these masters, and I’m excited to share my discoveries with you. The myth that making perfect croissants is a daunting, impossible task is just that – a myth. With the right guidance, anyone can create these flaky, golden pastries that are the hallmark of French patisserie.
In this article, I’ll take you on a journey to the heart of croissant-making, sharing the honest, no-hype advice I’ve gathered from my travels. You’ll learn the essential techniques for crafting the perfect croissant, from mixing and rolling the dough to the final, delicate folds that create the signature layers. My goal is to empower you with the knowledge and confidence to make perfect croissants in your own kitchen, just like the ones I’ve enjoyed on the streets of Paris. So, let’s get started on this culinary adventure, and uncover the secrets to making a perfect croissant that will transport your taste buds to the charming cafes of France.
Table of Contents
- Guide Overview: What You'll Need
- Step-by-Step Instructions
- Unfolding Croissant Secrets
- Croissant Crafting Essentials: 5 Tips from a Seasoned Traveler
- Key Takeaways from Grand-Mère's Kitchen
- The Essence of Croissant Perfection
- The Flaky, Buttery Truth: Bringing It All Together
- Frequently Asked Questions
Guide Overview: What You'll Need

Total Time: 2 hours 30 minutes
Estimated Cost: $15 – $30
Difficulty Level: Intermediate
Tools Required
- Stand Mixer (with dough hook attachment)
- Measuring Cups (dry and liquid)
- Measuring Spoons
- Rolling Pin
- Pastry Brush (for egg wash)
- Baking Sheet (lined with parchment paper, approximately 18 inches by 12 inches)
Supplies & Materials
- All-Purpose Flour (about 3 1/2 cups)
- Cold Unsalted Butter (about 1 cup, cut into small pieces)
- Granulated Sugar (about 1/4 cup)
- Active Dry Yeast (about 1/4 teaspoon)
- Salt (about 1/2 teaspoon)
- Large Eggs (about 1 egg, for egg wash)
- Whole Milk (about 1/2 cup, lukewarm)
Step-by-Step Instructions
- 1. First, let me tell you that making the perfect croissant is all about layering the dough. You’ll need to combine 1 1/2 cups of warm milk, 1/4 cup of granulated sugar, and 2 teaspoons of active dry yeast in a large mixing bowl. I remember learning this step from a charming French grandmother, who swore by the importance of using high-quality ingredients.
- 2. Next, add 3 1/2 cups of all-purpose flour, 1 teaspoon of salt, and 1/4 cup of unsalted butter, softened, to the bowl. Mix the ingredients until a shaggy dough forms, then knead the dough on a floured surface for about 10 minutes, until it becomes smooth and elastic. I’ve found that paying attention to the dough’s texture is crucial at this stage.
- 3. Now, it’s time to let the dough rest. Place the dough in a lightly oiled bowl, cover it with plastic wrap, and refrigerate it for at least 2 hours or overnight. This step is essential, as it allows the yeast to ferment and the dough to relax. I recall a street food vendor in Paris telling me that patience is key when it comes to making croissants.
- 4. After the dough has rested, roll it out into a large rectangle, about 1/4-inch thick. You’ll need to keep the dough cold, so make sure to work in a cool environment and handle the dough gently. I’ve learned that using a marble surface can help keep the dough cool and prevent it from becoming too sticky.
- 5. Spread 1/2 cup of unsalted butter, softened, evenly over the center of the dough, leaving a 1-inch border on either side. Then, fold the 1-inch border over the butter, and fold the dough in thirds, like a letter. This step is crucial, as it helps to create the flaky layers that are characteristic of croissants.
- 6. Rotate the dough 90 degrees, so the folded edge is facing you. Roll out the dough into a large rectangle again, about 1/4-inch thick. Repeat the process of spreading the butter and folding the dough several times, until you’ve achieved the desired layering. I’ve found that using a light touch is essential when rolling out the dough, as you want to avoid developing the gluten.
- 7. Finally, cut the dough into long, thin triangles, and roll each triangle into a croissant shape. Place the croissants on a parchment-lined baking sheet, leaving about 1 inch of space between each one. Brush the tops with a little bit of egg wash, and bake in a preheated oven at 400°F (200°C) for about 15-20 minutes, or until golden brown.
Unfolding Croissant Secrets
As I delved deeper into the world of croissants, I discovered that mastering the flaky pastry technique is key to creating those delicate, layered treats. It’s all about balancing the yeast, temperature, and time to achieve the perfect rise. I recall a charming French patisserie owner telling me that croissant dough rising tips are often passed down through generations, with each family having their own secret to getting it just right.
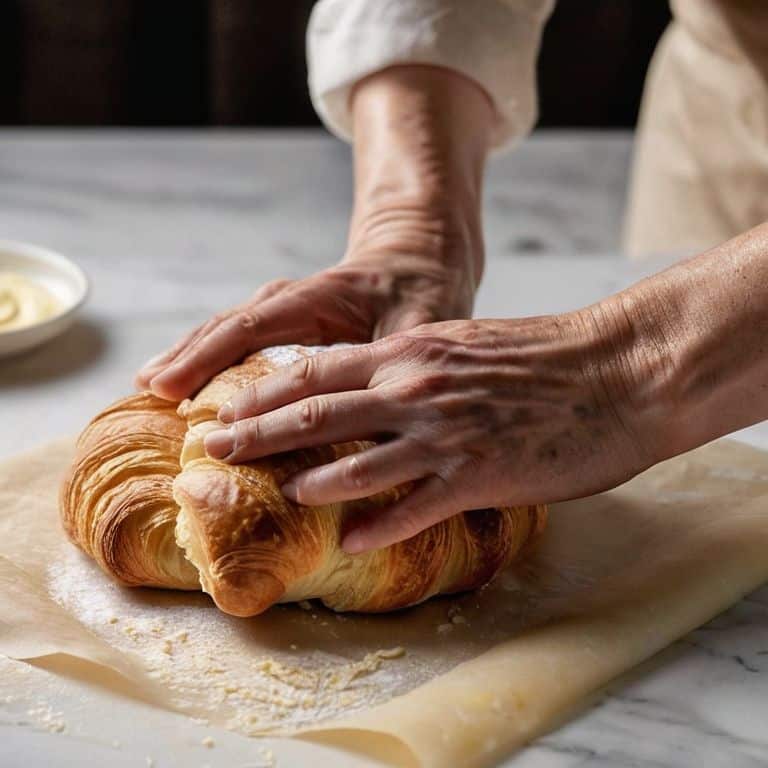
One of the most crucial steps in crafting croissants is the butter block preparation. This is where the magic happens, and the layers of dough and butter come together in perfect harmony. To get it just right, I recommend keeping your butter at room temperature and handling it gently to avoid melting. When it comes to layering pastry for croissants, it’s essential to be patient and take your time, ensuring each layer is evenly spread and folded with precision.
As I experimented with various recipes, I encountered a few common croissant baking mistakes, including overproofing and underbaking. To avoid these pitfalls, it’s essential to keep an eye on your croissant proofing times and adjust your oven temperature accordingly. With practice and patience, you’ll be able to craft croissants that are not only delicious but also visually stunning, with a golden-brown crust and a soft, airy interior.
Butter Block Preparation Tips
As I watched Grand-Mère carefully prepare the butter block, I realized it’s all about creating a harmonious balance between the soft, pliable dough and the rich, creamy butter. She’d gently pound the butter to the perfect consistency, not too hard, not too soft, before wrapping it in parchment paper and chilling it to perfection. This delicate dance is crucial, as it ensures the butter melts evenly, creating those signature flaky layers. I’ve found that using high-quality, European-style butter with a higher fat content makes all the difference in achieving that authentic, tender crumb.
To get it just right, keep the butter at room temperature for about 30 minutes before pounding it, and make sure your workspace is cool and draft-free. This will help prevent the butter from softening too much, allowing you to maintain that perfect balance. Trust me, the extra effort is worth it – the end result is a croissant that’s nothing short of magical.
Flaky Pastry Technique Unveiled
As I watched Grand-Mère’s skilled hands move deftly, I realized that the key to a perfect croissant lies in the flaky pastry technique. It’s all about layering the dough and butter just so, creating a delicate balance of crunch and softness. She taught me to keep the butter cold, to fold the dough with a gentle touch, and to let it rest just long enough to allow the magic to happen. With each fold and roll, the dough begins to take on a life of its own, developing a tender, flaky texture that’s nothing short of miraculous.
The real secret, Grand-Mère whispered, is in the patience – letting the dough rest, allowing the flavors to meld, and trusting the process. As I practiced her technique, I began to understand the beauty of this traditional French pastry. With every delicate layer, I felt like I was unfolding a piece of history, a story that’s been passed down through generations of French bakers.
Croissant Crafting Essentials: 5 Tips from a Seasoned Traveler
- Let the butter come to room temperature before you start, just like Grand-Mère taught me – it makes all the difference in achieving that perfect, flaky layer
- Keep your dough cold, but not too cold – you want it to be cooperative, not frozen in fear, as I learned from a charming Parisian patisserie
- Don’t overmix, my friends – you’re aiming for a delicate balance of ingredients, not a tough, chewy disaster, a mistake I made in a small bakery in Vienna
- Use high-quality, European-style butter with a high fat content – it’s the secret to a rich, authentic flavor, as I discovered in a quaint Danish pastry shop
- Be patient and give your dough the time it needs to rest and rise – good things come to those who wait, and a perfect croissant is worth the extra hour, as I found out in a bustling Italian kitchen
Key Takeaways from Grand-Mère's Kitchen
Layering is everything: to achieve the perfect flaky pastry, it’s crucial to maintain a balance between the dough and the butter block, ensuring each layer is delicate yet distinct
Temperature and timing are your best friends: keeping your ingredients at the right temperature and respecting the resting time will make all the difference in the world, as I learned from watching Grand-Mère patiently craft each croissant
Practice makes perfect, but so does patience: don’t be discouraged if your first batch doesn’t turn out as expected – the art of making croissants is a journey, and with each attempt, you’ll unfold the secrets of this French delicacy, just as I did on my culinary adventures
The Essence of Croissant Perfection
A perfect croissant is not just about layers of dough and butter, it’s about the love and patience you fold into each delicate curve, just as Grand-Mère taught me in her cozy Parisian kitchen.
Marco Bianchi
The Flaky, Buttery Truth: Bringing It All Together
As I reflect on the journey to crafting the perfect croissant, I’m reminded of the importance of patience and attention to detail. From the initial step-by-step guide to unfolding the secrets of Grand-Mère’s flaky pastry technique and butter block preparation tips, each element plays a crucial role in creating a truly exceptional croissant. Whether you’re a seasoned baker or a culinary novice, the key to success lies in embracing the process and not being afraid to experiment and learn from your mistakes.
As you embark on your own croissant-making adventure, remember that the true magic happens in the messy, beautiful process of creation. Don’t be discouraged by setbacks or less-than-perfect results – instead, embrace the journey and let the allure of flaky, buttery goodness guide you. With time, practice, and a willingness to learn, you’ll be well on your way to baking croissants that would make even the most discerning French grandmother proud.
Frequently Asked Questions
What's the ideal temperature and humidity for proofing croissant dough to achieve the perfect flaky layers?
I recall a quaint Parisian bakery where the owner swore by a warm, draft-free spot with a consistent 75°F to 78°F temperature and 70% to 80% humidity for proofing croissant dough. She’d say, “C’est la clé” – it’s the key to those heavenly, flaky layers.
How do I prevent the butter from melting and becoming too soft during the laminating process?
To prevent butter from melting, I learned from a French patissier to keep it chilled, even using ice packs during laminating on hot days. Also, handle the dough gently, and work in a cool environment to maintain the perfect balance of flaky and tender.
Can I use a stand mixer with a dough hook attachment to knead the croissant dough, or is hand-kneading essential for developing the right texture?
While a stand mixer can speed up the process, I’ve found that hand-kneading is essential for developing the delicate layers and texture of a true French croissant. Grand-Mère would always say, “Les mains, Marco, les mains!” – it’s the human touch that makes all the difference in creating those flaky, buttery layers.