I still remember the first time I tried to make kombucha – it was a disaster. I had heard it was a complicated process, requiring all sorts of special equipment and precise measurements. But as I delved deeper into the world of a beginner’s guide to making kombucha, I realized that most of the information out there was overly complicated and intimidating. The truth is, making kombucha is _incredibly simple_ – it just requires a little patience and the right guidance.
As you read through this article, I promise to cut through the noise and give you the _honest, no-frills advice_ you need to get started with making your own kombucha at home. We’ll cover the basics of what you need to get started, from the ingredients to the equipment, and I’ll share some of my own tips and tricks for ensuring a successful brew. By the end of this a beginner’s guide to making kombucha, you’ll be confident in your ability to create your own delicious, fizzy kombucha – and you’ll be hooked from the very first sip.
Table of Contents
Guide Overview: What You'll Need

Total Time: 7 to 14 days
Estimated Cost: $20 – $50
Difficulty Level: Easy
Tools Required
- Large Glass Jar (at least 1 gallon capacity)
- Cheesecloth or Butter Muslin (for covering the jar)
- Rubber Band (for securing the cloth)
- Thermometer (optional, but recommended)
- Stirring Spoon
Supplies & Materials
- Kombucha Starter Culture (SCOBY)
- Sugar (1 cup)
- Black Tea (8 to 10 tea bags)
- Water (1 gallon)
- Starter Tea (from a previous batch of kombucha or store-bought kombucha)
- Flavorings (optional) (e.g., fruit juice, herbs, spices)
Step-by-Step Instructions
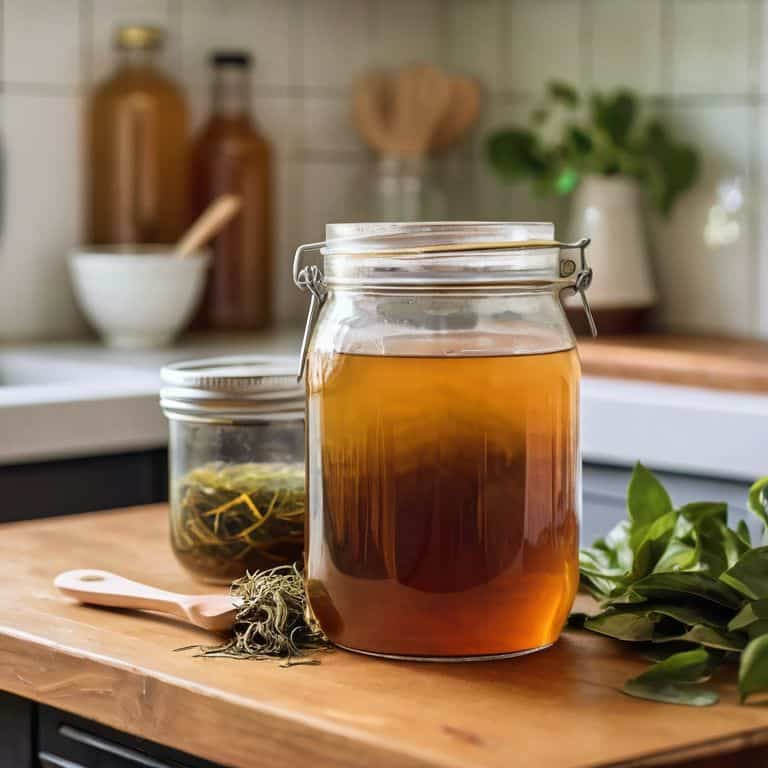
- 1. First, let’s start by gathering all the necessary ingredients and equipment for our kombucha adventure – we’ll need a SCOBY (that’s a Symbiotic Culture of Bacteria and Yeast, for the uninitiated), some sweet tea, and a few other simple supplies to get our brew going. I like to think of it as a fun little _treasure hunt_ around the kitchen to find all the right tools and ingredients.
- 2. Next, we need to brew a big ol’ pot of tea – I’m talking _strong and sweet_, just like my grandma used to make. We’re talking about a gallon of water, a cup of sugar, and 8-10 tea bags (black, green, or a combination of both – the choice is yours, my friend!). Let it steep for a good 5-10 minutes to get that perfect flavor, then remove the tea bags and let it cool down to room temperature.
- 3. Now it’s time to add the magic ingredient – our SCOBY – to the tea. If you’re new to this, don’t worry if it looks a little weird or feels _slimy to the touch_; that’s just our little friend getting ready to work its magic. Make sure the tea has cooled down enough, as boiling water can harm the SCOBY. Gently place it in the liquid, cover the container with a breathable cloth or paper towel, and secure it with a rubber band.
- 4. Find a warm, cozy spot for our kombucha to _ferment and chill_ – a pantry or cupboard is perfect, as long as it’s away from direct sunlight and drafty windows. The temperature should be around 68-85°F (20-30°C) for optimal fermentation. Let it do its thing for 7-14 days, depending on your desired level of sourness and carbonation.
- 5. After 7 days, it’s time to _taste and decide_ if our kombucha is ready. Use a straw to scoop up a little sample from the surface (be careful not to disturb the SCOBY) and give it a try. If it’s too sweet, let it ferment for a few more days. If it’s just right, we can move on to the next step.
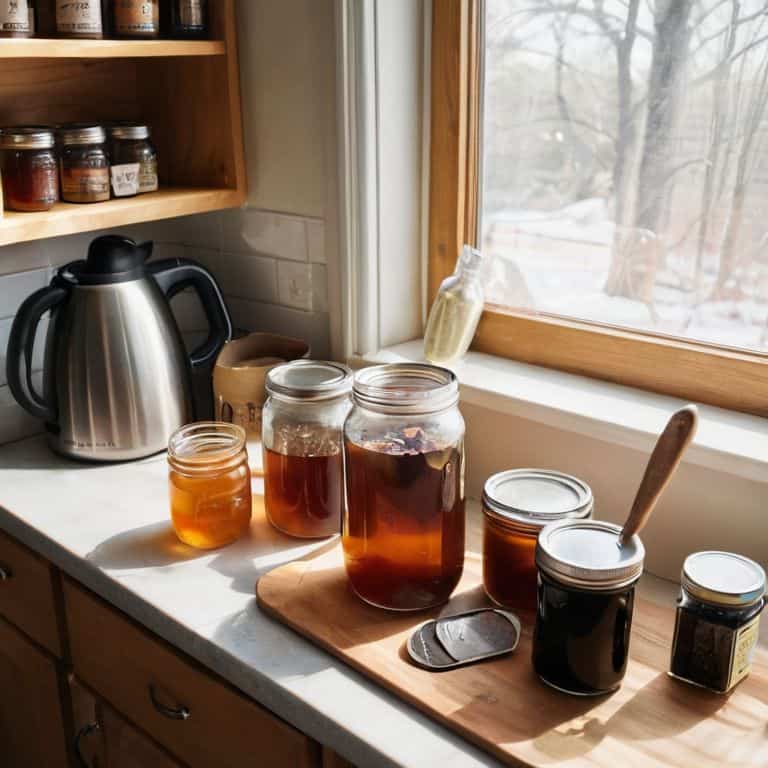
- 6. Once our kombucha has reached the perfect level of _fizz and flavor_, it’s time to bottle it up and get it ready for the fridge. Remove the SCOBY and _starter tea_ (the liquid from the fermented kombucha) and set them aside for our next batch. Transfer the kombucha to glass bottles with tight-fitting lids, leaving about an inch of headspace at the top.
- 7. Finally, let’s get our kombucha _chilled and carbonated_ in the fridge. This is the hardest part – waiting for it to chill and become even fizzier. Store it in the refrigerator to slow down fermentation and carbonation. After a few days, our homemade kombucha is ready to drink – _enjoy the fruits of your labor_ and get creative with flavorings and infusions to make it your own!
A Beginners Guide to Making Kombucha
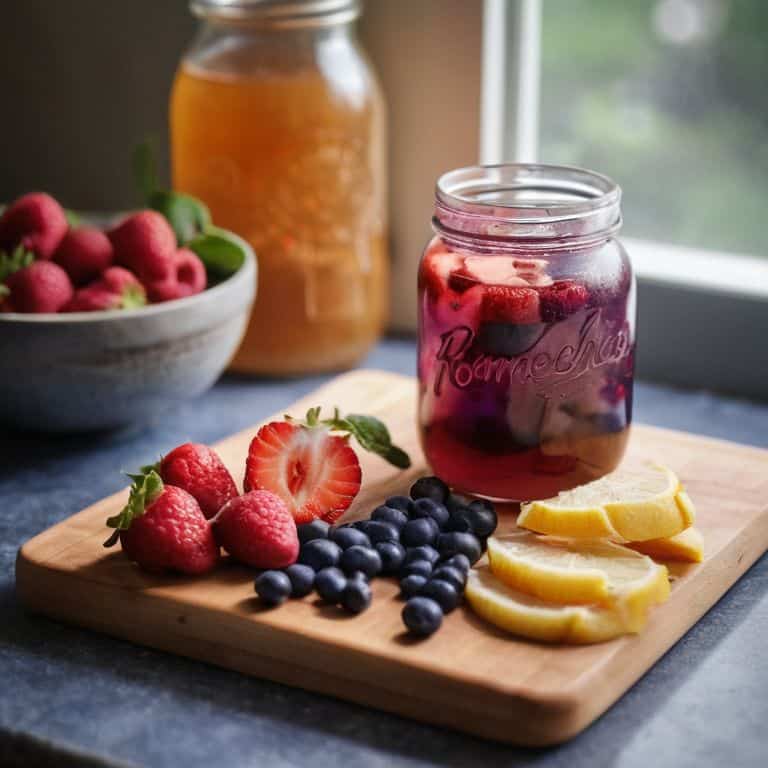
As I always say, the key to perfecting your kombucha game is to experiment with different flavors. Don’t be afraid to try out new ingredients and see what works for you. I’ve found that adding a few slices of fresh ginger or a handful of berries can completely transform the taste of my brew. And the best part? The possibilities are endless, so you can always come up with something new and exciting.
When it comes to fermentation temperature control, it’s essential to find a sweet spot that works for your kombucha. If it’s too hot, the fermentation process can happen too quickly, resulting in a sour or vinegary taste. On the other hand, if it’s too cold, the process can slow down, and your kombucha might not develop the desired flavor. I’ve found that a consistent temperature between 68-72°F works best for me.
For those who are new to brewing, troubleshooting kombucha problems can be a challenge. Don’t worry if your first batch doesn’t turn out as expected – it’s all part of the learning process. Remember to always use clean equipment, and make sure your starter culture is healthy and active. With a little patience and practice, you’ll be brewing like a pro in no time, and enjoying all the kombucha health benefits that come with drinking this amazing fermented tea.
Fermentation Temperature Control Tips
Now that we’ve got our kombucha brew going, let’s talk about the importance of temperature control. I like to think of fermentation as a gentle dance between microbes and warmth. Too hot, and our SCOBY (that’s the symbiotic culture of bacteria and yeast) might get stressed; too cold, and it’ll be a sluggish party. For optimal fermentation, I aim for a cozy spot between 68-72°F (20-22°C).
In my kitchen, I’ve found that a consistent temperature is key to a healthy, happy brew. If you don’t have a thermometer, don’t sweat it – just find a spot that’s away from direct sunlight and drafts. With a little practice, you’ll develop a sense of when your kombucha is fermenting at its best. Remember, it’s all about creating an environment where your SCOBY can thrive and produce that delicious, tangy flavor we all love.
Unlock Kombucha Health Benefits
Now that we’ve got our brew on, let’s dive into the amazing health benefits of kombucha. I’m obsessed with how this fermented tea can boost our immune systems and even aid in digestion. The probiotics and antioxidants in kombucha are like a powerhouse for our bodies, helping to detox and energize us from the inside out.
As someone who’s passionate about using food as medicine, I love that kombucha is packed with good stuff like glucuronic acid, which can help flush out toxins. Plus, the B vitamins and folic acid give me a natural energy boost that lasts all day. Whether you’re looking to upgrade your gut health or just feel more vibrant, homemade kombucha is an incredible addition to your daily routine.
Brewing Like a Pro: 5 Essential Tips for Beginner Kombucha Makers
- Start with the right tea: Choose a high-quality, organic black or green tea to give your kombucha a rich, smooth flavor
- Monitor your temperature: Keep your fermentation spot between 68-72°F to ensure a healthy SCOBY and a balanced flavor
- Don’t overdo the sugar: Use just the right amount of sugar to feed your SCOBY, but not so much that it overpoweres the tea
- Be patient and observe: Allow your kombucha to ferment for 7-14 days, tasting it regularly to find your perfect balance of sweet and sour
- Experiment with flavors: Once you’ve mastered the basics, try adding fruits, herbs, or spices to create unique and delicious flavor combinations
Key Takeaways for a Successful Kombucha Brew
Always use fresh, filtered water and store your SCOBY in a clean environment to prevent contamination and ensure a healthy fermentation process
Monitor your fermentation temperature closely, keeping it between 68-85°F (20-30°C), to optimize the growth of beneficial bacteria and yeast
Experiment with different flavors and ingredients, such as fruits, herbs, and spices, to create unique and delicious kombucha variations that suit your taste preferences
Brewing Wisdom
The art of making kombucha is not just about following a recipe, it’s about embracing the beauty of imperfection and letting nature take its course – with every batch, you’ll be brewing more than just a drink, you’ll be cultivating a sense of wonder and connection to the ingredients and the process.
Tom Navarro
Conclusion: You're Now a Kombucha Maker
As we wrap up this beginner’s guide to making kombucha, let’s recap the key points: we’ve covered the basic ingredients, equipment, and step-by-step process to brew your own kombucha at home. We’ve also dived into the health benefits of this fermented tea, from boosting your immune system to supporting a healthy gut. And, of course, we’ve touched on the importance of fermentation temperature control to ensure your brew turns out just right. By following these simple steps and tips, you’ll be well on your way to creating your own unique kombucha flavors and enjoying the rewards of homemade fermentation.
Now that you’ve got the basics down, it’s time to get creative and make kombucha your own! Don’t be afraid to experiment with new flavors, ingredients, and techniques – after all, that’s what homemade fermentation is all about. As you continue on your kombucha journey, remember that the process is just as important as the product, and that the joy of creation is often found in the messy, imperfect moments along the way. So go ahead, get brewing, and join the ranks of fellow kombucha enthusiasts who are passionate about reviving traditional preservation techniques and making delicious, healthy food from scratch.
Frequently Asked Questions
What is the ideal ratio of sugar to water when brewing kombucha?
For me, the sweet spot is about 1 cup of sugar per gallon of water. I like to think of it as a rough guideline, though – feel free to experiment and find your own balance. Just remember, the sugar’s mainly for the SCOBY’s sake, not ours, so don’t be afraid to tweak and taste as you go!
How do I know if my kombucha has gone bad or if it's just going through a normal fermentation process?
Don’t worry, it’s normal for kombucha to go through some weird phases! If it’s too fizzy, sour, or has mold, it’s likely gone bad. But if it’s just a bit cloudy or has a funky smell, it might just be working its magic. Trust your instincts, and if in doubt, toss it and start fresh – your taste buds (and gut) will thank you!
Can I flavor my kombucha with fruits or herbs during the fermentation process or is it better to add them after it's brewed?
Absolutely, you can flavor your kombucha with fruits or herbs during fermentation, but I prefer adding them after it’s brewed for more control over the flavors. I like to add slices of fresh ginger or a handful of mint leaves to my secondary fermentation for a refreshing twist.