I still remember the first time I took a homemade bread out of the oven, only to find it was as hard as a rock. I had no idea how to know when my bread is done baking, and it was a frustrating experience. The truth is, there’s no one-size-fits-all answer, but rather a combination of techniques that guarantee perfect results every time. As someone who’s spent years perfecting their baking skills, I’ve learned that it’s all about paying attention to the little details, like the smell of freshly baked bread wafting from the oven or the sound of the crust cracking as it cools.
In this article, I’ll share my honest, no-hype advice on how to know when your bread is done baking. You’ll learn how to check for that perfect golden brown crust, how to use the “tap test” to ensure your bread is cooked through, and why investing in a good oven thermometer is a game-changer. My goal is to empower you with the knowledge and confidence to bake delicious, homemade bread that’s sure to impress your family and friends. By the end of this guide, you’ll be a pro at determining when your bread is done to perfection, and you’ll be enjoying freshly baked loaves in no time.
Table of Contents
- Guide Overview: What You'll Need
- Step-by-Step Instructions
- Baking Bread to Perfection
- Bread Baking 101: 5 Essential Tips to Ensure Your Loaf is Perfectly Done
- My Top 3 Tips for Perfectly Baked Bread
- The Breadwinner's Wisdom
- Bringing It All Together: The Art of Perfectly Baked Bread
- Frequently Asked Questions
Guide Overview: What You'll Need
Total Time: 30 minutes to 1 hour
Estimated Cost: $0 – $5
Difficulty Level: Easy
Tools Required
- Oven (preheated to the correct temperature)
- Oven Thermometer (for accurate temperature readings)
- Timer (for tracking baking time)
- Wooden Skewer or Toothpick (for checking doneness)
Supplies & Materials
- Bread Dough (homemade or store-bought)
- Baking Sheet (lined with parchment paper)
- Oven Mitts (for safe removal of bread from oven)
Step-by-Step Instructions
- 1. First, let’s talk about the importance of temperature when it comes to baking bread. To ensure your bread is done to perfection, you’ll want to invest in a good quality oven thermometer. This will help you accurately gauge the temperature inside your oven, which can sometimes vary from the temperature displayed on the dial. I like to place my thermometer right in the center of the oven to get an accurate reading.
- 2. Next, you’ll want to check your bread for doneness by using the tap test. Gently remove the bread from the oven and tap on the bottom of the loaf. If it sounds hollow, it’s a good sign that the bread is cooked through. However, if you’re new to bread baking, it can be a bit tricky to determine what a hollow sound actually is, so don’t worry if it takes a few tries to get the hang of it.
- 3. Another way to check for doneness is to use a food thermometer. Insert the thermometer into the center of the bread, being careful not to touch the sides or bottom of the pan. The internal temperature of the bread should reach around 190°F to 200°F for most types of bread. I find that using a thermometer takes the guesswork out of determining if my bread is done.
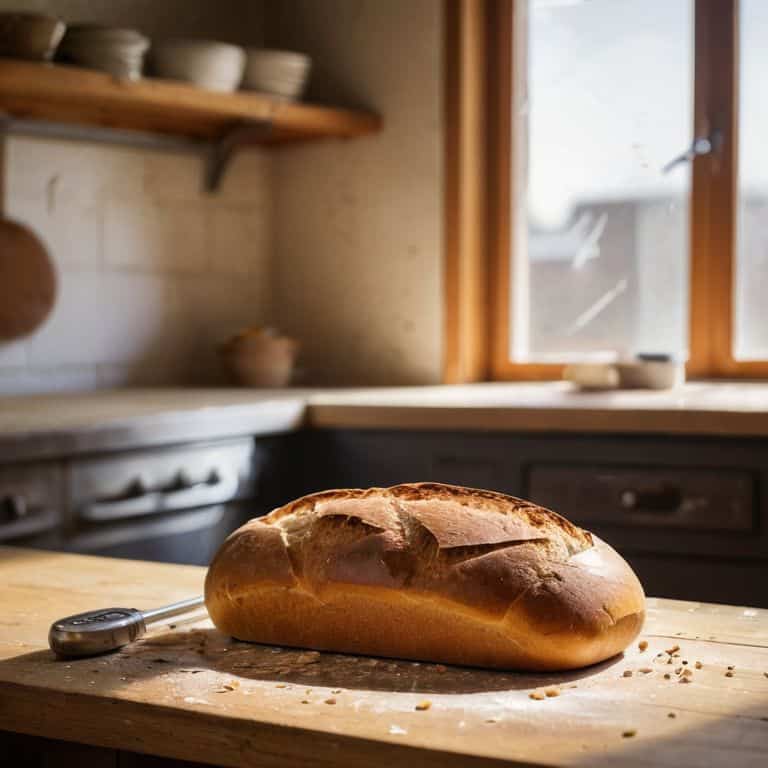
- 4. Now, let’s not forget about the visual cues that can indicate if your bread is done baking. A perfectly baked loaf of bread should have a golden brown crust that’s crispy on the outside and soft on the inside. If you’re baking a lighter-colored bread, you can look for a slightly firmer texture and a more evenly cooked crust.
- 5. In addition to these methods, you can also try the squeeze test. Gently press the top of the loaf with your fingers. If the bread feels soft and squishy, it may need a few more minutes in the oven. However, if it feels firm and springs back quickly, it’s likely done. Be careful not to press too hard, as you don’t want to compress the bread and make it dense.
- 6. For those of you who are new to bread baking, it’s also a good idea to keep an eye on the baking time. Most bread recipes will include a suggested baking time, but this can vary depending on your oven and the type of bread you’re making. I like to set a timer for the minimum recommended time and then check the bread every 5-10 minutes until it’s done.
- 7. Finally, don’t be afraid to use your instincts when it comes to determining if your bread is done baking. As you gain more experience with bread baking, you’ll start to develop a sense of what a perfectly baked loaf feels and looks like. Trust your instincts and don’t be afraid to experiment and try new things – it’s all part of the fun of bread baking!
Baking Bread to Perfection
As I always say, baking bread to perfection is an art that requires patience, practice, and a bit of love. One of the most crucial factors in achieving that perfect loaf is understanding the internal bread temperature guide. This handy tool helps you determine if your bread has reached the ideal temperature, usually between 190°F and 210°F, depending on the type of bread. I like to use a thermometer to ensure my bread is cooked to perfection, and I highly recommend investing in one if you’re serious about baking.
When it comes to assessing the doneness of your bread, there are a few telltale signs to look out for. The sound of fully baked bread is music to my ears – a hollow thud when tapped on the bottom. Additionally, the perfectly baked bread crust color is a beautiful golden brown, with a subtle sheen to it. Of course, this can vary depending on the type of bread you’re making, but as a general rule, a nicely browned crust is a good indicator of a well-baked loaf.
To avoid common bread baking mistakes, it’s essential to keep an eye on your bread’s bread baking time and temperature. Overmixing, overproofing, or underbaking can all lead to disappointing results. By following a tried-and-true recipe and using a thermometer to check the internal temperature, you’ll be well on your way to baking delicious, homemade bread that’s sure to please even the pickiest of eaters.
Internal Temperature Guide Secrets
Now that we’ve covered the basics of baking bread to perfection, let’s dive into a crucial detail that can make all the difference: internal temperature. I like to think of it as the secret ingredient to ensuring your bread is cooked to a perfect, fluffy interior. When I’m baking, I always keep my trusty thermometer nearby to check the internal temperature of my loaves. For most breads, you’re aiming for an internal temperature of around 200°F to 210°F.
I’ve found that investing in a good quality thermometer is worth every penny – it takes the guesswork out of baking and gives you confidence that your bread is cooked just right. Whether you’re a seasoned baker or just starting out, using an internal temperature guide can help you achieve consistent results and take your bread game to the next level.
Perfect Crust Color and Sound
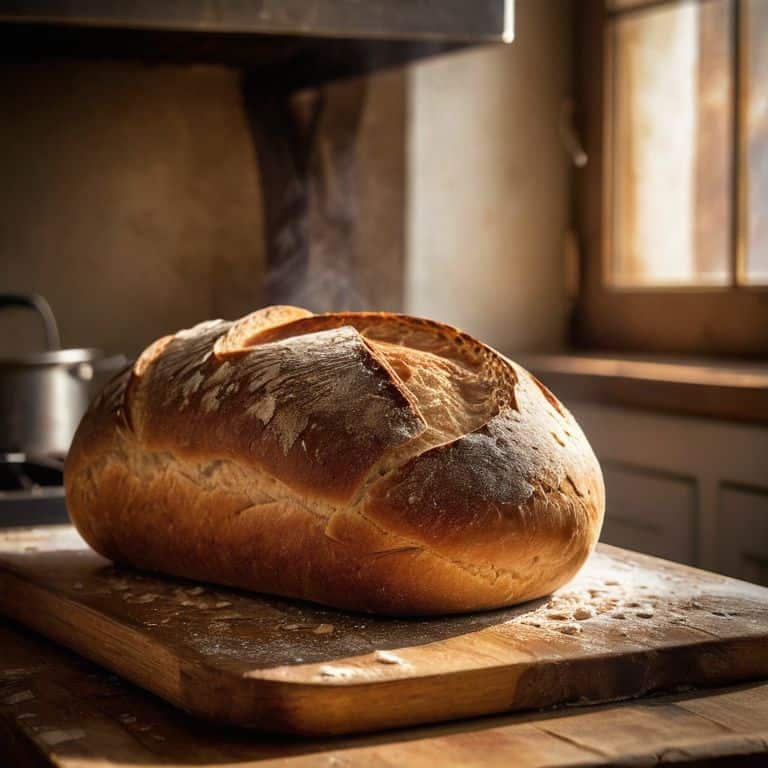
When it comes to achieving that perfect crust, I’m all about the visuals – and the sounds! You want to look for a beautiful golden brown color, and if you’re making a crusty bread, you’ll even see a slight sheen to it. But it’s not just about looks; the sound of your bread is also a great indicator of doneness. Gently tap the bottom of the loaf – if it sounds hollow, it’s ready to go! I love this part of the process, as it’s almost like my bread is telling me it’s done.
The combination of that stunning color and satisfying sound is music to my ears – and a surefire way to know you’ve nailed the perfect crust.
Bread Baking 101: 5 Essential Tips to Ensure Your Loaf is Perfectly Done
- Check for that perfect golden brown crust – it’s not just about looks, it’s a sign of a well-baked loaf!
- Tap into your bread’s sound: a hollow thud when you knock on the bottom means it’s cooked through
- Don’t be afraid to get a little invasive: inserting a toothpick or knife into the center can confirm if it’s done
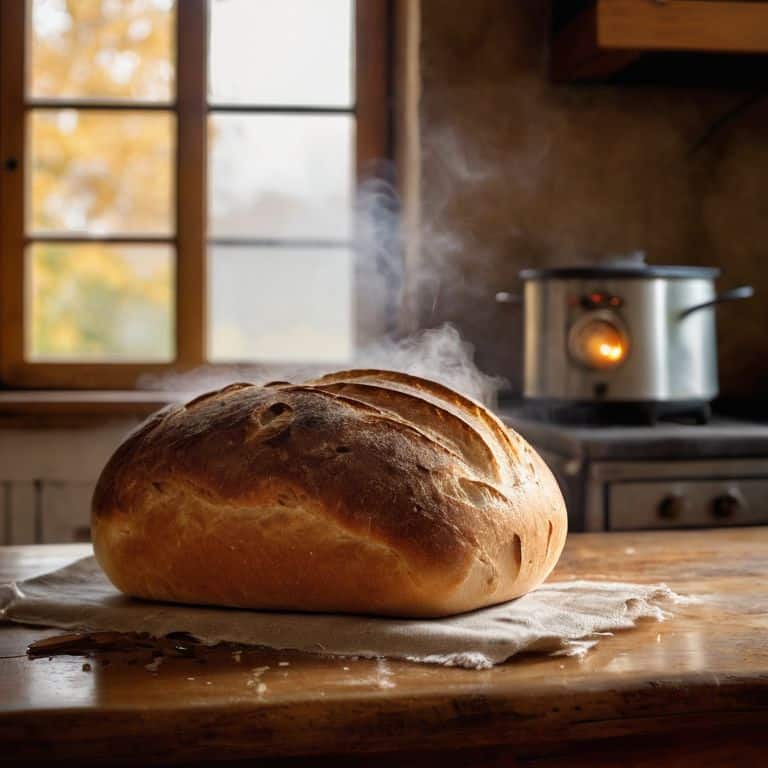
- Trust your senses: a perfectly baked loaf will have a heavenly aroma that fills the entire kitchen
- Resist the temptation to slice immediately: letting your bread cool completely will help you determine if it’s truly ready to be devoured
My Top 3 Tips for Perfectly Baked Bread
I always say that the key to perfectly baked bread is checking for that golden brown crust and a soft, fluffy interior – don’t be afraid to get up close and personal with your loaf!
Remember, internal temperature is everything: invest in a good thermometer and aim for that perfect internal temperature to ensure your bread is cooked to perfection every time
For the ultimate bread-baking experience, don’t forget to trust your senses – listen for that hollow sound when you tap the bottom of the loaf, and take a peek at the crust to ensure it’s perfectly golden brown, just like grandma used to make!
The Breadwinner's Wisdom
The secret to knowing when your bread is done baking lies not just in the numbers, but in the nuances – the sweet aroma, the golden crust, and the soft whisper of the loaf when it’s tapped; trust your senses, and your bread will always turn out divine!
Sophie Carter
Bringing It All Together: The Art of Perfectly Baked Bread

As we’ve explored the world of bread baking, it’s clear that knowing when your bread is done is an art that combines science and instinct. We’ve covered the essential steps, from checking the internal temperature to recognizing the perfect crust color and sound. By mastering these techniques, you’ll be well on your way to baking bread that’s truly exceptional. Remember, practice makes perfect, so don’t be discouraged if it takes a few attempts to get the hang of it. With time and patience, you’ll develop a keen sense of when your bread is perfectly baked, and the satisfaction of biting into a warm, freshly baked loaf will be all the reward you need.
Now, as you embark on your bread-baking journey, I encourage you to experiment and innovate, trying new ingredients and techniques to make each loaf your own. The joy of baking lies not just in the end result, but in the creative process itself. So, don’t be afraid to get your hands flour-covered and your kitchen filled with the warm, comforting aroma of freshly baked bread. With every successful loaf, you’ll grow more confident in your abilities, and before long, you’ll be sharing your own delicious creations with friends and family, spreading the love and warmth that only a perfectly baked loaf of bread can bring.
Frequently Asked Questions
What happens if my bread is overcooked, can it still be salvaged?
Don’t worry, overcooked bread isn’t a lost cause! If it’s just a tad too dark, you can still use it for croutons, breadcrumbs, or even French toast. But if it’s seriously charred, it’s best to start fresh. Remember, practice makes perfect, and I’ve been there too – we all have those occasional bread mishaps!
How do I adjust the baking time for different types of bread, like sourdough or rye?
For sourdough or rye, I adjust baking time based on the dough’s density and crust color. Sourdough often needs a bit more time, while rye can be done sooner. I keep an eye on the crust, looking for that perfect golden brown, and give it a gentle tap to check for a hollow sound – it’s all about feeling the bread and trusting your instincts!
Can I rely solely on the internal temperature guide, or are there other factors to consider when checking for doneness?
While internal temperature is a great guide, I always say trust your senses too. Check for that perfect golden crust, listen for the hollow sound when you tap the bottom, and give it a gentle squeeze – if it feels soft and springs back, you’re golden!